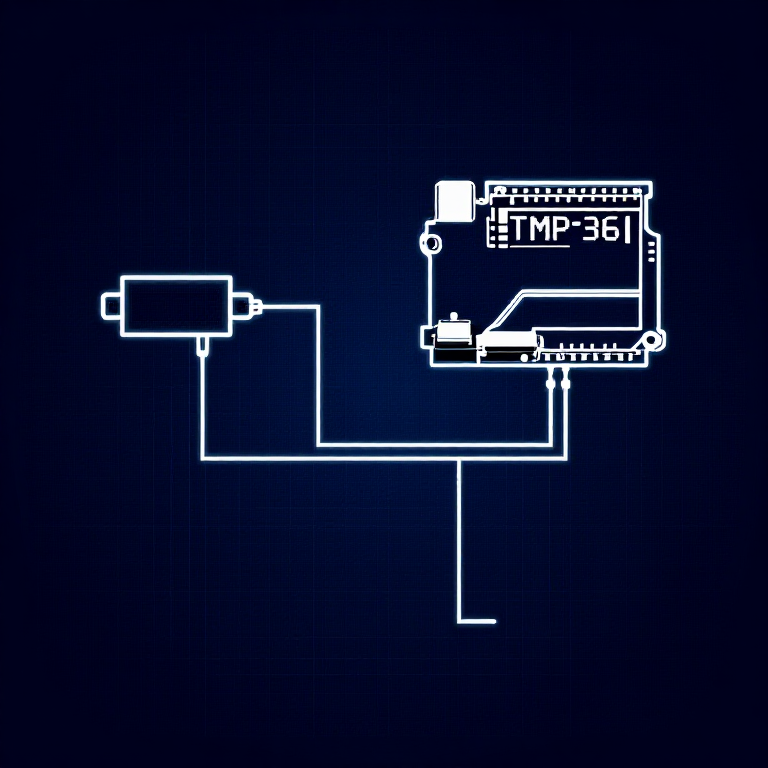


Reading a Temperature Sensor — SIK Circuit 7
උපදෙස්
Parts & Introduction
Parts & Introduction
The TMP36 is an analog temperature sensor that outputs a voltage proportional to temperature. You'll learn to use the Serial Monitor to display real-time readings — an essential debugging tool.
Parts Needed
- 1x Arduino Uno + USB cable
- 1x Breadboard
- 1x TMP36 Temperature Sensor
- 5x Jumper Wires
Warning: The TMP36 looks similar to the transistor. Look for "TMP" in tiny letters and a triangle logo. The transistor has "222" printed on it. Inserting the wrong component can damage it!
මෙම පියවර සඳහා ද්රව්ය:
 SparkFun Inventor's Kit - V3.21 කට්ටලය
අවශ්ය මෙවලම්:
 Arduino IDE සහිත පරිගණකය
Hardware Hookup
Hardware Hookup
Wiring Instructions
With the TMP36 flat side facing you and pins pointing down, the pins are (left to right): 5V, Signal, GND.
- Connect the left pin to 5V.
- Connect the middle pin (signal) to Analog Pin A0.
- Connect the right pin to GND.
That's it — just 3 wires! The TMP36 can only be connected in one direction. Double-check before powering on.
මෙම පියවර සඳහා ද්රව්ය:
 බ්රෙඩ්බෝඩ්1 කැබැල්ල
 සම්බන්ධක කම්බි3 කැබලි
Arduino Code
Arduino Code
Open the Arduino IDE and upload the following sketch to your Arduino board.
මෙම පියවර සඳහා ද්රව්ය:
 Arduino Uno R31 කැබැල්ල
අවශ්ය මෙවලම්:
Arduino IDE සහිත පරිගණකයTest & Experiment
Test & Experiment
What You Should See
Open the Serial Monitor (magnifying glass icon in Arduino IDE, or Ctrl+Shift+M). You'll see lines updating once per second:
voltage: 0.73 deg C: 23.24 deg F: 73.84
Troubleshooting
- Nothing happens: Open the Serial Monitor! The output goes there, not to the LEDs.
- Gibberish text: Set the Serial Monitor baud rate dropdown to 9600.
- Temperature unchanged: Pinch the sensor with your fingers to warm it up, or apply ice to cool it down.
Experiments to Try
- Add an LED that turns on above a temperature threshold (like a heat warning).
- Log data over time to see temperature trends.
- Combine with the LCD (Circuit 15) to display temperature without a computer.
ද්රව්ය
5- SparkFun Inventor's Kit - V3.210% කොමිස්1 කට්ටලය$104.79
- ස්ථානගත
- ස්ථානගත
- ස්ථානගත
- 1 කැබැල්ලස්ථානගත
අවශ්ය මෙවලම්
1- ස්ථානගත
CC0 පොදු වසම
මෙම බ්ලූප්රින්ට් CC0 යටතේ නිකුත් කර ඇත. ඔබට අවසර නොමැතිව පිටපත් කිරීම, වෙනස් කිරීම, බෙදා හැරීම සහ භාවිතා කිරීම කළ හැක.
බ්ලූප්රින්ට් හරහා නිෂ්පාදන මිලදී ගැනීමෙන් නිර්මාතෘට සහාය වන්න නිර්මාතෘ කොමිසම විකුණුම්කරුවන් විසින් නියම කළ, හෝ මෙම බ්ලූප්රින්ට්හි නව අනුවාදයක් සාදා ආදායම බෙදා ගැනීමට ඔබේ බ්ලූප්රින්ට්හි සම්බන්ධතාවයක් ලෙස ඇතුළත් කරන්න.