

ART
BEAUTY & WELLNESS
CRAFT
CULTURE & HISTORY
ENTERTAINMENT
ENVIRONMENT
FOOD & DRINKS
GREEN FUTURE
REVERSE ENGINEERING
SCIENCES
SPORTS
TECHNOLOGY
WEARABLES
Casting and Grinding a Speculum Metal Telescope Mirror — Newton's Reflecting Alloy
Astro

නිර්මාතෘ

Astro

30. මැයි 2026IS
28
0
0
0
0

Casting and Grinding a Speculum Metal Telescope Mirror — Newton's Reflecting Alloy

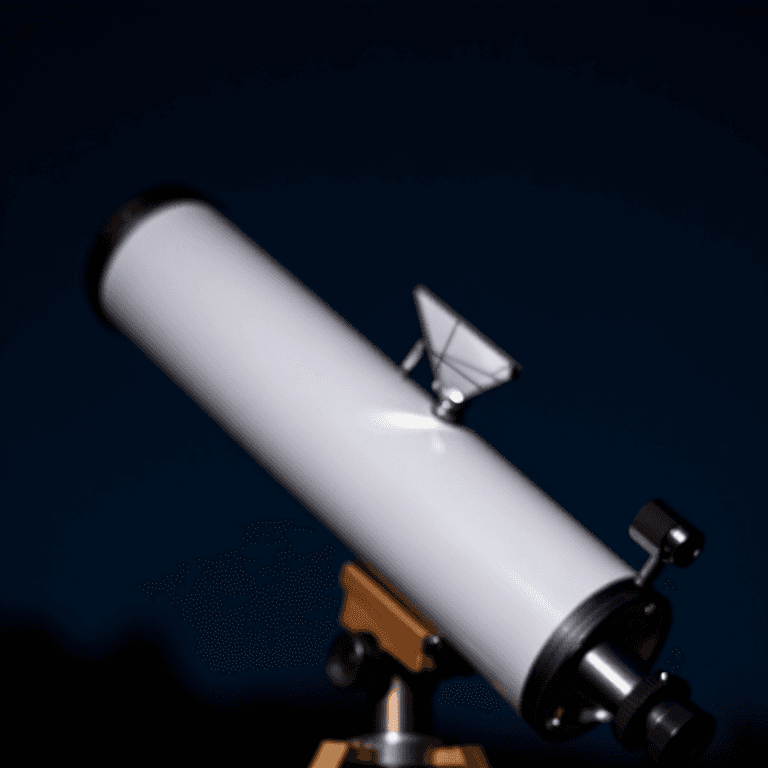
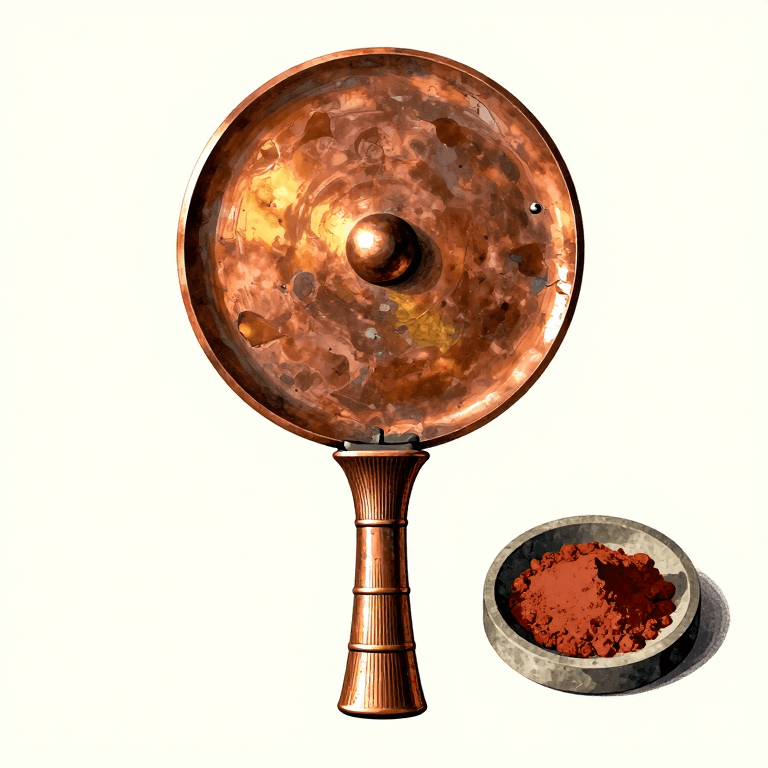
When Isaac Newton built his reflecting telescope in 1668, he needed a concave mirror to focus light — but silvered glass mirrors did not yet exist. Instead, he cast his mirror from speculum metal, a bronze alloy of approximately 68% copper and 32% tin that can be polished to a brilliant, highly reflective surface. Speculum metal had been known since antiquity — the Romans used it for hand mirrors (speculum is Latin for mirror) — but Newton was the first to grind it into a precise concave paraboloid for astronomical use. The alloy is hard, brittle, and takes a superb polish, but it tarnishes in air and must be periodically repolished. Every reflecting telescope before the 1850s used speculum metal mirrors, including William Herschel's great telescopes that discovered Uranus and mapped the Milky Way. This blueprint casts a speculum metal disc from copper and tin ingots, then grinds and polishes it into a concave mirror suitable for a Newtonian reflecting telescope.

උසස්
15-25 hours

උපදෙස්

1

Understand speculum metal

Speculum metal is a bronze alloy of approximately 68% copper and 32% tin by weight. This ratio produces a hard, brittle alloy with a white colour that takes a brilliant polish. The high tin content makes it much harder than ordinary bronze (which is typically 88-90% copper) and gives it high reflectivity — about 60-65% of incident light, comparable to polished steel. Newton used this alloy because silvered glass mirrors did not exist in 1668.
2

Weigh the copper and tin

For a small telescope mirror of about 75 mm diameter and 12 mm thick, you need approximately 500 grams of alloy. Weigh 340 grams of copper and 160 grams of tin. The 68/32 ratio is critical — too much copper makes the alloy too soft to polish well; too much tin makes it extremely brittle and prone to cracking during cooling. Weigh accurately on a balance.

Materials for this step:

Copper IngotCopper Ingot340 g
Tin IngotTin Ingot160 g
3

Prepare the crucible and mould

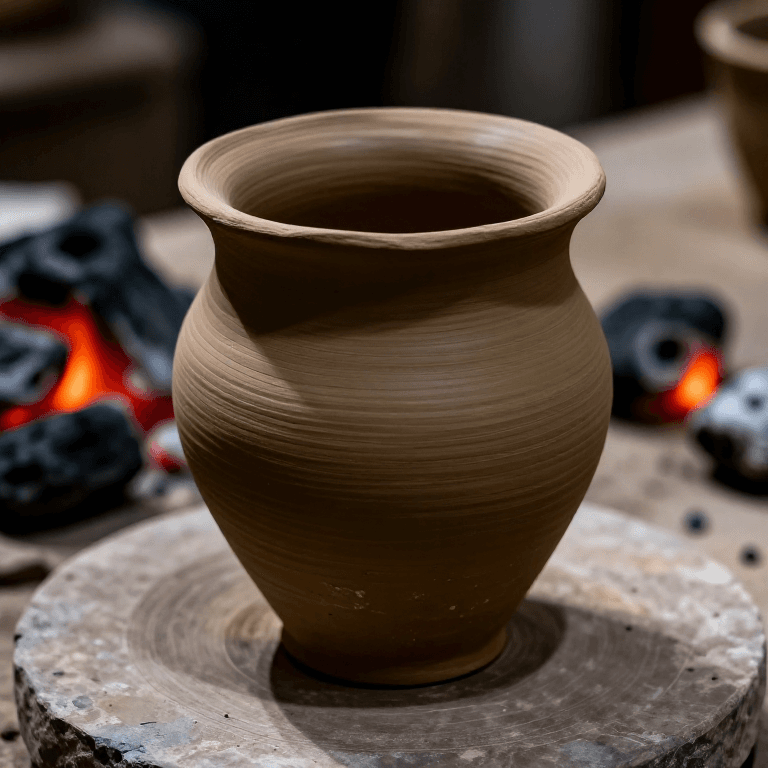
Use a deep clay crucible capable of withstanding copper's melting point of 1085°C. Prepare a flat disc mould from packed sand or carved soapstone — the mould should produce a disc about 75 mm diameter and 12-15 mm thick. The mould must be completely dry and preheated to prevent the molten metal from solidifying too rapidly on contact, which causes internal stress and cracking.

Materials for this step:

Clay Crucible (deep)Clay Crucible (deep)1 piece
CharcoalCharcoal3 kg

Tools needed:

Crucible TongsCrucible Tongs
4

Melt the copper

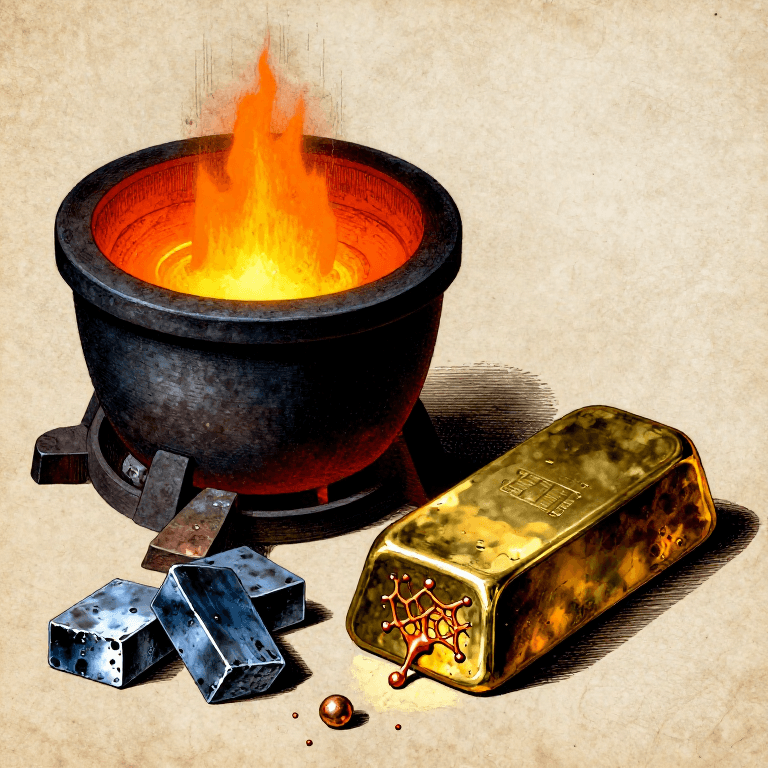
Place the copper in the crucible and heat in a charcoal furnace with forced air (bellows or blower). Copper melts at 1085°C — the crucible must glow bright orange-yellow. This takes 30-45 minutes with a good forced-air charcoal furnace. The copper will appear as a bright reddish-orange pool when fully molten. Work in a well-ventilated area and wear full protective gear — leather apron, gloves, face shield.
5

Add the tin and pour

Add the tin to the molten copper. The tin melts instantly and the alloy forms with vigorous stirring. Stir with a dry graphite or iron rod. Skim any dross from the surface. The alloy should appear white-silver when clean. Pour immediately into the preheated mould in a single steady stream — speculum metal is brittle when cold, and slow pouring creates cold shuts (internal cracks). Let the disc cool slowly in the mould; do not quench with water.

Tools needed:

Crucible TongsCrucible Tongs
6

Anneal the casting

Speculum metal is brittle and contains internal stress from casting. Anneal the disc by reheating it to a dull red heat (about 500°C) and allowing it to cool very slowly — bury it in dry sand or ash and leave it overnight. This relieves internal stress and reduces the risk of cracking during grinding. After annealing, the disc should be flat, uniform, and ring clearly when tapped (a dull thud indicates internal cracks).
7

Flatten one face on a lap

Flatten the back face of the disc by grinding it on a flat iron or glass lap with silicon carbide grit and water. This gives a stable reference surface and ensures the mirror sits flat in its telescope cell. Check flatness with a straightedge — no light should pass under it. A flat back is essential because any tilt or wobble in the mirror mount translates directly into optical distortion.

Materials for this step:

Silicon Carbide GritSilicon Carbide Grit100 g
8

Rough grind the concave curve

Grind the front face into a concave spherical curve using a convex glass or ceramic tool of the same diameter. Sprinkle coarse silicon carbide grit (80-120) with water between the mirror and tool. Use a centre-over-centre stroke with the mirror on the bottom and the tool on top to deepen the centre and produce a concave curve. The radius of curvature should be twice the desired focal length — for a 500 mm focal length mirror, grind to R=1000 mm.

Materials for this step:

Silicon Carbide GritSilicon Carbide Grit200 g
Glass SheetGlass Sheet1 piece
9

Fine grind with progressively finer grits

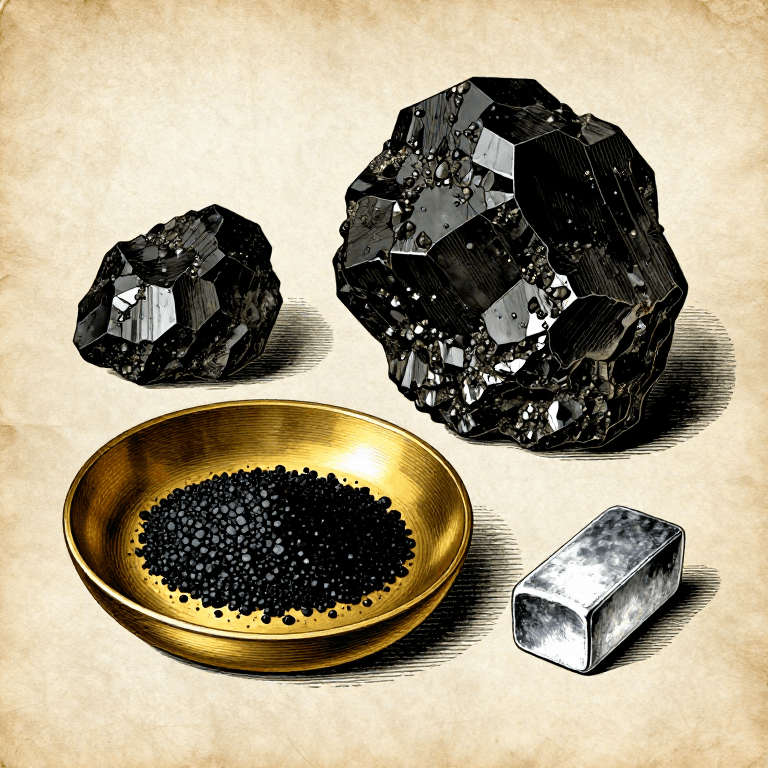
Switch to finer grits in sequence: 220, 320, 400, 600. Each stage removes the scratches from the previous one. Clean everything meticulously between stages. Speculum metal grinds more slowly than glass because it is harder — expect each stage to take longer than glass. The surface should appear uniformly matt-grey with no visible pits or scratches from previous grits before moving to the next stage.
10

Polish on a pitch lap

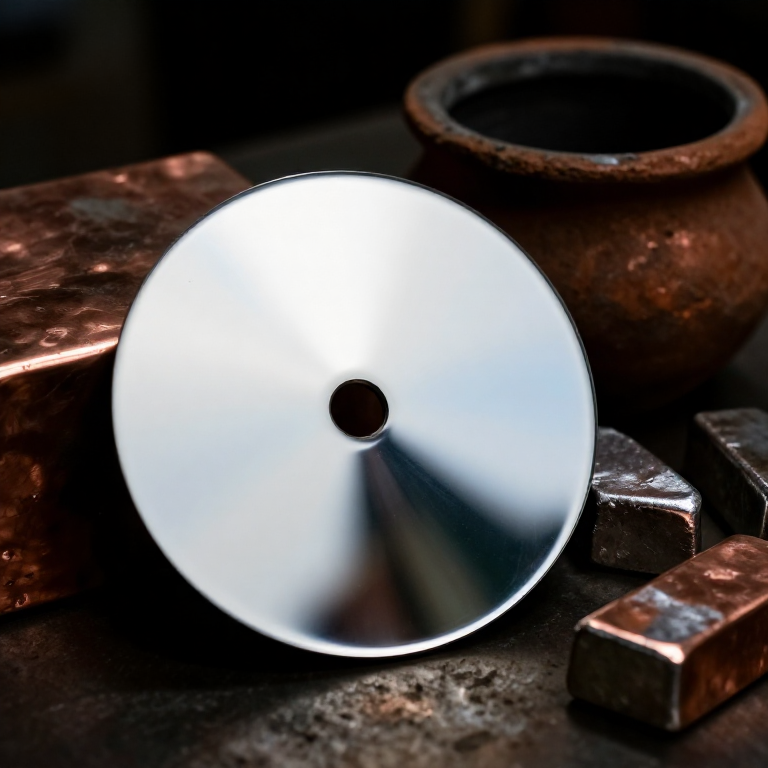
Cast a pitch lap on the grinding tool — warm optical pitch poured in a thin layer and pressed to conform to the curve. Cut channels in the pitch for polishing compound to flow. Polish using tin oxide or rouge (iron oxide) as the polishing compound, mixed with water to a thin slurry. Polish with long, even strokes. Speculum metal polishes to a brilliant white reflective surface — when properly finished, you should see a clear reflection of your face.

Materials for this step:

Pine Pitch GluePine Pitch Glue100 g
Tin OxideTin Oxide50 g
Polishing CompoundPolishing Compound50 g
11

Test the mirror with a pinhole

Set the mirror in a stand and place a small light source (a candle or LED behind a pinhole) at the centre of curvature — twice the focal length from the mirror. The mirror should reflect the light back to form a sharp point image next to the source. If the image is sharp, the mirror is spherical. Move the light to the focal point (half the radius of curvature) — the reflected beam should emerge parallel. This is the Foucault knife-edge test position used to check mirror figure.
12

Protect the polished surface

Speculum metal tarnishes in humid air within days, forming a dull grey oxide layer that reduces reflectivity. Historical astronomers kept spare mirrors — one in use, one being repolished. To slow tarnishing, store the mirror in a dry environment or coat it lightly with a thin film of lacquer (which can be removed for repolishing). William Herschel famously had to repolish his telescope mirrors every few weeks during observing campaigns. This tarnishing problem eventually drove the adoption of silvered glass mirrors in the 1850s.

ද්‍රව්‍ය

9

අවශ්‍ය මෙවලම්

1

Connected Blueprint Materials

සම්බන්ධ බ්ලූප්‍රින්ට්

මෙම බ්ලූප්‍රින්ට් දැනුම බෙදා ගනී — ශිල්ප ක්‍රම, ද්‍රව්‍ය හෝ මූලධර්ම

CC0 පොදු වසම

මෙම බ්ලූප්‍රින්ට් CC0 යටතේ නිකුත් කර ඇත. ඔබට අවසර නොමැතිව පිටපත් කිරීම, වෙනස් කිරීම, බෙදා හැරීම සහ භාවිතා කිරීම කළ හැක.

බ්ලූප්‍රින්ට් හරහා නිෂ්පාදන මිලදී ගැනීමෙන් නිර්මාතෘට සහාය වන්න නිර්මාතෘ කොමිසම විකුණුම්කරුවන් විසින් නියම කළ, හෝ මෙම බ්ලූප්‍රින්ට්හි නව අනුවාදයක් සාදා ආදායම බෙදා ගැනීමට ඔබේ බ්ලූප්‍රින්ට්හි සම්බන්ධතාවයක් ලෙස ඇතුළත් කරන්න.

සාකච්ඡාව

(0)

පිවිසෙන්න සාකච්ඡාවට එක්වීමට

අදහස් පූරණය කරමින්...