සහයෝගීතාව
කලාව
රූපලාවණ්ය සහ සුවතාව
ශිල්පය
සංස්කෘතිය සහ ඉතිහාසය
විනෝදාස්වාදය
පරිසරය
ආහාර සහ පාන
ප්රතිලෝම ඉංජිනේරු
විද්යාවන්
ක්රීඩා
තාක්ෂණය
පැළඳිය හැකි
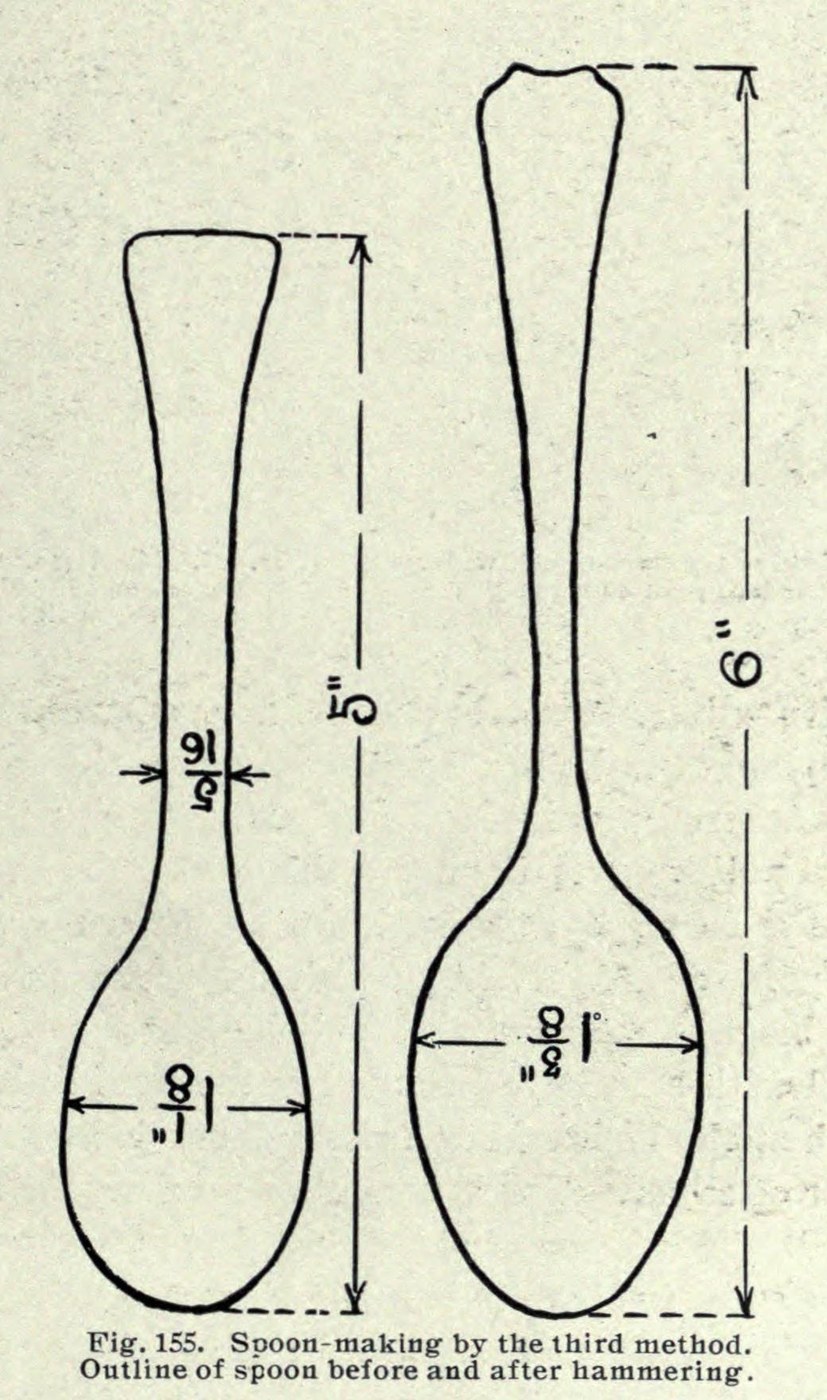
Arthur F. Payne · Public domain (1914)


Teaspoon Sawn Short from Silver Sheet, Then Hammered Out (Payne 1914)
Saw the spoon out of flat silver smaller than it will end up: shorter, narrower in the bowl and thicker in the shank. Hammering then stretches it to full size. Arthur Payne said this method was used largely for silver teaspoons.
Source: A. F. Payne, Art Metalwork with Inexpensive Equipment (1914), pp. 180–184; annealing from his chapter XI. The millimetre figure is ours. Picture: Payne's Fig. 155, the blank and the finished spoon.
මධ්යම
1 day
උපදෙස්
1
1
Saw out the short blank
Saw out the short blank
Mark out and saw the blank from 15-gauge sterling silver (about 1.45 mm; our conversion): 5 in long, the bowl 1⅛ in wide and the shank 5⁄16 in wide. The finished spoon will be 6 in long with a bowl 1⅝ in wide.
මෙම පියවර සඳහා ද්රව්ය:
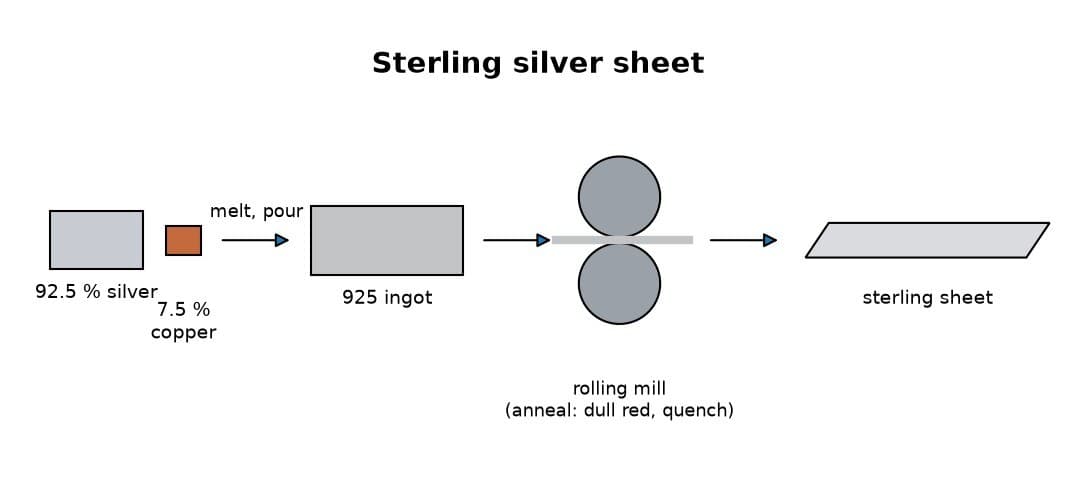
 ස්ටර්ලිං රිදී පත්රය1 piece 15 gauge, enough for the 5 in blank
අවශ්ය මෙවලම්:
 ඉරි අඳින උල
 ස්වර්ණාභරණ කියත
2
2
Stretch the bowl wider
Stretch the bowl wider
Hammer the bowl on a flat anvil with the ball-pein hammer, held at a slight angle towards the side you want it to grow. This makes the bowl thinner and wider.
අවශ්ය මෙවලම්:
 නියන (ඇන්විලය)
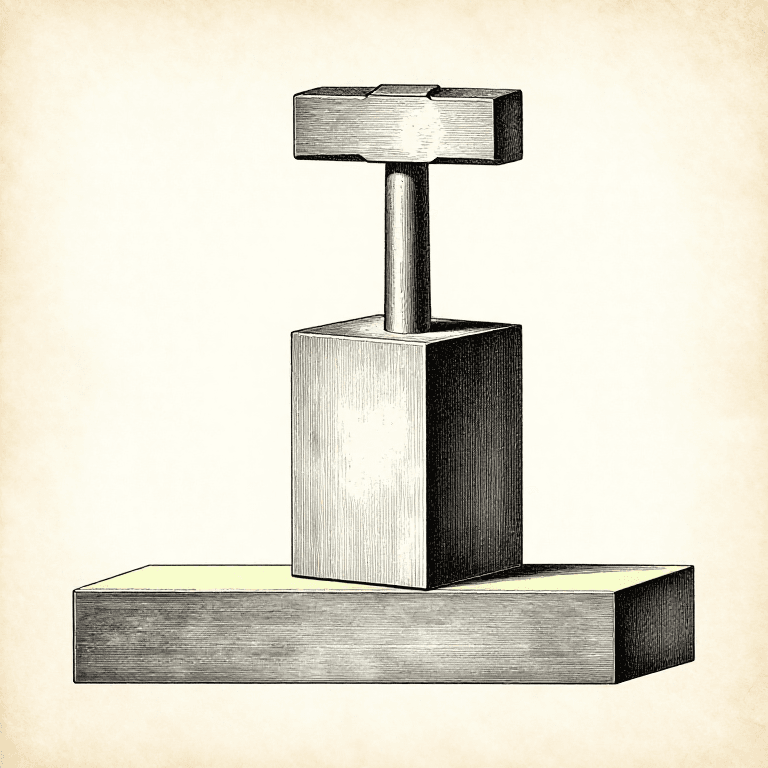
 රවුම් හිසක් සහිත මිටිය
3
3
Narrow the shank with the neck hammer
Narrow the shank with the neck hammer
Hold the spoon on edge on a rounded convex stake and hammer the shank narrower with the neck hammer. This lengthens the spoon and makes the shank narrower and thicker. Widen the tip of the handle the same way as the bowl.
අවශ්ය මෙවලම්:
 කණුව
 ගෙල මිටියරවුම් හිසක් සහිත මිටිය
4
4
Anneal and repeat
Anneal and repeat
When the silver gets hard, heat it to a dull red and plunge it into water, or let it cool. Repeat the hammering and annealing until the spoon is roughly to shape.
මෙම පියවර සඳහා ද්රව්ය:
 ජලය1 as required
අවශ්ය මෙවලම්:
 බන්සන් දාහකය
 විශාල අඬුව
 වීදුරු භාජනය
5
5
File and planish
File and planish
File the rough edges smooth, then planish the whole spoon carefully.
අවශ්ය මෙවලම්:
 කියතුරු (අත් කියතුර)
 සමතලා කරන මිටියකණුව
6
6
Polish out the file marks
Polish out the file marks
Rub out all the scratches and file marks with emery cloth.
අවශ්ය මෙවලම්:
 එමරි රෙද්ද
7
7
Anneal to even the fire scale
Anneal to even the fire scale
Anneal the spoon thoroughly once more. Heated silver grows a thin white skin, the fire scale, and this brings it back over the spots where filing and polishing took it off, so the colour is even.
මෙම පියවර සඳහා ද්රව්ය:
ජලය1 as requiredඅවශ්ය මෙවලම්:
බන්සන් දාහකයවිශාල අඬුවවීදුරු භාජනය8
8
Planish with smooth hammers
Planish with smooth hammers
Planish the spoon on smooth tools with smooth, bright hammers. This makes it stiff again after the annealing.
අවශ්ය මෙවලම්:
සමතලා කරන මිටියනියන (ඇන්විලය)කණුව9
9
Final polish with rouge
Final polish with rouge
Polish it lightly with a soft cotton flannel and a little red rouge.
අවශ්ය මෙවලම්:
 ආභරණ ඔප දැමීමේ රෙද්ද
 ආභරණකරුවන්ගේ රතු ඔප කුඩු
ද්රව්ය
2- 1 piece 15 gauge, enough for the 5 in blankස්ථානගත
- 2 as requiredස්ථානගත
අවශ්ය මෙවලම්
14- ස්ථානගත
- ස්ථානගත
- ස්ථානගත
- ස්ථානගත
- ස්ථානගත
- ස්ථානගත
- ස්ථානගත
- ස්ථානගත
- ස්ථානගත
- ස්ථානගත
- ස්ථානගත
- ස්ථානගත
- ස්ථානගත
- ස්ථානගත
මෙම සැලසුම සාදන්නේ
සම්බන්ධ බ්ලූප්රින්ට්
මෙම බ්ලූප්රින්ට් දැනුම බෙදා ගනී — ශිල්ප ක්රම, ද්රව්ය හෝ මූලධර්ම
CC0 පොදු වසම
මෙම බ්ලූප්රින්ට් CC0 යටතේ නිකුත් කර ඇත. ඔබට අවසර නොමැතිව පිටපත් කිරීම, වෙනස් කිරීම, බෙදා හැරීම සහ භාවිතා කිරීම කළ හැක.
බ්ලූප්රින්ට් හරහා නිෂ්පාදන මිලදී ගැනීමෙන් නිර්මාතෘට සහාය වන්න නිර්මාතෘ කොමිසම විකුණුම්කරුවන් විසින් නියම කළ, හෝ මෙම බ්ලූප්රින්ට්හි නව අනුවාදයක් සාදා ආදායම බෙදා ගැනීමට ඔබේ බ්ලූප්රින්ට්හි සම්බන්ධතාවයක් ලෙස ඇතුළත් කරන්න.