කලාව
රූපලාවණ්ය සහ සුවතාව
ශිල්පය
සංස්කෘතිය සහ ඉතිහාසය
විනෝදාස්වාදය
පරිසරය
ආහාර සහ පාන
ප්රතිලෝම ඉංජිනේරු
විද්යාවන්
ක්රීඩා
තාක්ෂණය
පැළඳිය හැකි
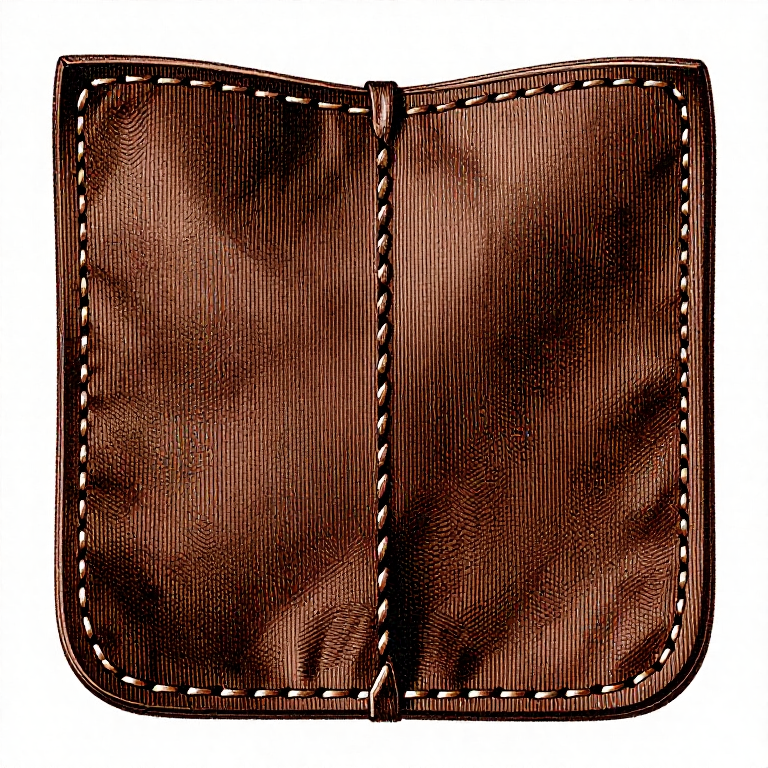


The Saddle Stitch: Cut It Anywhere and It Still Holds
A sewing machine makes a lockstitch: two threads knotted to each other inside the material. Cut it at one point and the stitches either side can unravel in turn.
A saddle stitch passes a single thread through every hole from both sides, so each hole carries two independent passes locked to nothing. Cut it and the neighbouring stitches stay exactly where they are. That is why harness, saddlery and serious bags are still sewn by hand, two hundred years after the sewing machine.
It is also slow, and it looks wrong if the holes are wrong — so most of this rung is about making the holes, not about passing the thread.
මධ්යම
4 hours
උපදෙස්
1
1
Marking and making the holes
Marking and making the holes
**Mark the stitch line first**, parallel to the edge, with a wing divider or a stitching groover. A groover cuts a shallow channel that the thread then sits **below** the surface in, protected from abrasion — which is why a grooved seam on the sole side of a shoe lasts.
Distance from the edge: about **three to four times the leather thickness**, and never less than twice. Too close and the stitches tear out through the edge.
**Mark the hole positions with a pricking iron**, struck once with a mallet. The iron's job is to mark evenly spaced slanted slits, not to go all the way through.
**Open the holes with a diamond awl**, one at a time as you sew, pushing from the front so the slant is consistent. On thin leather the iron alone may go through; on anything thick the awl is what makes the hole.
**Keep the awl vertical across the seam and angled along it.** An awl that leans puts the back holes out of line with the front ones, and a seam that looks perfect from the front and drunk from the back is always this.
**Clamp the work in a stitching pony.** Both hands are needed for the needles.
මෙම පියවර සඳහා ද්රව්ය:
 ශාක මගින් පදම් කළ සම2 කැබලි
අවශ්ය මෙවලම්:
 සිදුරු අඬුව
 දැව මිටිය
 රූලක්
රූලක් තමන්ම සුව වන කැපුම් පැදුර
2
2
Thread, spacing and the numbers
Thread, spacing and the numbers
Jupyter සටහන් පොත පූරණය වෙමින්…
අවශ්ය මෙවලම්:
 මේස පරිගණකය
3
3
The stitch itself
The stitch itself
**Thread both ends** of one length, with a needle at each end. Linen thread is waxed with beeswax first: the wax stiffens the thread so it feeds, protects it from abrasion in the hole, and seals the finished seam a little.
**The cycle, and it never changes:**
1. Push the front needle through the hole
2. Pull it until the thread is even on both sides
3. Push the back needle through the SAME hole
4. Pull both tight together
5. Move to the next hole
**Always pass the second needle on the same side of the first thread.** Above or below — it does not matter which, but it must be the same every time. This is the single detail that makes a seam look even, and changing halfway is instantly visible.
**Do not pierce the thread already in the hole.** If the needle catches it, back out and go round. A pierced thread cannot be pulled tight and is a weak point.
**Tension the same every stitch.** Pull with the same firmness each time; the eye reads variation in tension as crookedness.
**Finish** by back-stitching two or three holes, then cut the thread flush and melt or burnish the end. Do not knot it: a knot is a lump, and the back-stitch is what actually holds.
මෙම පියවර සඳහා ද්රව්ය:
ශාක මගින් පදම් කළ සම2 කැබලි මී ඉටි1 කැබැල්ල
අවශ්ය මෙවලම්:
 සම් මසන කට්ටලය
 සෑදල මැසීමේ ඉදිකටු දෙකක්සිදුරු අඬුව
4
4
Lacing, and the other ways to join leather
Lacing, and the other ways to join leather
Stitching is not the only join, and several traditions in the catalogue use none.
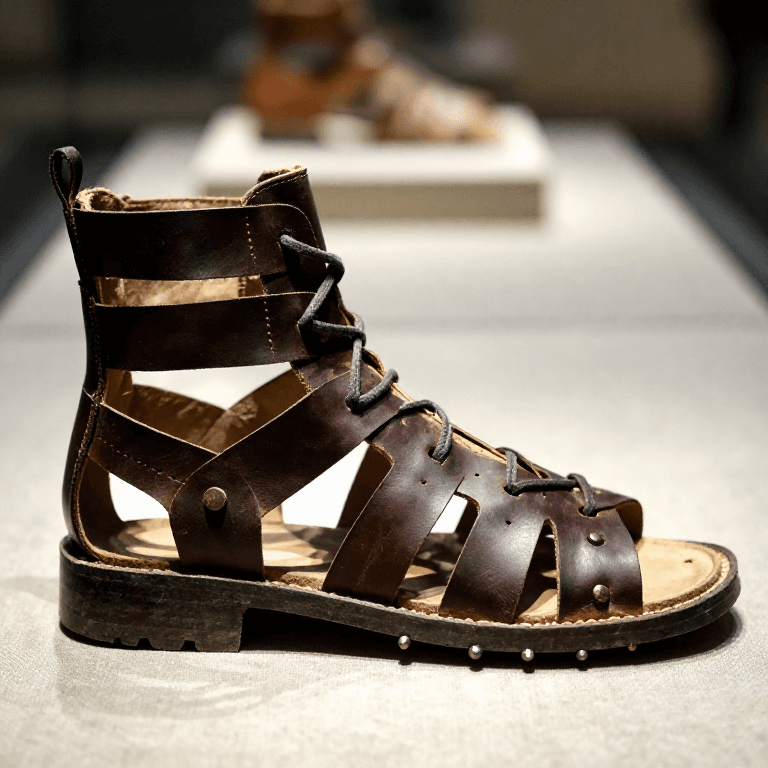
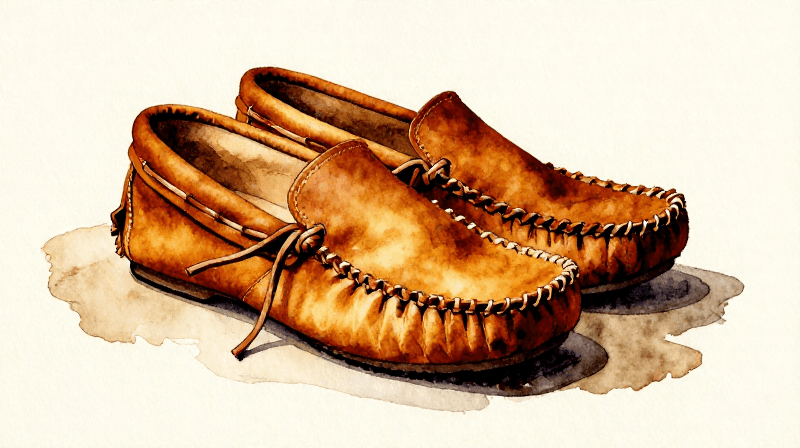
**Lacing.** A leather thong through punched holes. Fast, decorative, strong enough for a pouch or a moccasin, and it needs no needle and no waxed thread. It is the join on most of the prehistoric leatherwork here, and it is the right answer whenever the holes can be large.
**Rivets.** Instant, very strong in shear, and permanent. The hardware rung covers them. A rivet at each end of a stitched seam takes the load off the thread where it is highest.
**Adhesive.** Contact cement on both flesh surfaces. It is not a structural join on its own — it is what holds two pieces in position while they are stitched, and it stops the layers shifting under the awl. Nearly every professionally made piece is glued before it is sewn.
**Wet-formed and shrunk rawhide.** A rawhide lace put on wet shrinks as it dries and grips harder than anything else available without metal. That is how the parfleche and most hafted tools in the catalogue are held together.
Choose by the load and by whether it must be repairable. A stitched seam can be re-sewn; a riveted one cannot be taken apart without destroying the rivet.
මෙම පියවර සඳහා ද්රව්ය:
 එළවළු ඇඹරූ සම් පටිය1 කැබැල්ල
 සම් මසන පටිය1 කැබැල්ල
අවශ්ය මෙවලම්:
 සම් සිදුරු කිරීමේ කට්ටලය
 සම් සිදුරු කරන්නාදැව මිටිය
ද්රව්ය
4- 2 කැබලිස්ථානගත
- 1 කැබැල්ලස්ථානගත
- 1 කැබැල්ලස්ථානගත
- 1 කැබැල්ලස්ථානගත
අවශ්ය මෙවලම්
9- ස්ථානගත
- ස්ථානගත
- ස්ථානගත
- ස්ථානගත
- ස්ථානගත
- ස්ථානගත
- ස්ථානගත
- ස්ථානගත
- ස්ථානගත
සම්බන්ධ බ්ලූප්රින්ට්
මෙම බ්ලූප්රින්ට් දැනුම බෙදා ගනී — ශිල්ප ක්රම, ද්රව්ය හෝ මූලධර්ම
CC0 පොදු වසම
මෙම බ්ලූප්රින්ට් CC0 යටතේ නිකුත් කර ඇත. ඔබට අවසර නොමැතිව පිටපත් කිරීම, වෙනස් කිරීම, බෙදා හැරීම සහ භාවිතා කිරීම කළ හැක.
බ්ලූප්රින්ට් හරහා නිෂ්පාදන මිලදී ගැනීමෙන් නිර්මාතෘට සහාය වන්න නිර්මාතෘ කොමිසම විකුණුම්කරුවන් විසින් නියම කළ, හෝ මෙම බ්ලූප්රින්ට්හි නව අනුවාදයක් සාදා ආදායම බෙදා ගැනීමට ඔබේ බ්ලූප්රින්ට්හි සම්බන්ධතාවයක් ලෙස ඇතුළත් කරන්න.