සහයෝගීතාව
කලාව
රූපලාවණ්ය සහ සුවතාව
ශිල්පය
සංස්කෘතිය සහ ඉතිහාසය
විනෝදාස්වාදය
පරිසරය
ආහාර සහ පාන
ප්රතිලෝම ඉංජිනේරු
විද්යාවන්
ක්රීඩා
තාක්ෂණය
පැළඳිය හැකි
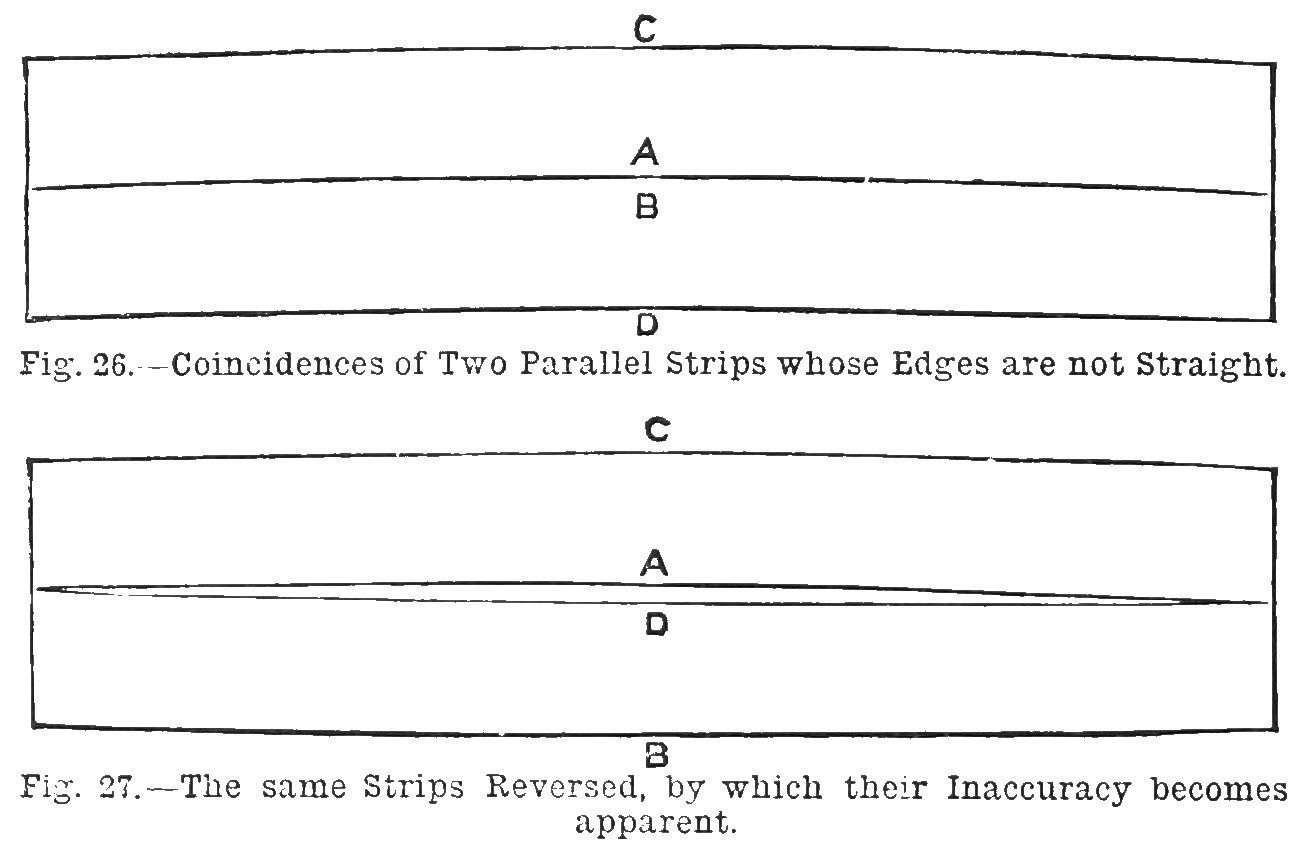


Winding Sticks: a Pair of Parallel Mahogany Strips Planed Together (Work, 1889)
Two parallel wooden strips laid across a board to show twist (winding). Carpenters and joiners made their straightedges in pairs as winding strips: if two parallel strips still meet edge to edge when their edges and ends are swapped, three edges have been checked against each other and the strips are true.
Straight-grained mahogany is used for strips under three feet. The two are planed together, then tried against each other and reversed until no difference shows.
Source: J. H., 'Home-Made Tools', Work, 26 October 1889, pp. 499-500. Picture: Figs. 26-27.
මධ්යම
Unknown (the stuff is left to stand for days or weeks first)
උපදෙස්
1
1
Read the source
Read the source
"Carpenters, joiners, pattern makers, and cabinet makers usually make their straightedges in pairs as 'winding strips;' and it is clear that if two winding strips are in the first place parallel, and then coincident when the positions of edges and ends are changed, there is obtained really the contact of three edges." (Work, 26 October 1889.)
2
2
Rough out and let stand
Rough out and let stand
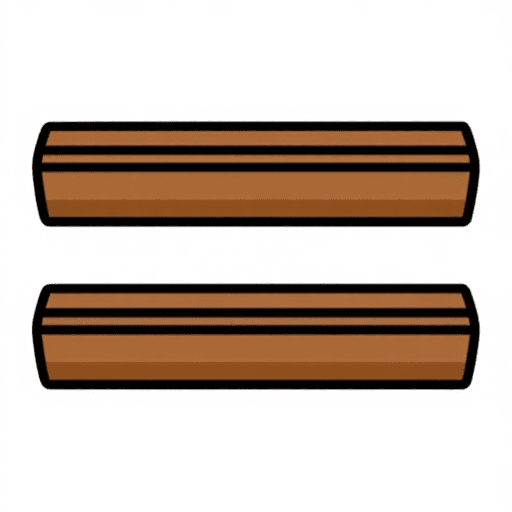
Rough out two strips of well-seasoned, straight-grained mahogany (for strips under three feet; long ones are made of yellow pine). Jack them over and let them stand for a few days or even weeks, because fresh-cut strips curve and warp. Length, width and thickness are not given (unknown).
මෙම පියවර සඳහා ද්රව්ය:
 දැඩි දැව තීරුව2 mahogany strips
අවශ්ය මෙවලම්:
 අත් ලීයන යන්ත්රය
 නොදන්නා මිනුම්
3
3
Plane them together
Plane them together
Plane both to gauged thickness and width and square the ends. Screw the two side by side, then finish the edges together with a trying plane sharpened keenly and set very fine. Gauge to width with a fine-toothed gauge, check them parallel with calipers, and keep the edges square to the faces with a try square.
අවශ්ය මෙවලම්:
 ලී ඉස්කුරුප්පුඅත් ලීයන යන්ත්රය
 ලකුණු කරන මිනුම
 කැලිපරය
 සෘජුකෝණ මිනුම්
4
4
Test the edges
Test the edges
To test an edge without a straightedge, lay the strip on a board, scribe a fine line along the edge, turn the strip over and bring the opposite edge to the line: any error shows at twice its size. Plane off the high parts, still checking with calipers and square.
අවශ්ය මෙවලම්:
 දෘඪ දැව පුවරුව
 ලකුණු කිරීමේ පිහියඅත් ලීයන යන්ත්රයකැලිපරයසෘජුකෝණ මිනුම්
5
5
Unfasten and try them against each other
Unfasten and try them against each other
Take the screws out. Lay the strips edge to edge by opposite edges in turn, then change ends and try the opposite edges again, correcting with the trying plane until no difference shows (woodworkers test by chalking the edges and laying them together). Most of the work should already have been done while they were joined.
අවශ්ය මෙවලම්:
 සලකුණු කරන හුණු කූරුඅත් ලීයන යන්ත්රයකැලිපරයසෘජුකෝණ මිනුම්
6
6
Varnish the faces
Varnish the faces
Protect the broad faces and the ends with shellac varnish, but not the edges, which are chalked in use. Chalking wears the edges hollow and wood always warps a little, so re-correct winding strips every few months, and keep them for testing winding only.
මෙම පියවර සඳහා ද්රව්ය:
 ෂෙලැක් වාර්නිෂ්1 faces and ends
ද්රව්ය
2- 2 mahogany stripsස්ථානගත
- 1 faces and endsස්ථානගත
මෙම සැලසුම සාදන්නේ
CC0 පොදු වසම
මෙම බ්ලූප්රින්ට් CC0 යටතේ නිකුත් කර ඇත. ඔබට අවසර නොමැතිව පිටපත් කිරීම, වෙනස් කිරීම, බෙදා හැරීම සහ භාවිතා කිරීම කළ හැක.
බ්ලූප්රින්ට් හරහා නිෂ්පාදන මිලදී ගැනීමෙන් නිර්මාතෘට සහාය වන්න නිර්මාතෘ කොමිසම විකුණුම්කරුවන් විසින් නියම කළ, හෝ මෙම බ්ලූප්රින්ට්හි නව අනුවාදයක් සාදා ආදායම බෙදා ගැනීමට ඔබේ බ්ලූප්රින්ට්හි සම්බන්ධතාවයක් ලෙස ඇතුළත් කරන්න.