

Arch Centring and Falsework
An arch carries nothing until it is finished. Every voussoir laid before the last one is a wedge sitting on a slope, held in place only by friction and by the timber underneath it. The arch becomes a structure at the instant the keystone closes the ring — and not one moment sooner.
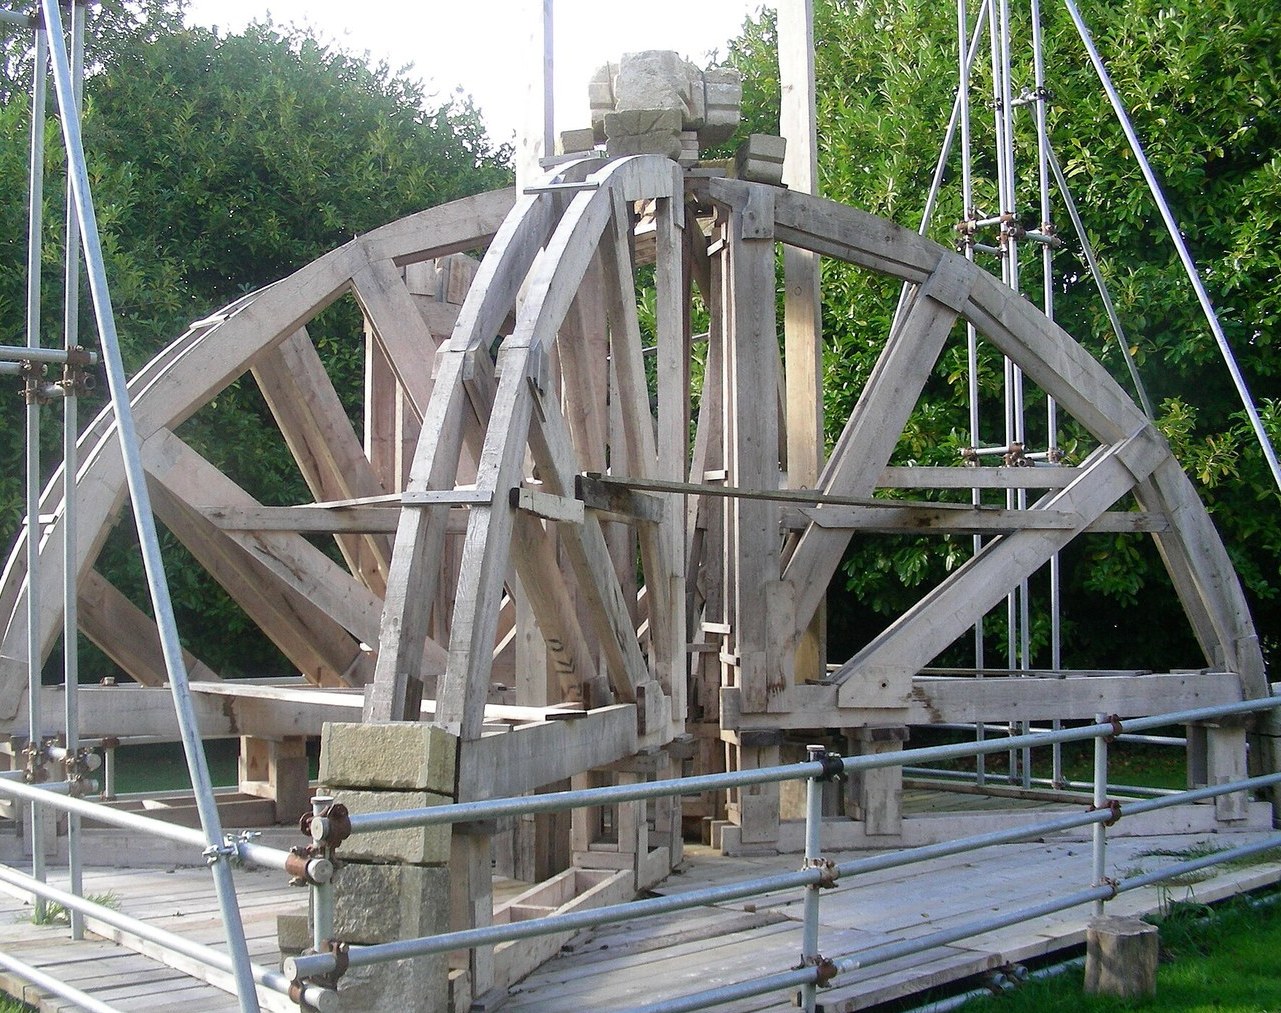
The timber underneath is the centring: a curved temporary former, a specific kind of falsework, built to the exact intrados of the arch. It is a carpentry job in service of a masonry job, and it is usually the more difficult of the two. It must hold the whole weight of the unfinished arch, hold the curve to millimetres, and then — this is the hard part — let go evenly.
Letting go is called striking or decentering, and it is where arches are lost. Drop the support at one point first and the ring hinges there. The classical solutions are all about controlled, uniform release: pairs of folding wedges tapped back together, or sand boxes — columns of dry sand under the centring with a plug that is pulled to let the sand run out slowly.
The arch will settle as it takes its own weight. That settlement is not a fault. It is the joints closing and the stones finding their line of thrust, and an arch that does not settle at all usually means the centring is still carrying it.
Build one at bench scale, strike it properly, then strike a second one badly and watch the difference.
ညွှန်ကြားချက်များ
Set out the arch on paper first
Set out the arch on paper first
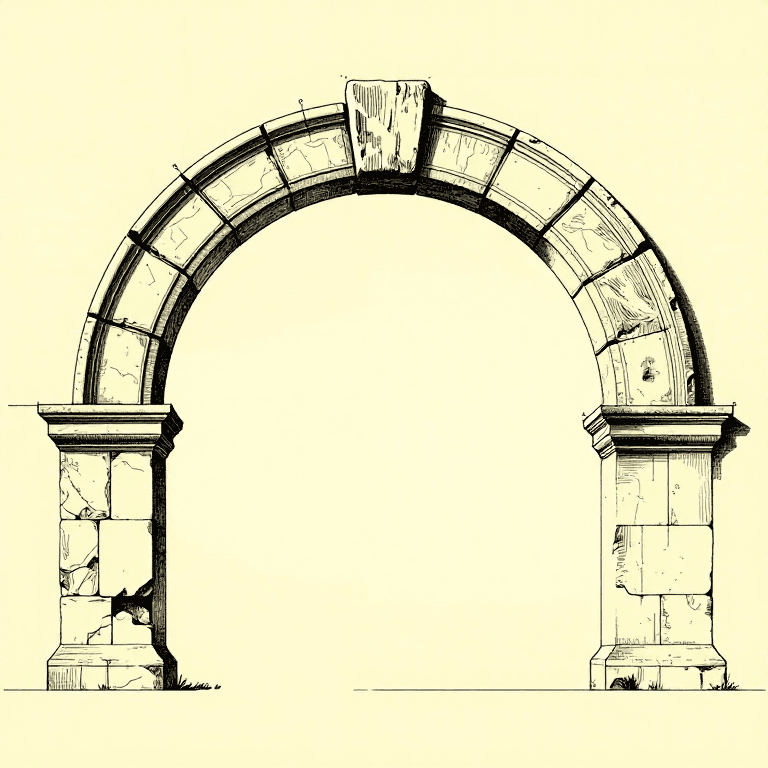
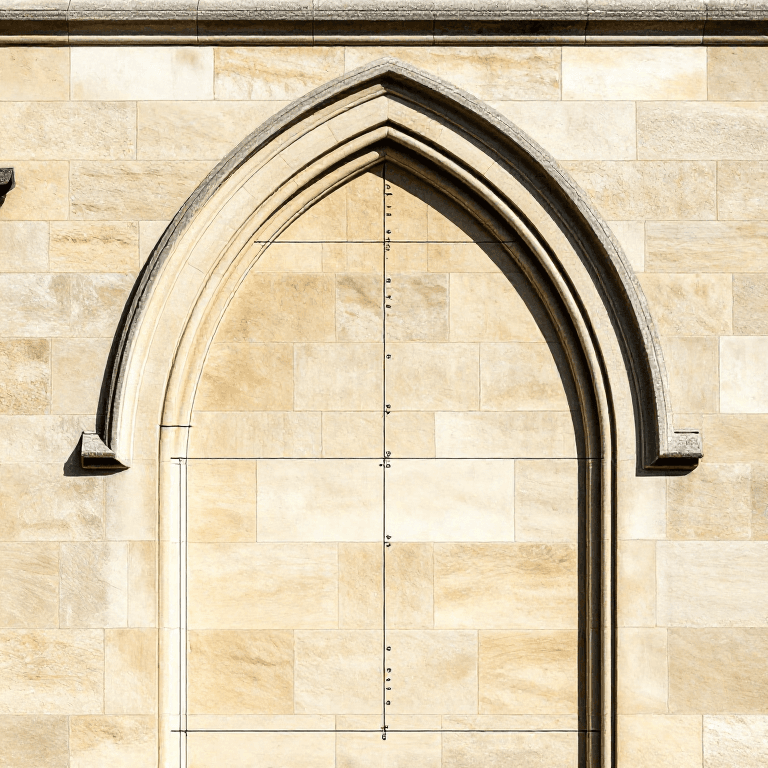
Draw the arch full size on graph paper: span, rise, and the centre of the circle. Divide the ring into an odd number of voussoirs so one lands exactly on the crown.
Draw every joint as a radius line to the centre.
An odd count puts a keystone at the top; an even count puts a joint there, which is the weakest place to have one.
ဤအဆင့်အတွက် ကုန်ကြမ်းများ:
 ဂရပ်စက္ကူ1 ခု
လိုအပ်သော ကိရိယာများ:
 ထောင့်တိုင်းကိရိယာ
Cut the voussoirs to the drawn angles
Cut the voussoirs to the drawn angles
Cut the wedge blocks from pine, taking each joint angle straight off the drawing. Number them in order from both springings up to the keystone.
Dry-fit the ring flat on the drawing before going any further.
Any gap you can see flat will be a gap under load. Cut the keystone last, and cut it to the gap that is actually left, not to the angle you calculated.
ဤအဆင့်အတွက် ကုန်ကြမ်းများ:
 ထင်းရှူးသစ်1 ခု
လိုအပ်သော ကိရိယာများ:
 လက်လွှ
 ထောင့်တိုင်းကိရိယာ
Build the centring
Build the centring
Cut two plywood ribs to the arch curve and join them with spacer blocks to make a former as wide as the arch. Sit the former on two posts.
Under each post, put a pair of opposed wedges, thin ends overlapping, so the height can be raised or lowered by tapping them together or apart.
Set the crown of the former to the drawn line with the wedges before laying a single stone.
ဤအဆင့်အတွက် ကုန်ကြမ်းများ:
 သစ်သားအလွှာပြား1 ရွက်ထင်းရှူးသစ်1 ခု
လိုအပ်သော ကိရိယာများ:
လက်လွှ ရေချိန်
Lay the ring from both springings at once
Lay the ring from both springings at once
Place voussoirs alternately, left then right, working up towards the crown. Keep the two sides within one block of each other at all times.
Set the keystone last.
Loading one side ahead of the other twists the centring, and the curve you carefully set in step 3 is gone before the arch is even closed.
Strike it properly and measure the settlement
Strike it properly and measure the settlement
Measure the crown height. Then tap the wedges apart a little at each post in turn, going round several times, until the centring is free and can be slid out.
Measure the crown height again.
Expect the arch to drop by a small, measurable amount and then stop. That drop is the joints closing as the ring takes its own weight and finds its line of thrust.
လိုအပ်သော ကိရိယာများ:
 ဒစ်ဂျစ်တယ် ကာလီပါ ၆ လက်မ
Strike a second arch badly, on purpose
Strike a second arch badly, on purpose
Rebuild the arch. This time knock out one post completely and leave the other in place.
Expect the ring to hinge and drop on the unsupported side, often collapsing outright.
The masonry was identical both times. The only variable was the order in which the support was removed — which is why striking is a specified procedure on real work and not left to whoever is holding the hammer.
History & Context
History & Context
Centring is why Roman arch construction was as much a carpentry problem as a masonry one. Every aqueduct arcade, every bridge, every vault needed a timber former built to the exact curve, strong enough to hold the unfinished ring, and — because timber was expensive and often shipped in — designed to be dismantled and reused down the line of arches. Repeating identical spans was not only an aesthetic choice: it meant one set of centring could do the whole viaduct.
Where you cannot put falsework, the whole approach has to change. A centring must stand on something. Over a deep gorge, a fast river or a working railway, that is either impossible or unaffordable, and this single constraint drives some of the most important structural inventions there are — cantilever construction, which builds outward from both piers with no support beneath (see the cantilever bridge in this batch), and later the balanced-cantilever and incrementally launched concrete bridges. Much of bridge engineering is the history of not being able to afford falsework.
Sand boxes deserve their reputation. A steel or timber cylinder packed with dry sand, with a plug in the side, will hold an enormous load and then release it as slowly as you like by letting the sand run. It is self-levelling across many supports, it cannot jam the way a screw can, and it needs no power. The technique is old and is still specified on modern bridge work for exactly the same reason.
Settlement is expected, and the good builders allowed for it. Because an arch drops when struck, centring was sometimes built slightly high so the finished arch settled onto the intended line. A ring that shows no movement at all on striking is usually a ring that is still resting on its centring somewhere — and it will move later, when nobody is watching for it.
The honest limits. This model uses dry wooden blocks and friction; a real arch has mortar joints, which change the behaviour as they cure and which do not reach full strength for weeks. Real centring must also resist wind and the weight of the masons themselves. And an arch pushes outwards at its springings as hard as it pushes down — the abutments, not the ring, are where most arches actually fail. The centring holds the arch up; only the abutments keep it up.
ပစ္စည်းများ
3- 1 ခုနေရာယူပစ္စည်း
- 1 ခုနေရာယူပစ္စည်း
- 1 ရွက်နေရာယူပစ္စည်း
ချိတ်ဆက်ထားသော ဘလူးပရင့် ကုန်ကြမ်းများ
ဆက်စပ် အစီအစဉ်များ
ဤအစီအစဉ်များသည် အသိပညာမျှဝေသည် — နည်းပညာ၊ ပစ္စည်း သို့မဟုတ် မူများ


CC0 အများပိုင်
ဤအစီအစဉ်ကို CC0 အောက်တွင် ထုတ်ဝေထားသည်။ ခွင့်ပြုချက်မလိုဘဲ ကူးယူ၊ ပြင်ဆင်၊ ဖြန့်ဝေ နှင့် အသုံးပြုနိုင်သည်။
အစီအစဉ်မှတစ်ဆင့် ကုန်ပစ္စည်းများဝယ်ယူ၍ လက်မှုပညာရှင်ကို ပံ့ပိုးပါ လက်မှုပညာရှင် ကော်မရှင် ရောင်းချသူက သတ်မှတ်သည်၊ သို့မဟုတ် ဤအစီအစဉ်၏ ဗားရှင်းအသစ်ဖန်တီး၍ ဝင်ငွေခွဲဝေရန် သင့်အစီအစဉ်တွင် ချိတ်ဆက်မှုအဖြစ် ထည့်သွင်းပါ။