ပူးပေါင်းဆောင်ရွက်ခြင်း
အနုပညာ
အလှအပနှင့် ကျန်းမာရေး
လက်မှုအနုပညာ
ယဉ်ကျေးမှုနှင့် သမိုင်း
ဖျော်ဖြေရေး
ပတ်ဝန်းကျင်
အစားအစာနှင့် အချိုရည်
ပြောင်းပြန်အင်ဂျင်နီယာပညာ
သိပ္ပံပညာများ
အားကစား
နည်းပညာ
ဝတ်ဆင်နိုင်သောပစ္စည်းများ
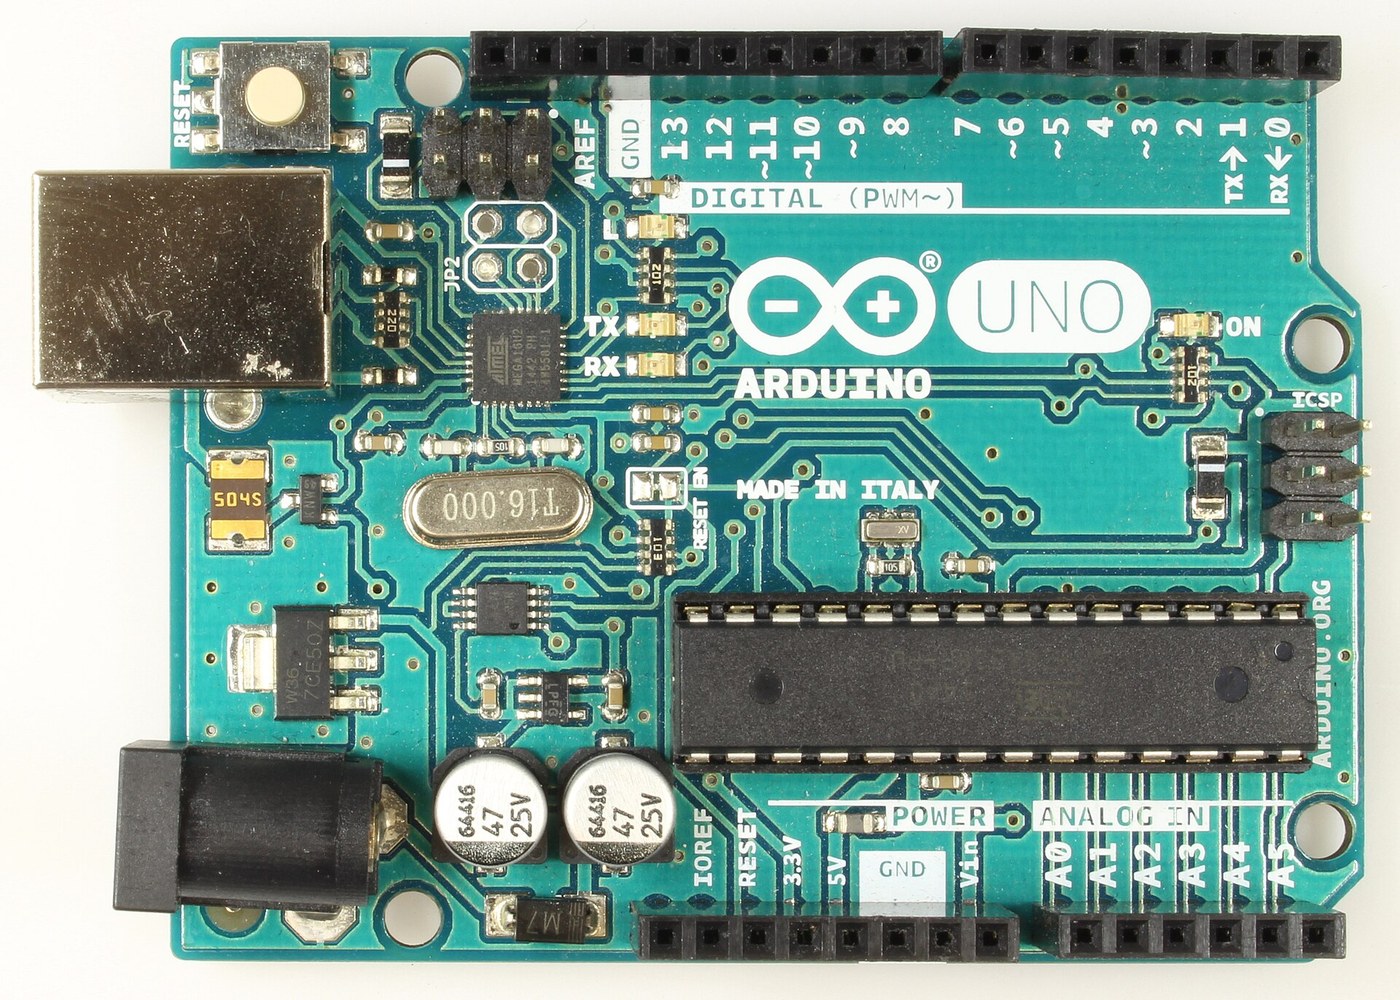


Arduino Uno R3: Assembled from Arduino's Open UNO-TH Rev3e Design Files and Flashed over ICSP
The Arduino Uno R3 is open hardware: Arduino publishes its schematic and board layout. This blueprint builds one from those files, part by part, then loads the firmware into its two processors.
Result: an Arduino Uno R3. An ATmega328P (16 MHz, 32 kB flash, 2 kB SRAM, 1 kB EEPROM) runs your programs; an ATmega16U2 turns USB into its serial link. It runs from USB (5.5 V at most) or 6-20 V at the DC jack.
Source: Arduino UNO-TH_Rev3e design files and the A000066 schematic and datasheet (Arduino, CC BY-SA). Unknown: how every bought part is made; no public source in hand says. The soldering method is ours. Picture: Wikimedia Commons.
အဆင့်မြင့်
1 day
ညွှန်ကြားချက်များ
1
1
Get the bare board
Get the bare board
Have the two-layer board made to Arduino's UNO-TH_Rev3e board layout (the .brd file of the design files). Check it against the schematic before fitting anything.
ဤအဆင့်အတွက် ကုန်ကြမ်းများ:
 ပုံနှိပ်ဆားကစ်ဘုတ်1 UNO-TH Rev3e layout
လိုအပ်သော ကိရိယာများ:
 ချဲ့ကြည့်မှန်
2
2
Fit the small surface-mount parts
Fit the small surface-mount parts
Solder the chip parts to their marked places: resistor arrays RN1 (10K), RN2 and RN4 (1K), RN3 (22R); R1, R2 (1M); capacitors C1, C2, C4-C7, C10 (100n), C3, C8 (1u), C9, C11 (22p); varistors Z1, Z2; ferrite bead L1; inductor L2 (10 uH); diodes D2, D3; LEDs ON (green), L, RX, TX (yellow). Ours: flux, tweezers and hot air or a fine iron, checked under a loupe.
ဤအဆင့်အတွက် ကုန်ကြမ်းများ:
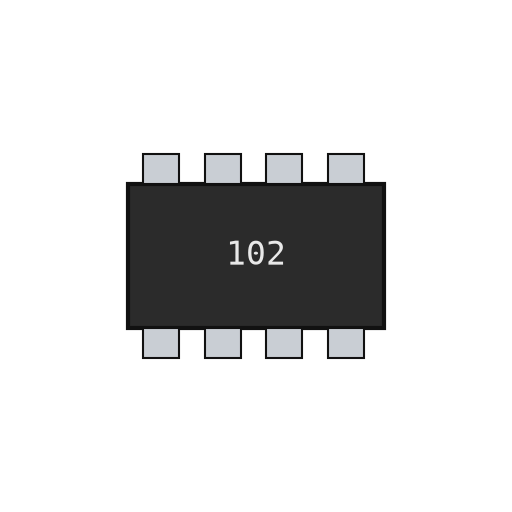 ချစ် ခုခံကိရိယာ အစုံ4 RN1-RN4
 ချစ် ခုခံကိရိယာ2 1M
 ကြွေ ချစ် ကက်ပစ်တာ11 7x100n, 2x1u, 2x22p
 ချစ် ဗာရစ်စတာ2 Z1, Z2
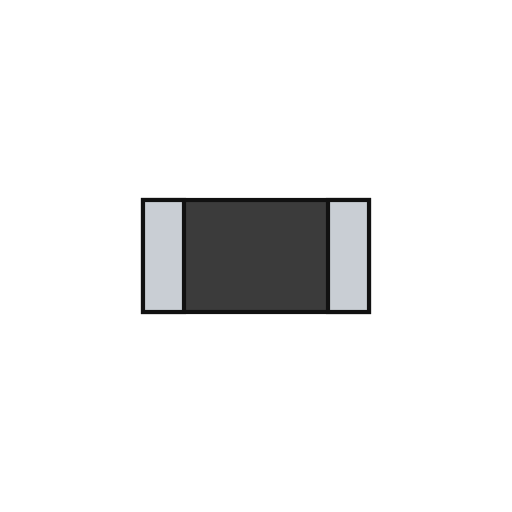 ဖယ်ရိုက် ပုတီး1 L1
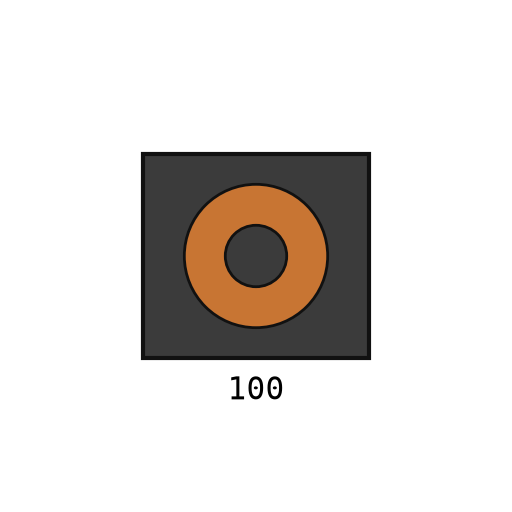 မျက်နှာပြင်တပ် အင်ဒပ်တာ1 L2
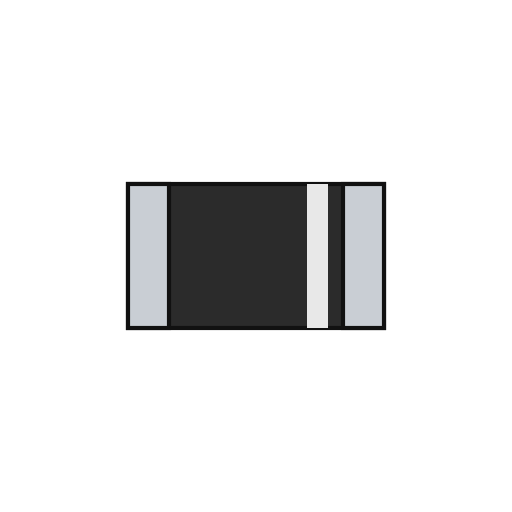 မျက်နှာပြင်တပ် ဒိုင်အုတ်2 D2, D3
 ချစ် LED4 1 green, 3 yellow
 ဂဟေဝါယာ1 a little
လိုအပ်သော ကိရိယာများ:
 ဖလပ်စ်
 ထိပ်ချွန်ညှပ်
 လေပူပြင်ဆင်ရေးစခန်း
 ဂဟေဆော်တံချဲ့ကြည့်မှန်
3
3
Fit the power and chip parts
Fit the power and chip parts
Solder the ATmega16U2 (U3), the 16 MHz resonator Y2 and crystal Y1, the 5 V regulator NCP1117 (U1) and 3.3 V regulator LP2985 (U2), the LMV358 op-amp (U5), the FDN340P transistor (T1), the M7 diode (D1), the 500 mA resettable fuse (F1) and the 47 uF capacitors PC1, PC2 with their polarity as marked.
ဤအဆင့်အတွက် ကုန်ကြမ်းများ:
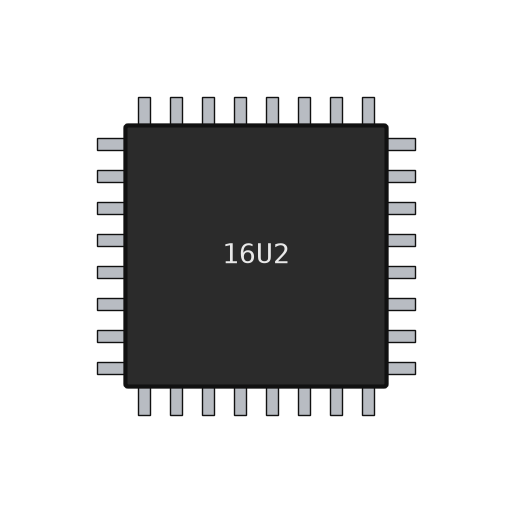 ATmega16U2 မိုက်ခရိုကွန်ထရိုလာ1 U3
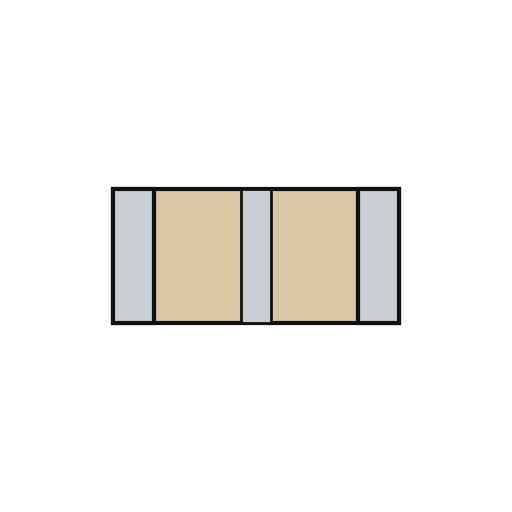 ပီဇိုလျှပ်စစ် ကြွေ ရီဇိုနေတာ1 Y2
 ကွော့ဇ် ပုံဆောင်ခဲ1 Y1
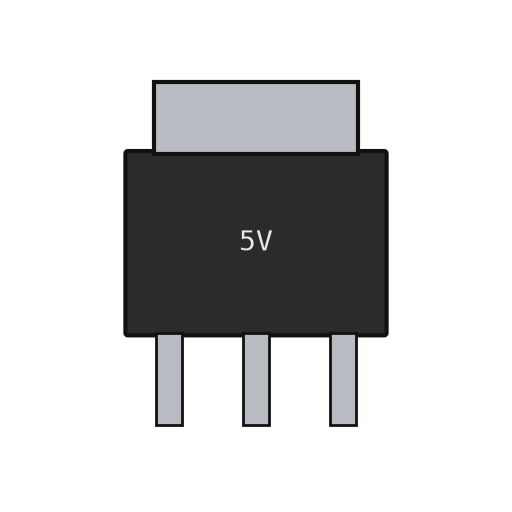 လိုင်းနီးယား ဗို့အား ထိန်းညှိကိရိယာ2 U1 5 V, U2 3.3 V
 အော့ပ်အမ့် IC1 U5 LMV358
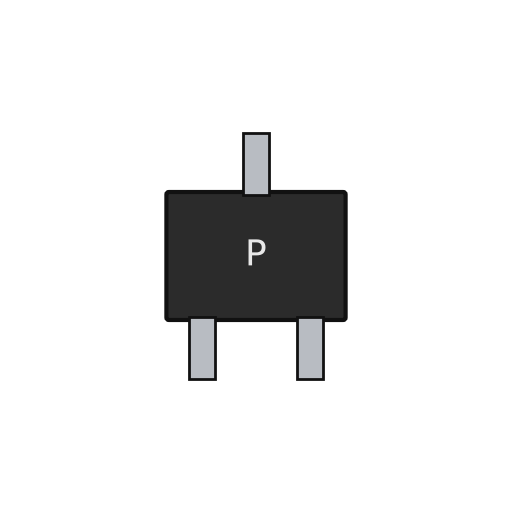 P-ချန်နယ် MOSFET1 T1မျက်နှာပြင်တပ် ဒိုင်အုတ်1 D1 M7
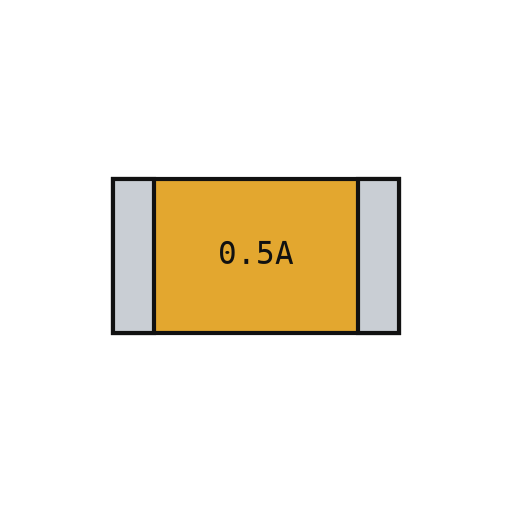 ပြန်လည်သတ်မှတ်နိုင်သော ဖျူး1 F1
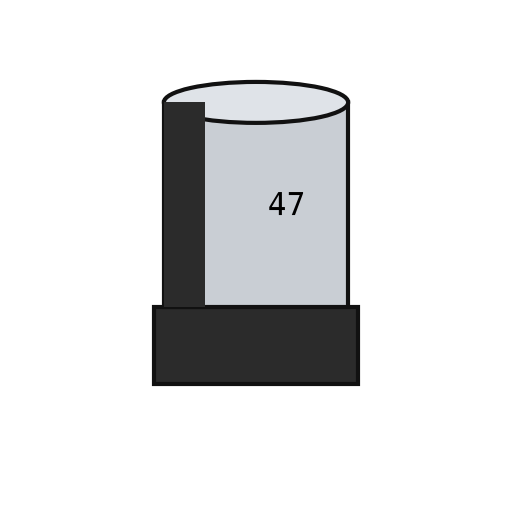 ဝင်ရိုးစွန်းရှိ ချစ် ကက်ပစ်တာ2 PC1, PC2ဂဟေဝါယာ1 a little
လိုအပ်သော ကိရိယာများ:
ဖလပ်စ်ထိပ်ချွန်ညှပ်လေပူပြင်ဆင်ရေးစခန်းဂဟေဆော်တံချဲ့ကြည့်မှန်4
4
Fit the through-hole parts
Fit the through-hole parts
Solder the USB-B socket (X2), the DC jack (X1), the reset switch, the female headers (one 10-way, two 8-way, one 6-way) and the two 2x3 ICSP headers. Seat the ATmega328P in its place (ZU4).
ဤအဆင့်အတွက် ကုန်ကြမ်းများ:
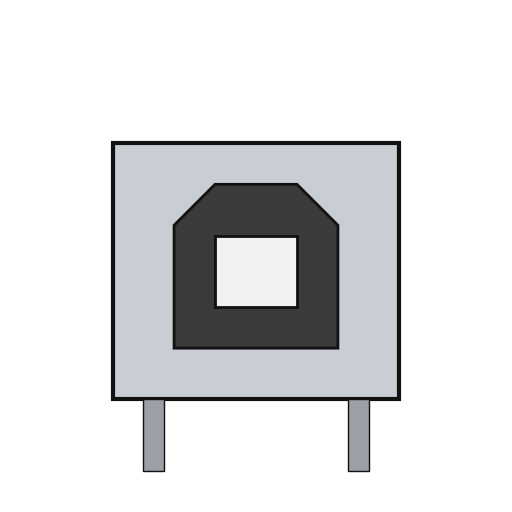 USB-B ပလပ်ပေါက်1 X2
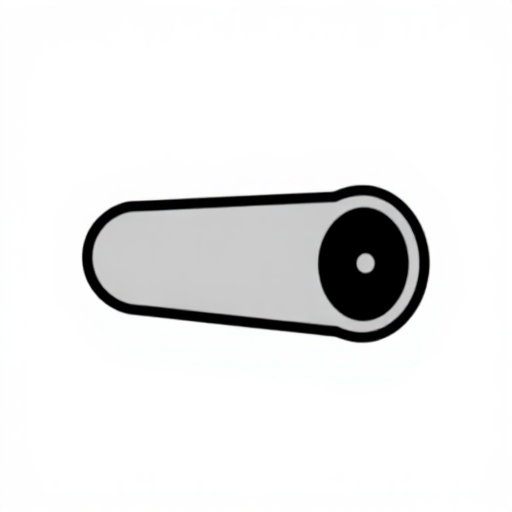 လျှပ်စစ်ပလပ်ပေါက်1 X1
 နှိပ်ခလုတ်1 RESET
 ပင်ဟက်ဒါ6 10x1, 2x 8x1, 6x1 female; 2x 3x2 ICSP
 ATmega328P မိုက်ခရိုကွန်ထရိုလာ1 ZU4ဂဟေဝါယာ1 as needed
လိုအပ်သော ကိရိယာများ:
ဂဟေဆော်တံ5
5
Flash and check
Flash and check
Check with a meter that 5 V and GND are not shorted. Through the ICSP headers, load the USB-to-serial firmware into the ATmega16U2 and the bootloader into the ATmega328P. Plug in USB: the green ON LED lights, and the blink test in the next step flashes the L LED. Ours: an AVR ISP programmer and a multimeter.
ဤအဆင့်အတွက် ကုန်ကြမ်းများ:
 Arduino Uno ဖမ်းဝဲ1 download
လိုအပ်သော ကိရိယာများ:
 မာလ်တီမီတာ
 AVR ISP ပရိုဂရမ်မာ
 USB-B ကြိုး
6
6
The blink test
The blink test
blink_test.ino: the same check as Arduino's Blink example. Upload it over USB from the Arduino IDE with the board set to Arduino Uno; the L LED on pin 13 turns on for one second and off for one second, over and over. If it does, both processors, the USB link and the bootloader work.
blink_test.inocpp
လိုအပ်သော ကိရိယာများ:
USB-B ကြိုးပစ္စည်းများ
24- 1 UNO-TH Rev3e layoutနေရာယူပစ္စည်း
- 4 RN1-RN4နေရာယူပစ္စည်း
- 2 1Mနေရာယူပစ္စည်း
- 11 7x100n, 2x1u, 2x22pနေရာယူပစ္စည်း
- 2 Z1, Z2နေရာယူပစ္စည်း
- 1 L1နေရာယူပစ္စည်း
- နေရာယူပစ္စည်း
- 1 D1 M7နေရာယူပစ္စည်း
- 4 1 green, 3 yellowနေရာယူပစ္စည်း
- 1 as neededနေရာယူပစ္စည်း
- နေရာယူပစ္စည်း
- နေရာယူပစ္စည်း
- နေရာယူပစ္စည်း
- 2 U1 5 V, U2 3.3 Vနေရာယူပစ္စည်း
- 1 U5 LMV358နေရာယူပစ္စည်း
- 1 T1နေရာယူပစ္စည်း
- နေရာယူပစ္စည်း
- 2 PC1, PC2နေရာယူပစ္စည်း
- 1 X2နေရာယူပစ္စည်း
- နေရာယူပစ္စည်း
- နေရာယူပစ္စည်း
- နေရာယူပစ္စည်း
- နေရာယူပစ္စည်း
- 1 downloadနေရာယူပစ္စည်း
လိုအပ်သော ကိရိယာများ
8- နေရာယူပစ္စည်း
- နေရာယူပစ္စည်း
- နေရာယူပစ္စည်း
- နေရာယူပစ္စည်း
- 2 vendors sell this, none ship to you yetနေရာယူပစ္စည်း
- နေရာယူပစ္စည်း
- နေရာယူပစ္စည်း
- 1 vendor sell this, none ship to you yetနေရာယူပစ္စည်း
ဤဘလူးပရင့်က ပြုလုပ်သည်
ဆက်စပ် အစီအစဉ်များ
ဤအစီအစဉ်များသည် အသိပညာမျှဝေသည် — နည်းပညာ၊ ပစ္စည်း သို့မဟုတ် မူများ

CC0 အများပိုင်
ဤအစီအစဉ်ကို CC0 အောက်တွင် ထုတ်ဝေထားသည်။ ခွင့်ပြုချက်မလိုဘဲ ကူးယူ၊ ပြင်ဆင်၊ ဖြန့်ဝေ နှင့် အသုံးပြုနိုင်သည်။
အစီအစဉ်မှတစ်ဆင့် ကုန်ပစ္စည်းများဝယ်ယူ၍ လက်မှုပညာရှင်ကို ပံ့ပိုးပါ လက်မှုပညာရှင် ကော်မရှင် ရောင်းချသူက သတ်မှတ်သည်၊ သို့မဟုတ် ဤအစီအစဉ်၏ ဗားရှင်းအသစ်ဖန်တီး၍ ဝင်ငွေခွဲဝေရန် သင့်အစီအစဉ်တွင် ချိတ်ဆက်မှုအဖြစ် ထည့်သွင်းပါ။