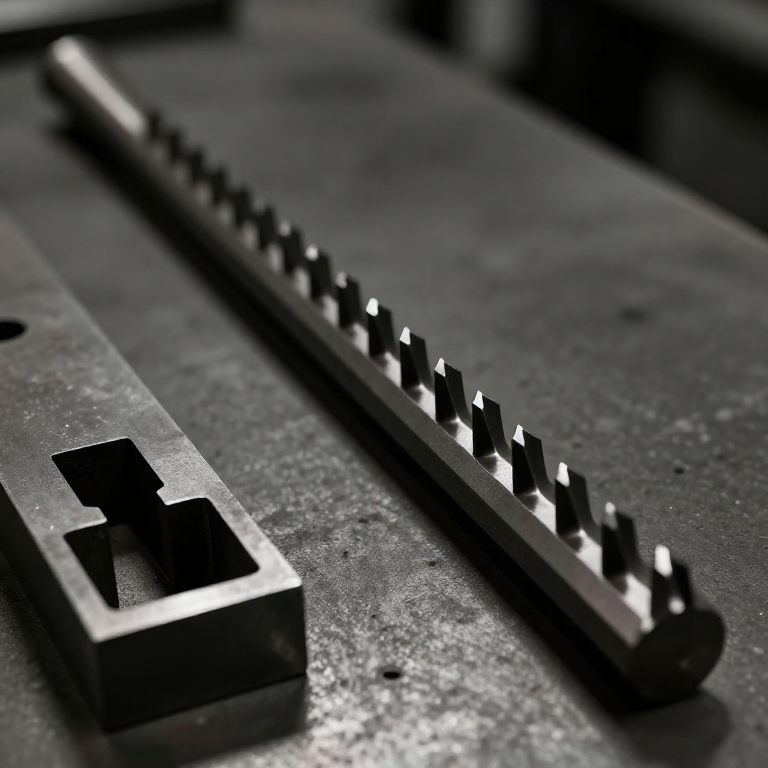


Broaching Machine
ညွှန်ကြားချက်များ
Work out the rise per tooth
Work out the rise per tooth
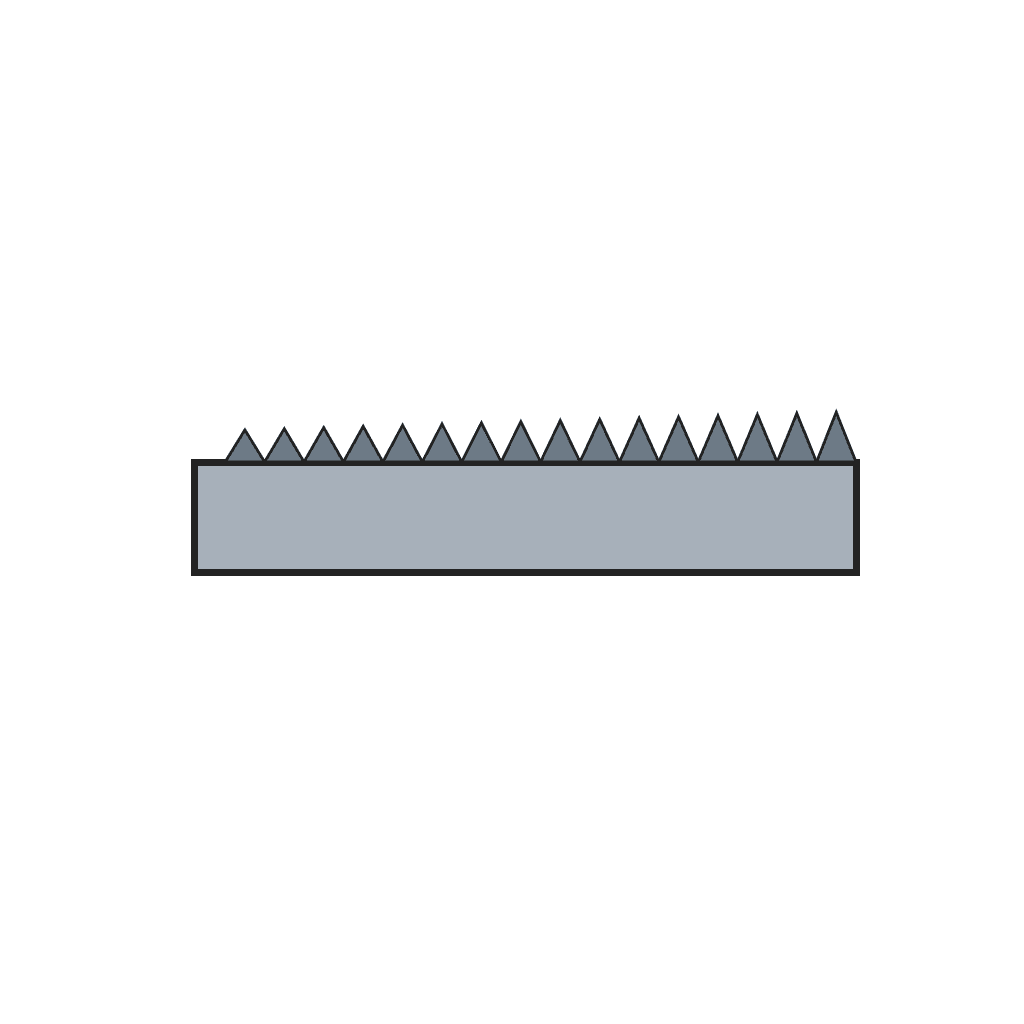
One number governs the whole tool: how much taller each tooth is than the last.
- Decide the total depth to be cut — say 3 mm for a keyway.
- Choose a rise per tooth of 0.05 mm for soft material.
- Divide: 3 ÷ 0.05 = 60 cutting teeth.
- Add several finishing teeth at the FULL height with no rise, to size and burnish.
- At 6 mm pitch, work out the total length — around 400 mm.
Rise per tooth is the feed, built into the tool. On every other machine in this batch the operator or a leadscrew sets how deep each cut goes. Here it was set when the broach was ground, and it cannot be changed. That is why a broach is expensive and why it is completely reliable: there is no setting to get wrong.
The finishing teeth with zero rise are what make the size repeatable. They cut nothing after the first pass and simply define the final dimension, so a worn broach loses its roughing teeth long before it loses its size.ဤအဆင့်အတွက် ကုန်ကြမ်းများ:
 ဂရပ်စက္ကူ1 pad
လိုအပ်သော ကိရိယာများ:
 ဒစ်ဂျစ်တယ် ကာလီပါ ၆ လက်မ
 ပေါင်းစပ်ထောင့်တိုင်း
File a short demonstration broach
File a short demonstration broach
Sixty teeth by hand is unreasonable. Ten teeth proves the principle.
- Take a 250 mm length of 12 mm aluminium flat bar.
- Mark ten tooth positions at 12 mm pitch.
- File each tooth to a progressive height, rising 0.1 mm per tooth.
- Give each tooth a rake face and a clearance angle behind.
- Measure every tooth height with the caliper and record the actual progression.
Measure and record the real heights, not the intended ones. A hand-filed broach will have an irregular progression, and knowing it lets you interpret the cut afterwards — a tooth that is too tall takes a heavy cut and may leave a mark you can trace back to it.
Chip space between teeth matters as much as tooth height. Each tooth must carry its own chip through the entire cut, because there is nowhere for it to go until the broach exits. Too fine a pitch and the chips pack solid, which is the classic way to break a broach.ဤအဆင့်အတွက် ကုန်ကြမ်းများ:
 အလူမီနီယမ်ပြားချပ်ချပ်တံ1 ခု
လိုအပ်သော ကိရိယာများ:
 ရိုက်တံအစုံ
 စားပွဲညှပ်
 သံဖြတ်လွှဘောင်နှင့် လွှသွားများဒစ်ဂျစ်တယ် ကာလီပါ ၆ လက်မ
 အလယ်ဗဟိုအမှတ်ထိုးတံပေါင်းစပ်ထောင့်တိုင်း
Build the pull frame and bushing
Build the pull frame and bushing
The broach is pulled, not pushed — and the work must be supported around it.
- Build a frame with a fixed plate carrying a bushing that guides the broach.
- Bore the bushing to fit the workpiece's existing hole, so the broach enters aligned.
- Attach a pulling head to the broach's front end via a slot and pin.
- Pull with a lever or a screw, using M8 × 100 hex bolts × 2, M8 flat washers × 4 and M8 hex nuts × 2 in the frame.
Pulling rather than pushing is a buckling decision. A long slender bar in compression buckles; in tension it cannot. That single fact decides the architecture of every broaching machine, and it is why short broaches may be pushed but long ones never are — the same reasoning that puts a chain in tension rather than a rod in compression.
The bushing must fit the pre-drilled hole closely. A broach that enters skewed cuts a keyway that is not parallel to the bore, and the part is scrap — one of the few errors this process can still make.ဤအဆင့်အတွက် ကုန်ကြမ်းများ:
 သစ်သားအလွှာပြား1 ရွက်
 အလူမီနီယမ်လုံးချောင်း1 ခု
 ပြားချပ်ချပ်ဝါရှာ8 ခု
 ခြောက်ထောင့်နတ်4 ခု
လိုအပ်သော ကိရိယာများ:
 ဂျစ်ဆော
 ကြိုးမဲ့ တူးစက်
 တူးစက်ခေါင်းအစုံ
 ခြောက်ထောင့်သော့အစုံရိုက်တံအစုံဒစ်ဂျစ်တယ် ကာလီပါ ၆ လက်မ
Broach a keyway and time it against the shaper
Broach a keyway and time it against the shaper
The comparison that explains why the process exists.
- Broach a keyway in a soft test piece in one pull. Time it.
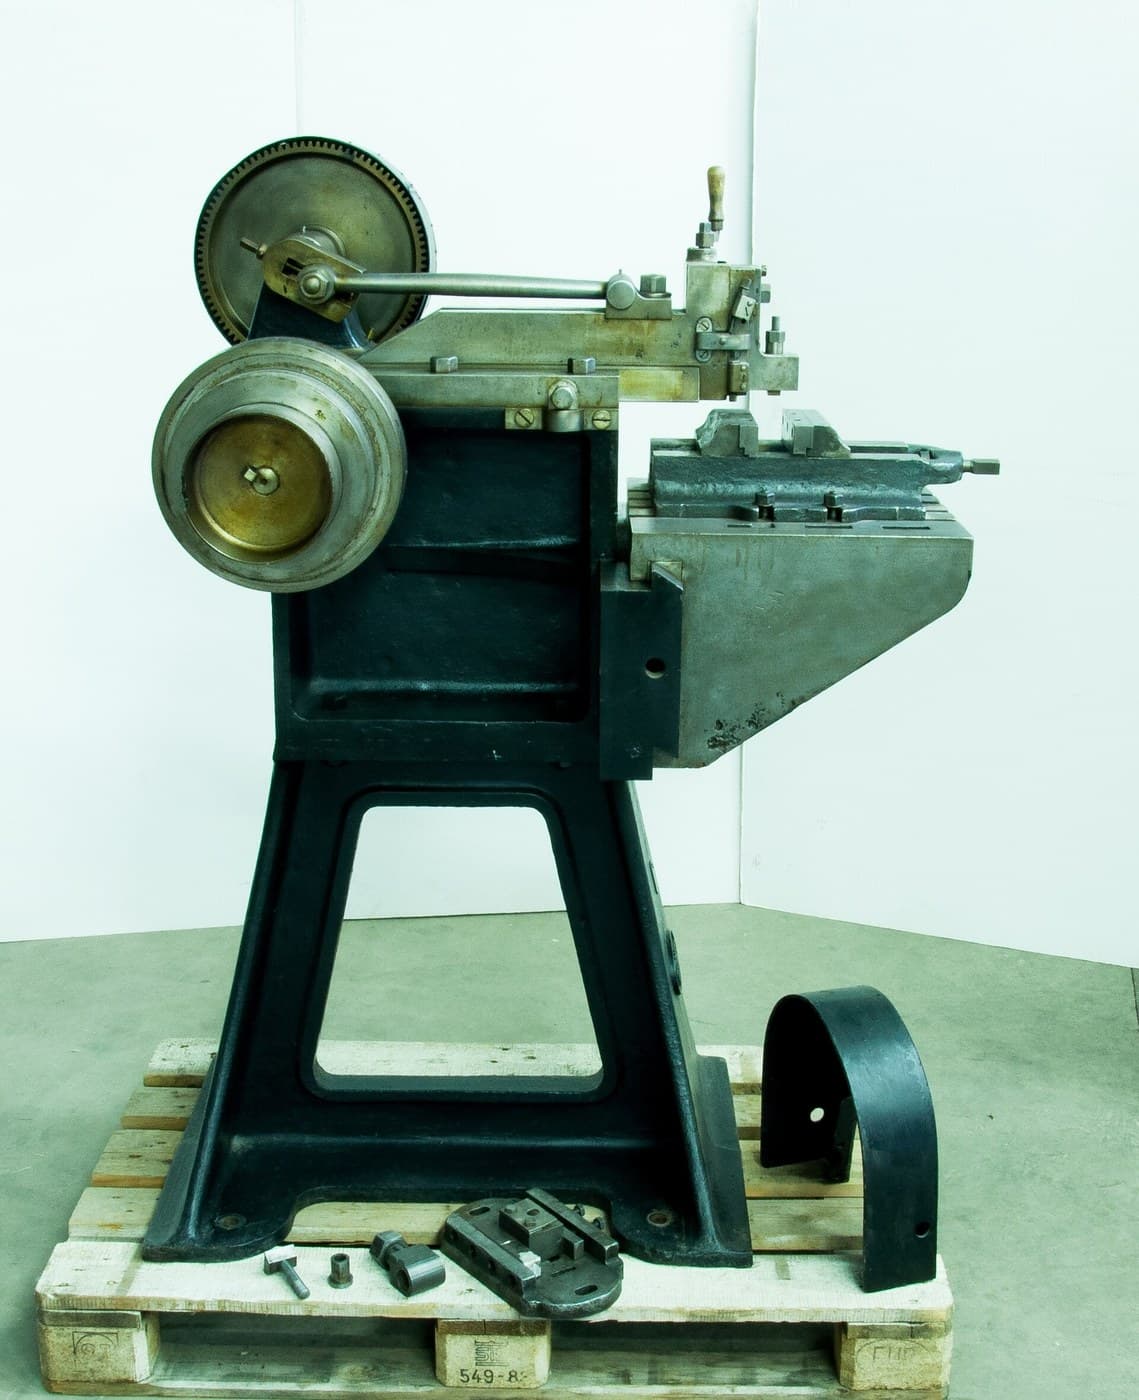
- Now cut an identical keyway on the shaping machine, stroke by stroke. Time that too.
- Measure both for width, depth and parallelism.
- Repeat both five times and compare the spread of the measurements.
ဤအဆင့်အတွက် ကုန်ကြမ်းများ:
အလူမီနီယမ်လုံးချောင်း1 ခုလိုအပ်သော ကိရိယာများ:
 အချိန်တိုင်းနာရီဒစ်ဂျစ်တယ် ကာလီပါ ၆ လက်မပေါင်းစပ်ထောင့်တိုင်း
Process built into the tool, and history
Process built into the tool, and history
Broaching became a production process in the early twentieth century, driven by the motor industry's need for splines, keyways and non-round holes in very large numbers. Early broaches were pulled by hand or by screw; hydraulic broaching machines followed and made the process fast and controllable.
It is the far end of a trend running through this whole batch. The planer put the tool's PATH into the machine. The turret lathe put the tool SEQUENCE into the setup. The hobbing machine put the tooth FORM into a rolling relationship. Broaching goes furthest: the entire process — roughing, cutting, finishing, sizing — is ground into one tool, and the machine does nothing but pull it in a straight line. Skill and judgement have been moved, step by step across a century, out of the operator and into the tooling.
What it can do that nothing else can: internal square, hexagonal, splined and irregular holes, in one pass, to a consistent size. A shaper can cut them slowly, a mill often cannot reach inside at all, and a grinder cannot get a wheel in there. For internal forms in quantity, broaching has essentially no competitor.
Its honest limits: one broach, one shape, one size — change the dimension and you buy another. High tooling cost, so unusable at low volume. It needs a starting hole, and it cannot cut a blind feature because the broach must pass right through. And a broken broach is expensive, usually caused by packed chips rather than by cutting force.
ပစ္စည်းများ
6- 1 padနေရာယူပစ္စည်း
- နေရာယူပစ္စည်း
- 1 ရွက်နေရာယူပစ္စည်း
- နေရာယူပစ္စည်း
- နေရာယူပစ္စည်း
- 4 ခုနေရာယူပစ္စည်း
လိုအပ်သော ကိရိယာများ
11- နေရာယူပစ္စည်း
- နေရာယူပစ္စည်း
- နေရာယူပစ္စည်း
- နေရာယူပစ္စည်း
- နေရာယူပစ္စည်း
- နေရာယူပစ္စည်း
- 1 vendor sell this, none ship to you yetနေရာယူပစ္စည်း
- 1 vendor sell this, none ship to you yetနေရာယူပစ္စည်း
- နေရာယူပစ္စည်း
- နေရာယူပစ္စည်း
- နေရာယူပစ္စည်း
ဤဘလူးပရင့်က ပြုလုပ်သည်
ဆက်စပ် အစီအစဉ်များ
ဤအစီအစဉ်များသည် အသိပညာမျှဝေသည် — နည်းပညာ၊ ပစ္စည်း သို့မဟုတ် မူများ

CC0 အများပိုင်
ဤအစီအစဉ်ကို CC0 အောက်တွင် ထုတ်ဝေထားသည်။ ခွင့်ပြုချက်မလိုဘဲ ကူးယူ၊ ပြင်ဆင်၊ ဖြန့်ဝေ နှင့် အသုံးပြုနိုင်သည်။
အစီအစဉ်မှတစ်ဆင့် ကုန်ပစ္စည်းများဝယ်ယူ၍ လက်မှုပညာရှင်ကို ပံ့ပိုးပါ လက်မှုပညာရှင် ကော်မရှင် ရောင်းချသူက သတ်မှတ်သည်၊ သို့မဟုတ် ဤအစီအစဉ်၏ ဗားရှင်းအသစ်ဖန်တီး၍ ဝင်ငွေခွဲဝေရန် သင့်အစီအစဉ်တွင် ချိတ်ဆက်မှုအဖြစ် ထည့်သွင်းပါ။