အနုပညာ
အလှအပနှင့် ကျန်းမာရေး
လက်မှုအနုပညာ
ယဉ်ကျေးမှုနှင့် သမိုင်း
ဖျော်ဖြေရေး
ပတ်ဝန်းကျင်
အစားအစာနှင့် အချိုရည်
ပြောင်းပြန်အင်ဂျင်နီယာပညာ
သိပ္ပံပညာများ
အားကစား
နည်းပညာ
ဝတ်ဆင်နိုင်သောပစ္စည်းများ
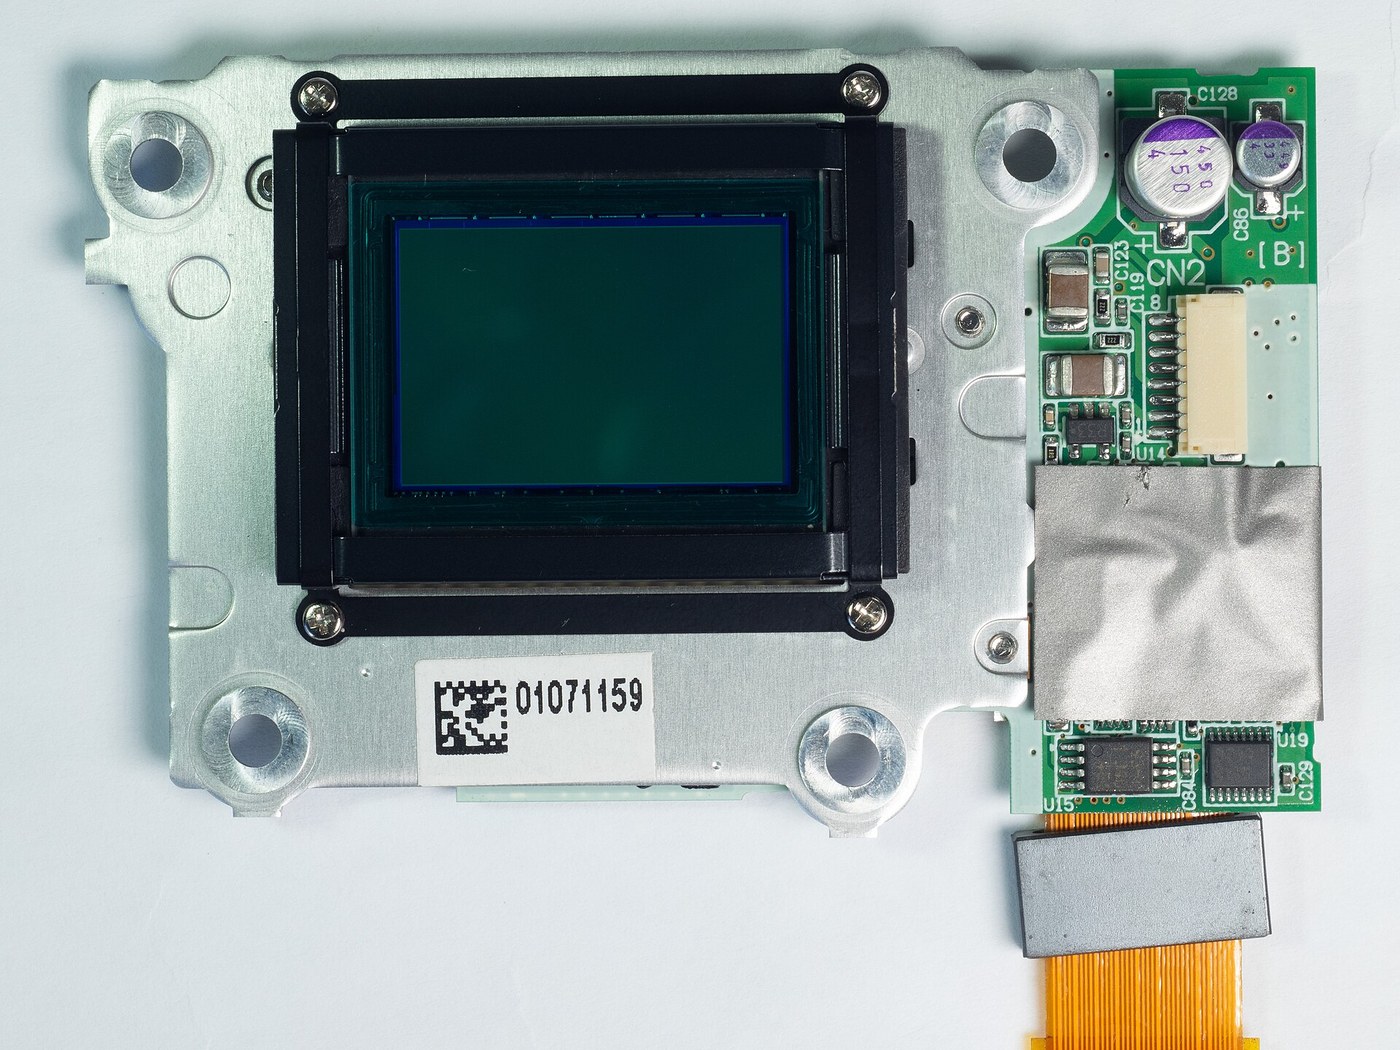


The Charge-Coupled Device
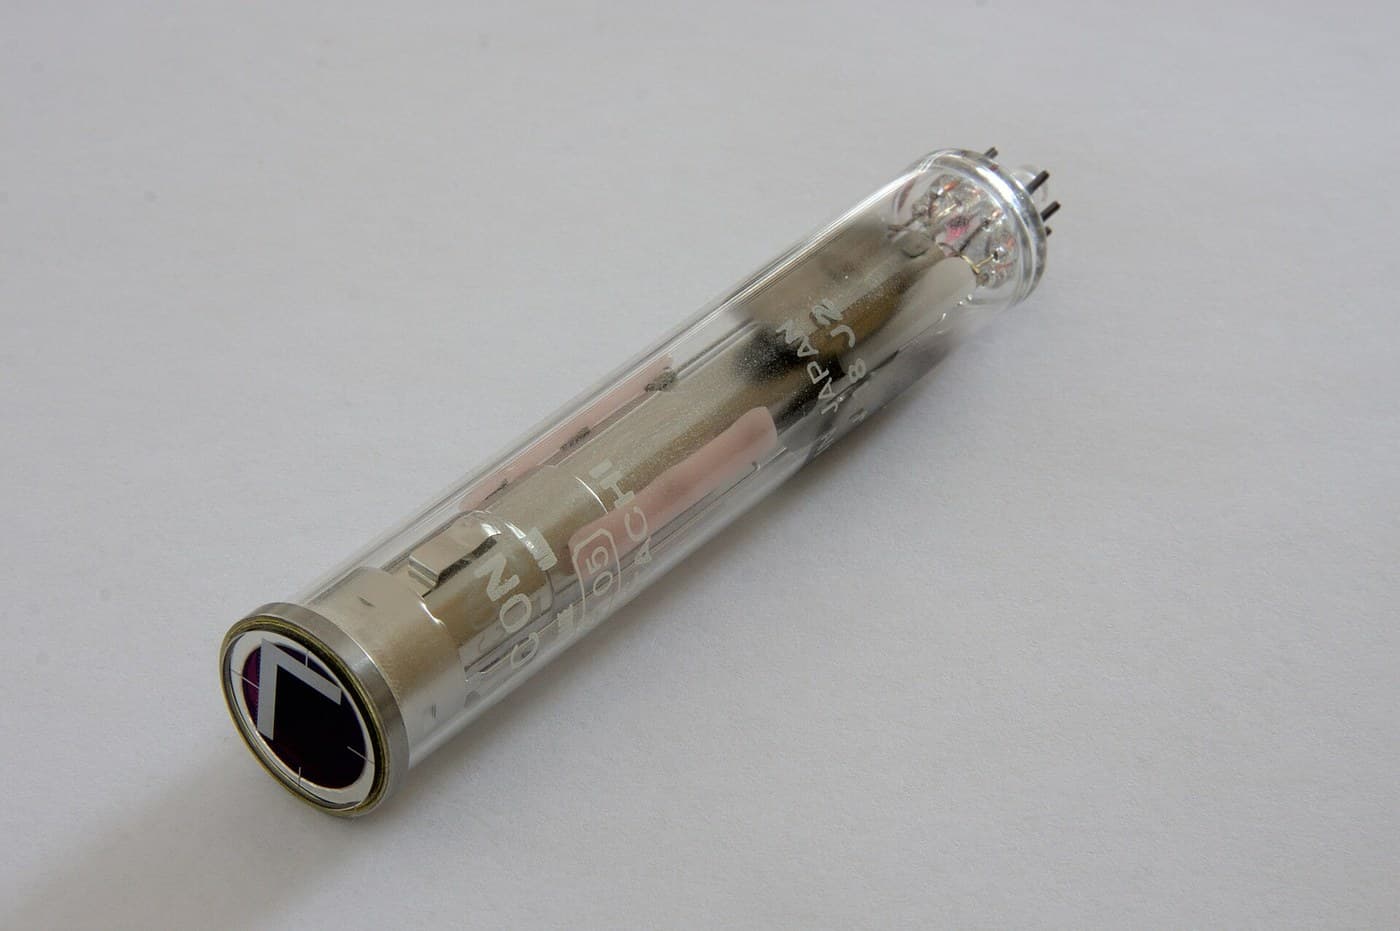
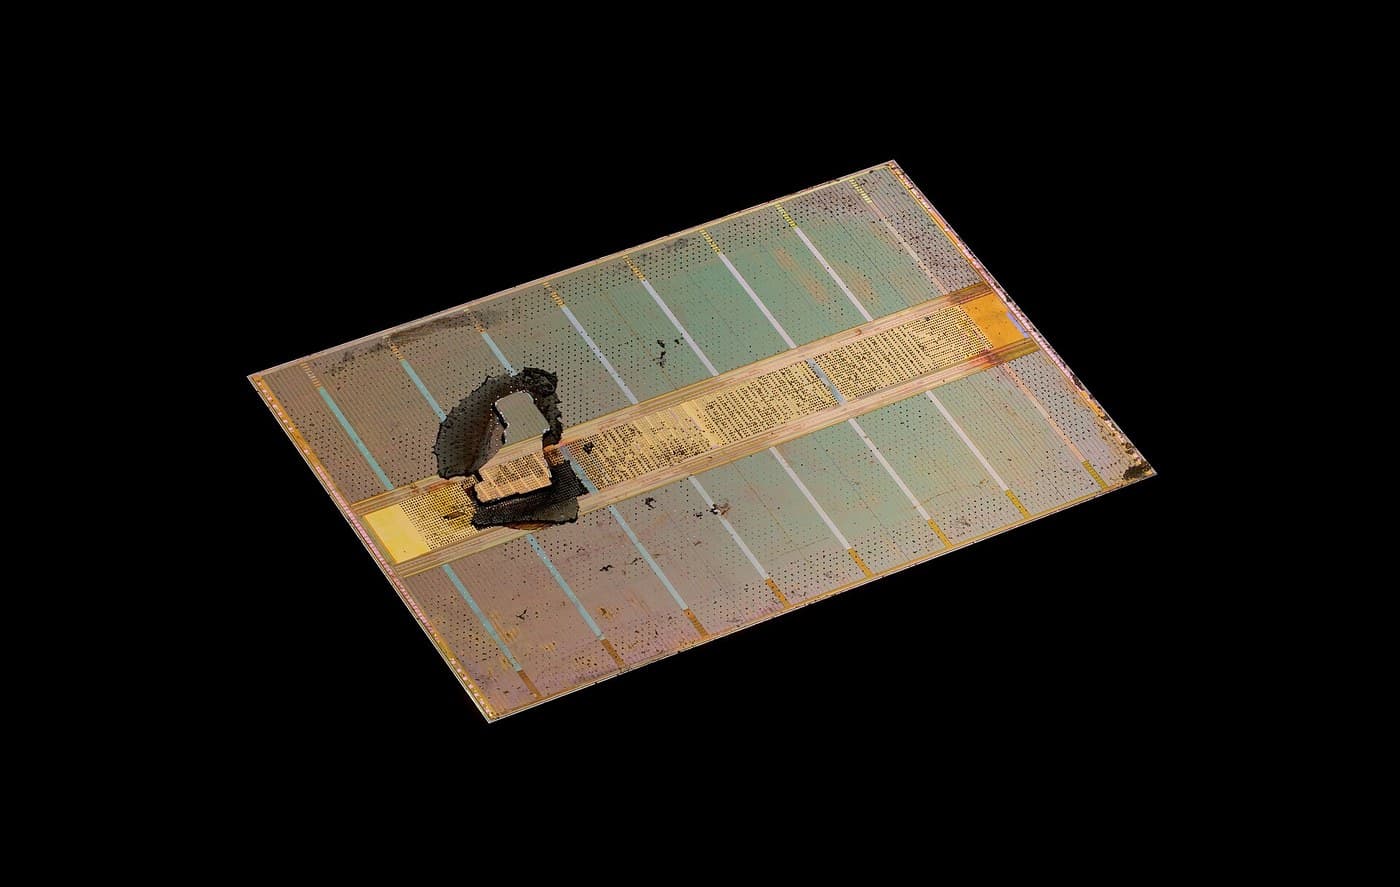
Boyle and Smith, 1969, sketched in an hour on a blackboard; Nobel Prize 2009. A CCD pixel is the DRAM cell read the opposite way: DRAM holds charge and refreshes it in place, a CCD SHIFTS each packet down the row to one amplifier, a bucket brigade for electrons. Because it collects charge on a fixed grid instead of scanning a beam, it kills the vidicon's two diseases — distortion and lag — at a stroke. The price: move charge thousands of times and lose none.
အဆင့်မြင့်
6 hours
ညွှန်ကြားချက်များ
1
1
The pixel is the DRAM cell, read by moving the charge
The pixel is the DRAM cell, read by moving the charge
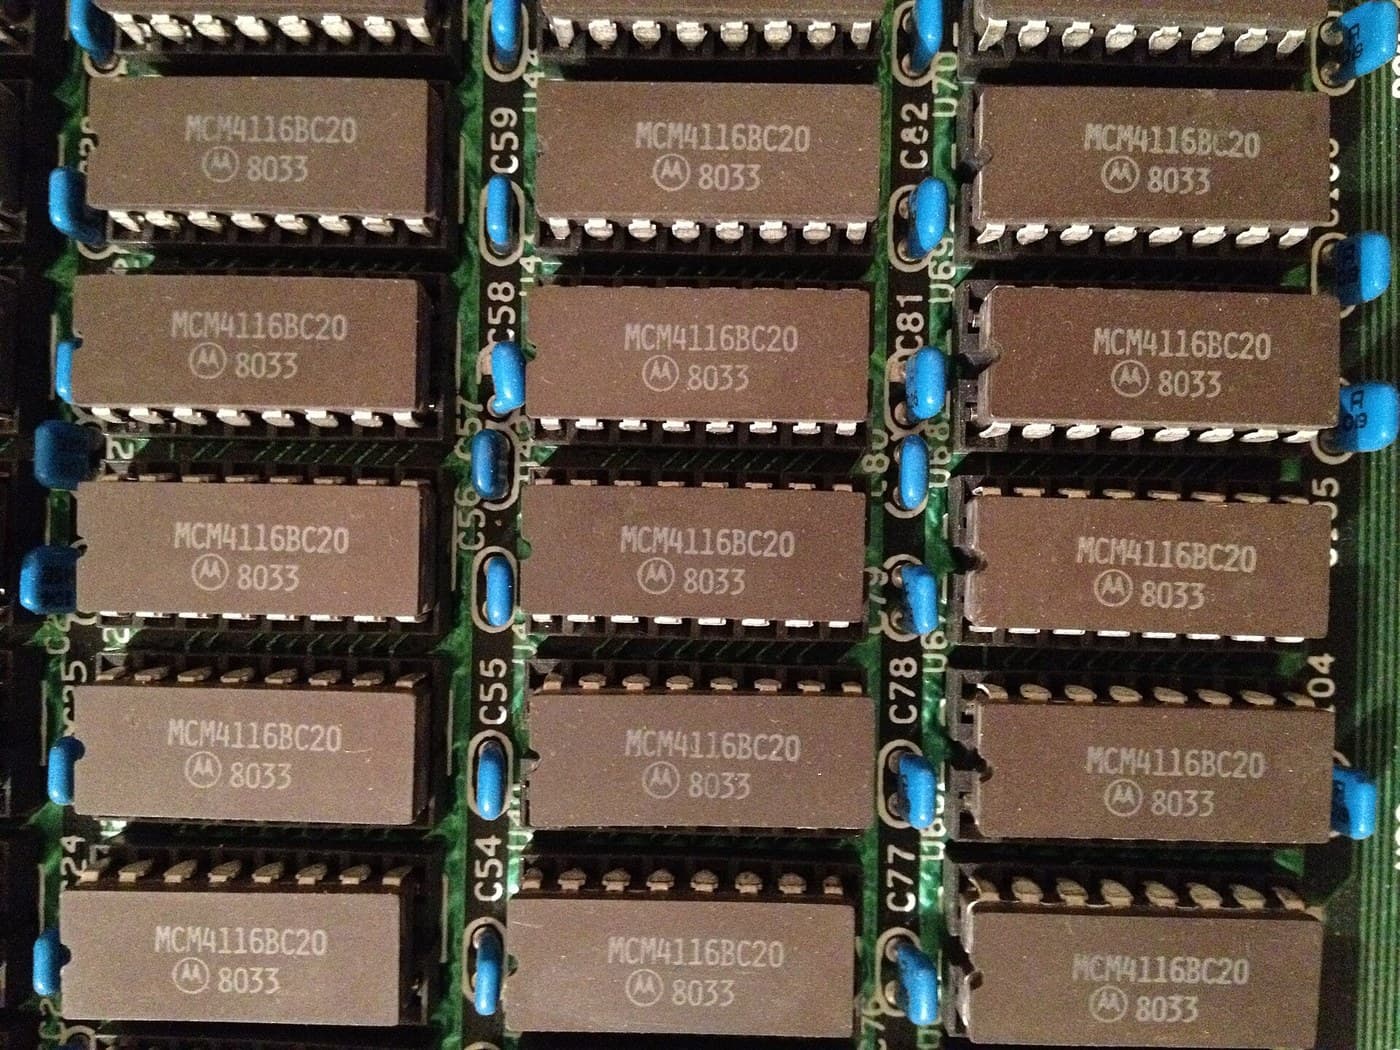
The pixel is the DRAM cell. A gate over silicon makes a potential well; in DRAM you fill it to mean a 1, in a CCD light fills it with electrons. The difference is the whole invention: DRAM reads each cell in place (a wire and an amplifier per column); a CCD MOVES the charge, tipping each packet into the next well like water between buckets, to a single amplifier at the end. Almost no wires, but every packet is transferred thousands of times.
2
2
The bucket brigade: how one image becomes one signal
The bucket brigade: how one image becomes one signal
Follow one photon to the output. Expose (each well fills like a bucket in the rain); clock the whole image DOWN row by row into a readout register; clock that register SIDEWAYS into one amplifier that weighs each packet in turn. One amplifier reads the entire image, so there is no pixel-to-pixel gain variation. The vidicon's distortion (no beam) and lag (wells fully cleared) are simply gone; the new failure modes are transfer loss and dark current.
Flow
Loading...
လိုအပ်သော ကိရိယာများ:
 စားပွဲတင်ကွန်ပျူတာ
3
3
Why astronomers freeze their sensors: dark current and transfer efficiency
Why astronomers freeze their sensors: dark current and transfer efficiency
Jupyter မှတ်စုစာအုပ် ဖွင့်နေသည်…
လိုအပ်သော ကိရိယာများ:
စားပွဲတင်ကွန်ပျူတာ4
4
Measure real dark current against temperature
Measure real dark current against temperature
You cannot clock a bare CCD, but you can measure the physics that rules it — dark current rising exponentially with temperature — on any cheap photodiode. Read a reverse-biased diode's leakage in the dark at several temperatures; the slope of log(current) vs 1/T gives the doubling temperature, ~6-10 C, the same number that forces observatories to pour liquid nitrogen over their cameras.
ccd_darkcurrent.inocpp
လိုအပ်သော ကိရိယာများ:
 ESP32 ဖွံ့ဖြိုးရေးဘုတ်
 DS18B20 အပူချိန်အာရုံခံကိရိယာ
 ဘရက်ဘုတ်
 ဓာတ်ပုံဒိုင်အုတ် (BPW34)
 လျှပ်ကာအစုံ
လိုအပ်သော ကိရိယာများ
6- နေရာယူပစ္စည်း
- နေရာယူပစ္စည်း
- နေရာယူပစ္စည်း
- 1 vendor sell this, none ship to you yetနေရာယူပစ္စည်း
- နေရာယူပစ္စည်း
- 2 vendors sell this, none ship to you yetနေရာယူပစ္စည်း
ဆက်စပ် အစီအစဉ်များ
ဤအစီအစဉ်များသည် အသိပညာမျှဝေသည် — နည်းပညာ၊ ပစ္စည်း သို့မဟုတ် မူများ

CC0 အများပိုင်
ဤအစီအစဉ်ကို CC0 အောက်တွင် ထုတ်ဝေထားသည်။ ခွင့်ပြုချက်မလိုဘဲ ကူးယူ၊ ပြင်ဆင်၊ ဖြန့်ဝေ နှင့် အသုံးပြုနိုင်သည်။
အစီအစဉ်မှတစ်ဆင့် ကုန်ပစ္စည်းများဝယ်ယူ၍ လက်မှုပညာရှင်ကို ပံ့ပိုးပါ လက်မှုပညာရှင် ကော်မရှင် ရောင်းချသူက သတ်မှတ်သည်၊ သို့မဟုတ် ဤအစီအစဉ်၏ ဗားရှင်းအသစ်ဖန်တီး၍ ဝင်ငွေခွဲဝေရန် သင့်အစီအစဉ်တွင် ချိတ်ဆက်မှုအဖြစ် ထည့်သွင်းပါ။