
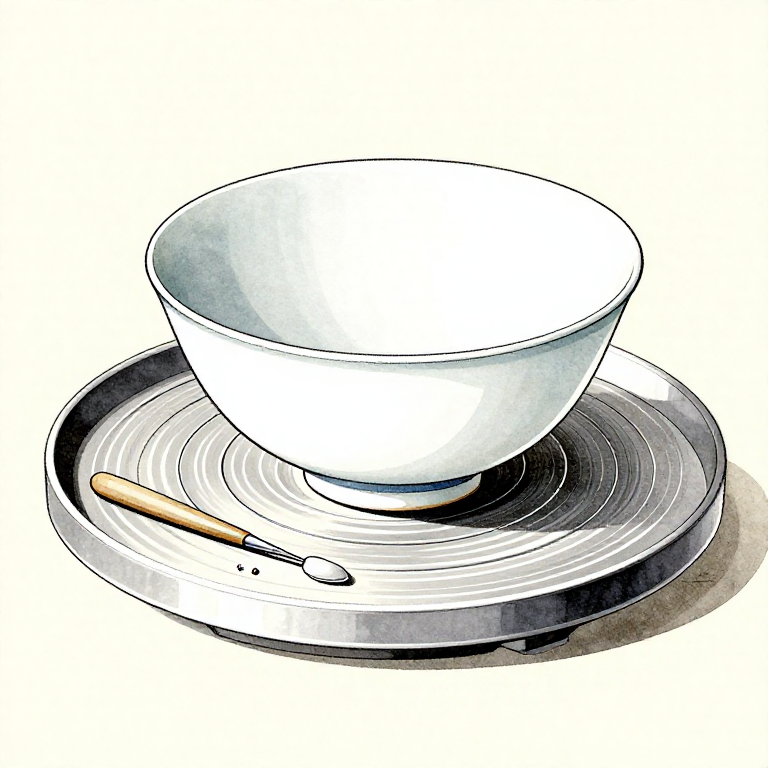
Throwing Arita Porcelain on the Wheel — Japanese Porcelain Tradition
ညွှန်ကြားချက်များ
Prepare and Wedge the Porcelain Clay
Prepare and Wedge the Porcelain Clay
Porcelain is less plastic and more difficult to throw than stoneware, so thorough preparation is essential. Wedge (knead) the clay using the chrysanthemum wedging technique (kiku-momi) for at least 100 rotations to align the clay particles and remove trapped air. The clay should have a smooth, homogeneous consistency with no air pockets — even a small bubble will expand during firing and ruin the piece. Porcelain has a narrow working window: too wet and it collapses on the wheel, too dry and it cracks during throwing. The ideal consistency is slightly stiffer than stoneware clay.
Materials for this step:
 Porcelain Clay1-2 kg per piece ကီလို
 Clear Glaze500ml prepared မီလီ
Tools needed:
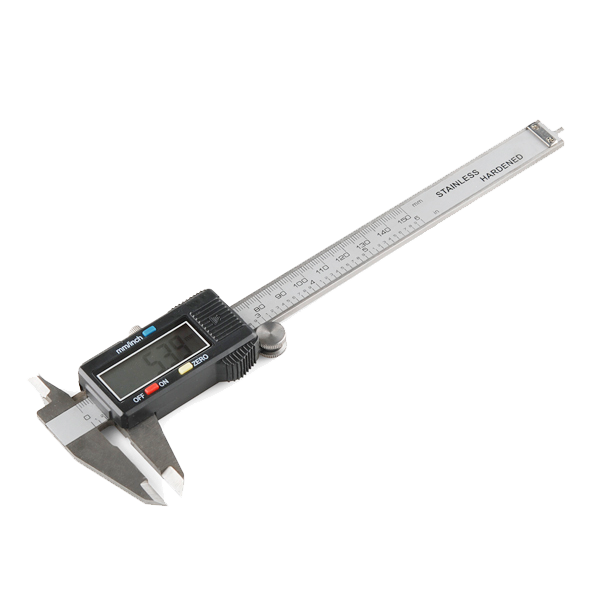 Digital Calipers - 152.4 mm
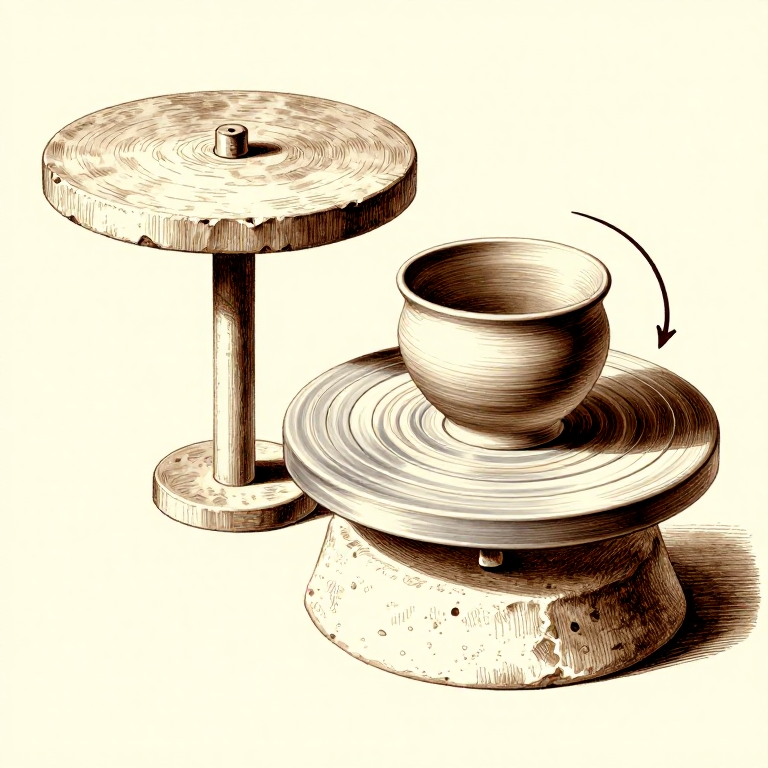
Centre and Throw on the Wheel
Centre and Throw on the Wheel
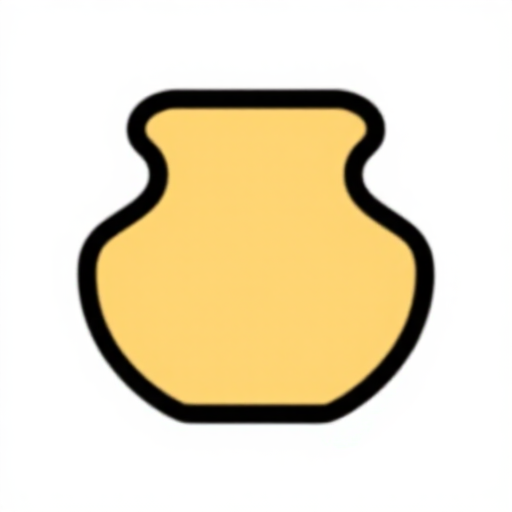
Centre the clay firmly on the wheel head. Porcelain requires confident, decisive movements — hesitation causes wobble that is difficult to correct. Open the centre by pressing downward to within 5-8mm of the wheel head to form the floor. Pull the walls upward in 3-4 steady lifts, keeping even thickness of approximately 3-4mm throughout. Porcelain's fine particle size means the walls can be made thinner than stoneware without losing structural integrity, but it also means the clay fatigues faster and becomes floppy if overworked. Complete the form in as few pulls as possible. Porcelain shrinks 12-15% during drying and firing, so throw approximately 15% larger than the desired finished size.
Trim the Foot Ring
Trim the Foot Ring
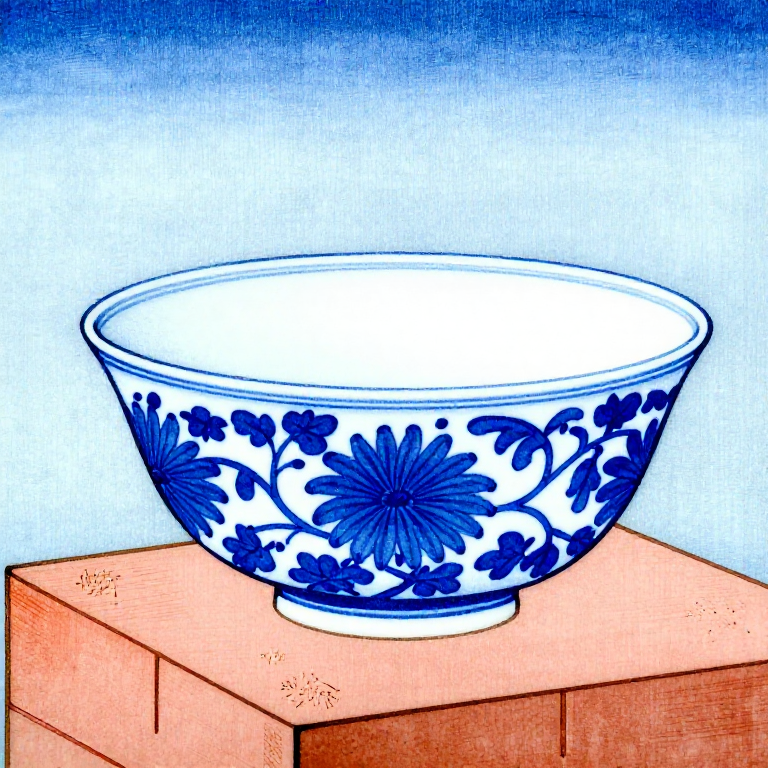
When the piece reaches leather-hard stage, invert it on the wheel and centre it for trimming. Arita porcelain is known for its refined foot rings — thin, precisely cut, and slightly concave on the base. Use sharp loop tools to carve away excess clay, creating a foot ring approximately 4-5mm wide and 5-8mm tall. The base thickness inside the foot ring should be shaved to approximately 3-4mm. Hold the piece up to a light source — properly trimmed porcelain will show slight translucency through thin areas. This translucency, called hotarude, is one of the hallmarks of quality porcelain. Smooth the foot ring surface carefully as any roughness will scratch tables and shelves after firing.
Paint Underglaze Decoration
Paint Underglaze Decoration
Traditional Arita porcelain features sometsuke (underglaze blue) decoration painted with cobalt oxide mixed with water or tea to a smooth ink-like consistency. Paint directly onto the bone-dry or bisque-fired porcelain surface using fine-pointed brushes. Classic motifs include landscapes, birds, flowers (especially chrysanthemum, peony, and plum blossom), geometric patterns, and scenes from nature. The cobalt appears grey-black when applied but fires to a vivid blue under the glaze. Vary line thickness by controlling brush pressure. Practice the design on paper first — cobalt cannot be easily corrected once applied to the porous clay surface, as it is immediately absorbed.
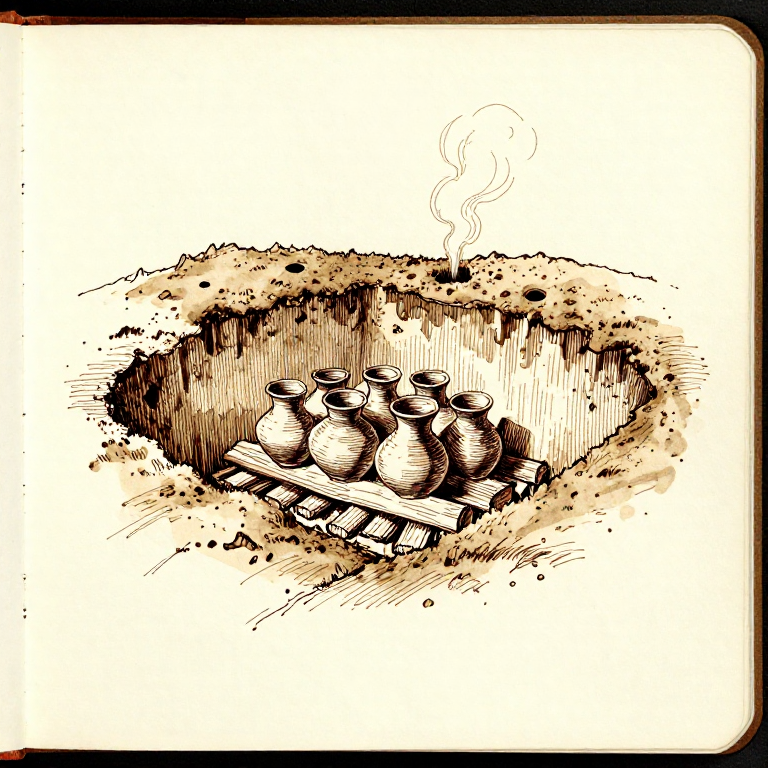
Glaze and Fire to Cone 10
Glaze and Fire to Cone 10
Dip or pour clear feldspar glaze over the decorated piece, leaving the foot ring bare to prevent sticking to the kiln shelf. The glaze coat should be thin and even — approximately 0.5-1mm thick. Load the piece into a high-fire kiln and fire to cone 10 (approximately 1300 degrees C) in a reduction atmosphere. Reduction firing (achieved by restricting oxygen in the kiln at peak temperature) transforms the cobalt blue to a deeper, richer tone and gives the porcelain body a warm white colour rather than cold blue-white. The firing cycle takes 12-16 hours with a slow cooling period. The finished piece should be fully vitrified, ring clearly when tapped, and show a smooth glossy glaze surface with vivid blue decoration beneath.
ပစ္စည်းများ
3- 1-2 kg per piece ခုPlaceholder
- 10-20g ခုPlaceholder
- 500ml prepared ခုPlaceholder
လိုအပ်သော ကိရိယာများ
5- Placeholder
- Placeholder
- Placeholder
Related blueprints
Other builds that share materials, tools, or techniques with this one.
CC0 အများပိုင်
ဤအစီအစဉ်ကို CC0 အောက်တွင် ထုတ်ဝေထားသည်။ ခွင့်ပြုချက်မလိုဘဲ ကူးယူ၊ ပြင်ဆင်၊ ဖြန့်ဝေ နှင့် အသုံးပြုနိုင်သည်။
အစီအစဉ်မှတစ်ဆင့် ကုန်ပစ္စည်းများဝယ်ယူ၍ ဖန်တီးသူကို ပံ့ပိုးပါ ဖန်တီးသူ ကော်မရှင် ရောင်းချသူက သတ်မှတ်သည်၊ သို့မဟုတ် ဤအစီအစဉ်၏ ဗားရှင်းအသစ်ဖန်တီး၍ ဝင်ငွေခွဲဝေရန် သင့်အစီအစဉ်တွင် ချိတ်ဆက်မှုအဖြစ် ထည့်သွင်းပါ။