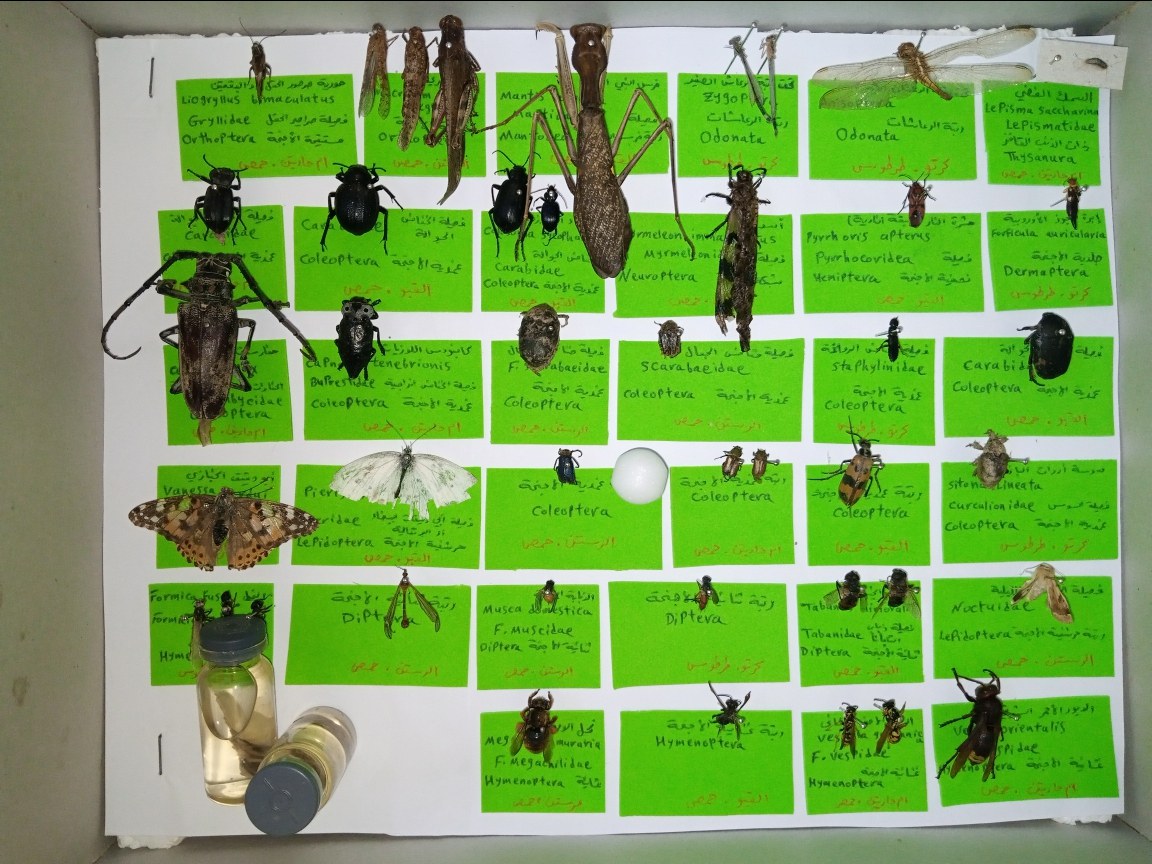


Insect Pinning and Spreading Board
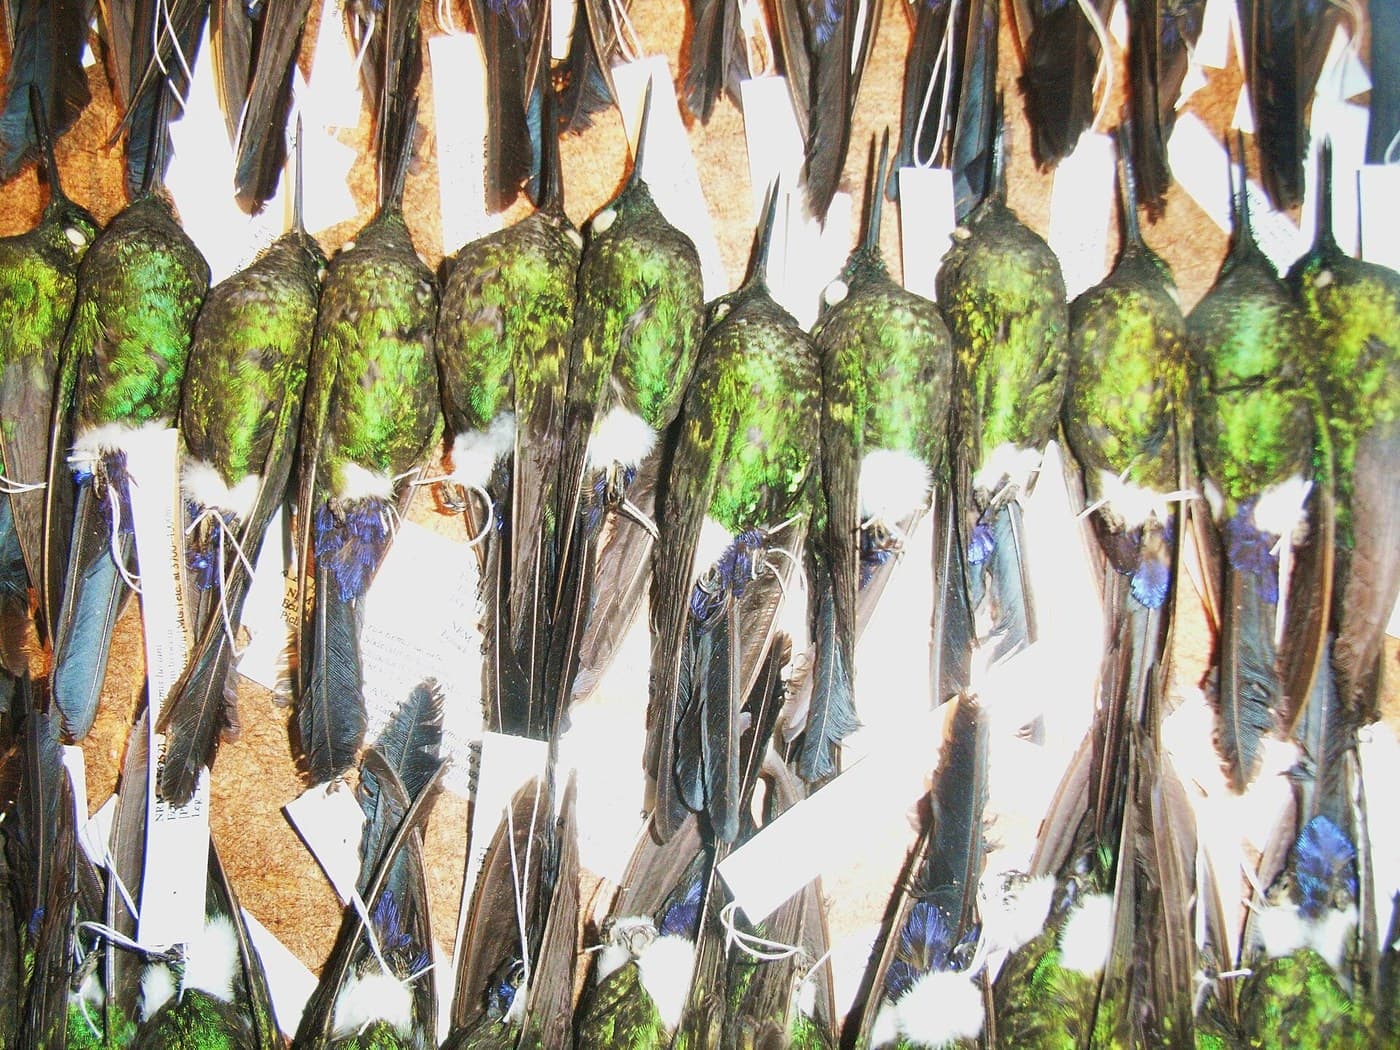
A pinned insect in a drawer is not a trophy. It is a data point: a physical voucher that a particular species was at a particular place on a particular day, held in a form that stays identifiable for two hundred years. The pin is just the mounting hardware. The label is the specimen.
Entomology settled on this method in the eighteenth century and has barely changed it since, because it works: a dry insect on a steel pin, wings spread to show the characters used in identification, sitting at a standard height so a curator can lift it, read the label underneath, and put it back without touching the animal. Linnaeus's own material still exists this way.
This blueprint covers the two operations that make a collection usable — pinning at the correct point for each order, and spreading wings on a grooved board — plus the labelling and pest control that decide whether the collection survives.
ညွှန်ကြားချက်များ
Collect only what you will actually curate
Collect only what you will actually curate
Take the minimum number of specimens you need, and never from a protected species or a protected site. An unlabelled insect in a box is a dead animal with no scientific value — collect with a purpose or do not collect.
လိုအပ်သော ကိရိယာများ:
 အကွက်သေးသော ပိုးမွှားပိုက်
Write the field data down immediately
Write the field data down immediately
Record locality, date and collector at the moment of capture — not later from memory. Include coordinates or a precise place name and the habitat. This is the information the specimen exists to carry.
Kill by freezing for 48 hours
Kill by freezing for 48 hours
Seal the insect in a small vial or bag and put it in a freezer at -18 °C for 48 hours. Freezing is the modern standard: no solvent, no fumes, and it kills any pest eggs already on the specimen.
Pin while the insect is still fresh and limp
Pin while the insect is still fresh and limp
Work within a few hours of thawing. A fresh insect is flexible; a dried one shatters. If it has already dried, relax it first (step 12).
Choose the right pin size
Choose the right pin size
Use stainless or black-enamelled entomological pins, 38-40 mm long. Size 3 suits most beetles and butterflies; sizes 1-2 for smaller insects; size 5-7 for large, heavy-bodied specimens. Household dressmaker's pins corrode and ruin specimens.
ဤအဆင့်အတွက် ကုန်ကြမ်းများ:
 ပိုးမွားစုစည်းရေးနှင့် အပ်စွပ်ရေး အစုံ1 အစုံ
Pin through the correct point for the order
Pin through the correct point for the order
The pin goes vertically through the thorax, but the exact point differs: beetles through the right wing case near its base; butterflies and moths through the centre of the thorax; flies, bees and wasps just right of the thorax midline; true bugs through the scutellum. Pinning right of centre leaves the left side undamaged for identification.
Set the height with a pinning block
Set the height with a pinning block
Push the pin down until about 8-10 mm of it stands above the insect's back. Use a stepped pinning block so every specimen in the drawer sits at the same height — that is what lets you handle a pin without touching the animal.
Build the spreading board
Build the spreading board
Two flat boards separated by a groove, with cork or dense foam lining the bottom of the groove. Make the groove just wide enough for the insect's body. A board with an adjustable gap handles everything from a small moth to a hawkmoth.
Set the wings to the standard position
Set the wings to the standard position
Lower the pinned insect into the groove so the wing bases sit level with the board surface. Draw each forewing forward with a pin placed behind a strong vein — never through the wing — until the trailing edge of the forewing is at right angles to the body. Bring the hindwing up until its gap with the forewing closes.
Hold the wings with paper strips
Hold the wings with paper strips
Pin strips of tracing or glassine paper across the wings to hold them flat, keeping the pins in the paper and out of the wing membrane. Set the antennae forward and symmetrical while you are there.
လိုအပ်သော ကိရိယာများ:
 အက်ဆစ်ကင်း ပါးလွှာစက္ကူ
Dry for one to two weeks
Dry for one to two weeks
Leave the board somewhere dry, dark and out of reach of ants. Small insects set in 3-5 days; large or fat-bodied ones need two weeks or more. Removing a specimen early means the wings droop permanently.
Relax anything that dried before you got to it
Relax anything that dried before you got to it
Put the dried insect in a sealed box over damp sand or damp paper for 1-3 days until the joints move freely. Add a scrap of thymol or a drop of disinfectant to stop mould — a relaxing chamber grows mould readily.
Make the data label
Make the data label
Print small, on acid-free card, in permanent ink: locality, coordinates, date, collector. Pierce it with the same pin and set it about 12 mm below the insect, reading left to right when the specimen faces away from you.
Add a separate determination label
Add a separate determination label
Put the name, who identified it and when on a second label below the first. Identifications get revised; collection data never changes. Keeping them apart means a later correction does not destroy the original record.
Store in a sealed drawer and freeze anything new
Store in a sealed drawer and freeze anything new
Use a tight-closing box with a pinning base. Freeze every incoming specimen for 48 hours before it joins the collection. Dermestid beetles eat collections from the inside and are usually noticed only after the damage is done.
History & Context — the drawer as a scientific instrument
History & Context — the drawer as a scientific instrument
The method is older than the science that uses it. Pinned and labelled insect collections were established practice by the mid-eighteenth century, and Linnaeus's surviving specimens — now held by the Linnean Society of London — are still consulted to settle what a name actually applies to. That is the point of a voucher: when a description is ambiguous, the physical animal decides. Specimens designated as types carry formal status under the rules of zoological nomenclature for exactly this reason.
Why the wings are spread. In many groups the characters that separate species are wing venation and markings, so a specimen with folded wings can be unidentifiable. Spreading is not display — it is putting the diagnostic features where a later worker can see them. The right-angle convention exists so that specimens from different collectors and different centuries are directly comparable.
Why the pin goes right of centre. Damage is inevitable where the pin passes through. Standardising it on the right means the left side of every specimen in every collection worldwide remains intact, so there is always a clean side to examine.
What killed most historic collections. Not neglect of the insects but neglect of the pests. Dermestid larvae reduce a drawer to dust and frass, and generations of curators fought them with naphthalene and paradichlorobenzene — both now avoided on health grounds. The modern answer is mechanical: freeze incoming material, seal the drawers, inspect often. It works better than the chemicals did.
An honest limit. Pinning preserves external structure and, increasingly, usable DNA — but it destroys behaviour, colour in some groups (many greens and reds fade), and soft internal anatomy. Larvae, soft-bodied insects and anything needing dissection go into 70-96 % ethanol instead. Choosing the wrong preservation method is not a small error; it is the difference between a useful voucher and a ruined one.
ပစ္စည်းများ
1- နေရာယူပစ္စည်း
လိုအပ်သော ကိရိယာများ
2- နေရာယူပစ္စည်း
- နေရာယူပစ္စည်း
ဤဘလူးပရင့်က ပြုလုပ်သည်
ဆက်စပ် အစီအစဉ်များ
ဤအစီအစဉ်များသည် အသိပညာမျှဝေသည် — နည်းပညာ၊ ပစ္စည်း သို့မဟုတ် မူများ
CC0 အများပိုင်
ဤအစီအစဉ်ကို CC0 အောက်တွင် ထုတ်ဝေထားသည်။ ခွင့်ပြုချက်မလိုဘဲ ကူးယူ၊ ပြင်ဆင်၊ ဖြန့်ဝေ နှင့် အသုံးပြုနိုင်သည်။
အစီအစဉ်မှတစ်ဆင့် ကုန်ပစ္စည်းများဝယ်ယူ၍ လက်မှုပညာရှင်ကို ပံ့ပိုးပါ လက်မှုပညာရှင် ကော်မရှင် ရောင်းချသူက သတ်မှတ်သည်၊ သို့မဟုတ် ဤအစီအစဉ်၏ ဗားရှင်းအသစ်ဖန်တီး၍ ဝင်ငွေခွဲဝေရန် သင့်အစီအစဉ်တွင် ချိတ်ဆက်မှုအဖြစ် ထည့်သွင်းပါ။