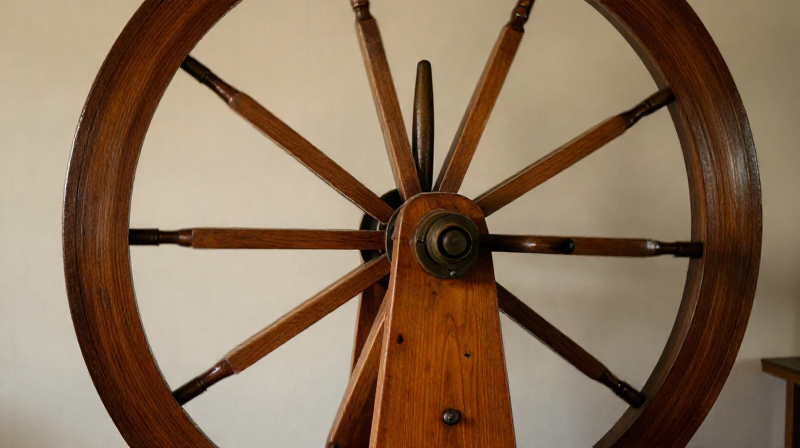
Spinning Yarn on a Great Wheel — The Walking Wheel
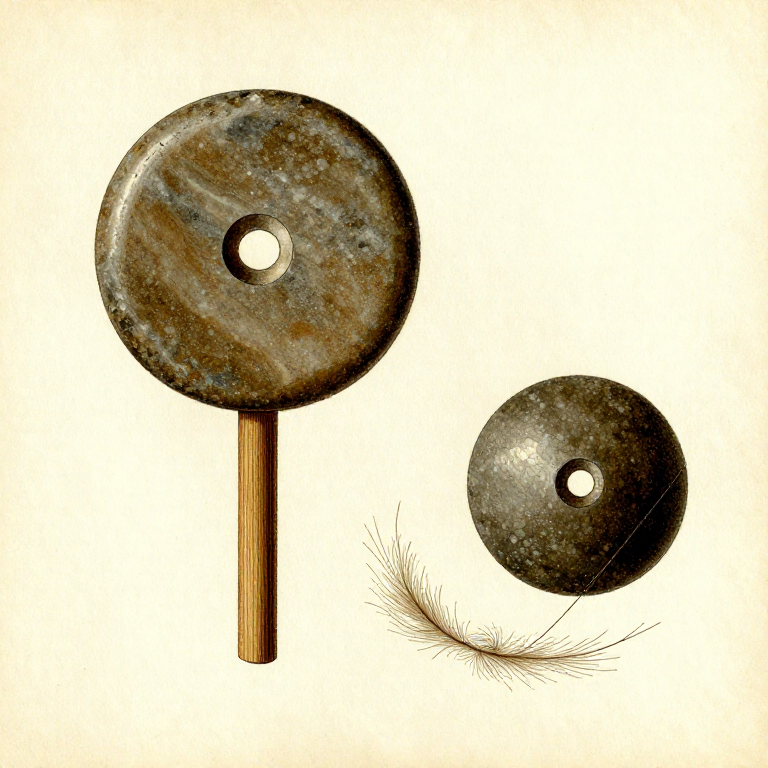
The great wheel (also called the walking wheel, wool wheel, or muckle wheel) was the first mechanical spinning device used in Europe, appearing around 1280 CE. It originated in the Islamic world — likely India or Persia — and reached Europe via the Silk Road trade routes. Unlike the hand-held drop spindle, the great wheel uses a large drive wheel (typically 120–150 cm in diameter) connected by a band to a small spindle. Turning the drive wheel by hand spins the spindle at high speed, dramatically increasing yarn production.
The spinner stands and walks back and forth beside the wheel — hence 'walking wheel.' To spin, the operator turns the wheel with the right hand while drafting (pulling and thinning) fiber with the left hand, walking backward to draw out the yarn. When the arm's length of yarn is spun, the spinner walks forward to wind it onto the spindle, then walks backward again to draft the next length. This rhythmic walk-and-spin motion can produce yarn 3–5 times faster than a drop spindle.
The great wheel spins only one direction and must be stopped to wind on, making it a 'single-drive' or 'intermittent' spinning device. It was eventually superseded by the flyer wheel (Saxony wheel) around 1480, which allowed continuous spinning and winding. Nevertheless, great wheels remained in use in rural areas well into the 19th century, particularly for spinning wool.
ညွှန်ကြားချက်များ
Prepare carded wool roving
Prepare carded wool roving
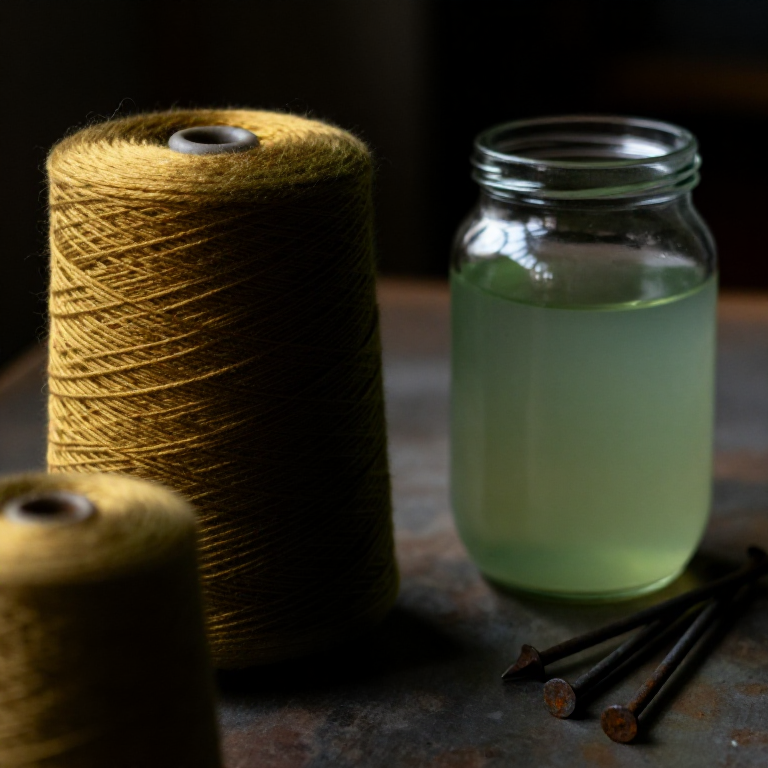
Begin with wool that has been washed, dried, and carded into rolags or a continuous roving — a loose, fluffy rope of aligned fibers approximately 3 cm thick. The wool should be clean and free of vegetable matter. A medium-crimp wool (such as Corriedale or Romney) drafts smoothly on a great wheel. Have at least 100 grams of roving prepared before starting.
Materials for this step:
 Raw Wool Fleece100 ဂရမ်
Position yourself beside the great wheel
Position yourself beside the great wheel
Stand to the right of the great wheel with the spindle assembly at your left. The drive wheel should be at comfortable arm height for your right hand to turn it. You need clear floor space extending 2–3 meters to your left for the backward drafting walk. The great wheel is a standing instrument — there is no seat.
Tools needed:
 Great Wheel (Walking Wheel)
Attach a leader yarn to the spindle
Attach a leader yarn to the spindle
Tie a 60 cm length of previously spun yarn (the leader) to the base of the spindle shaft with a half-hitch knot. Spiral the leader up the spindle tip and let the free end hang. This leader gives the new fiber something to grip when you begin drafting. Without a leader, loose roving slips off the smooth spindle.
Join the roving to the leader
Join the roving to the leader
Fan out the end of your roving into a thin, wispy cloud of fiber. Overlap this wispy end with the last 10 cm of the leader yarn. Pinch them together between your left thumb and forefinger. When you begin spinning, the twist will travel into this overlap and lock the fibers together — no knot needed.
Turn the wheel clockwise to begin spinning
Turn the wheel clockwise to begin spinning
With your right hand, give the drive wheel a smooth clockwise push at the rim. The drive band transfers this rotation to the spindle, which spins much faster due to the size ratio — typically 40–60 spindle rotations per one wheel revolution. Listen for a steady hum from the spindle, which indicates sufficient speed.
Draft the fiber while walking backward
Draft the fiber while walking backward
Hold the roving in your left hand at a 30–45 degree angle from the spindle tip. While the wheel turns, walk slowly backward, drawing the roving away from the spindle. As you pull, the twist from the spinning spindle travels up the yarn and into the drafting zone, binding the loose fibers into yarn. Control the yarn thickness by how much fiber you allow to slide through your fingers.
Control twist entry with your front hand
Control twist entry with your front hand
Your left hand serves as the twist gate. Pinch the yarn between thumb and forefinger at the point where you want twist to stop — fibers ahead of your pinch remain untwisted roving, fibers behind become spun yarn. Open your fingers briefly to let twist advance into fresh fiber, then pinch again. This open-close rhythm is the core skill of all spinning.
Draft to arm's length and stop the wheel
Draft to arm's length and stop the wheel
Continue walking backward and drafting until the yarn extends from the spindle to your fully outstretched left arm — approximately 1.5–2 meters. Stop turning the wheel. Examine the yarn: it should be evenly twisted along its entire length with no thick lumps or thin weak spots. If sections are under-twisted (fluffy, pulling apart), give the wheel another partial turn to add twist.
Wind the spun yarn onto the spindle
Wind the spun yarn onto the spindle
Now walk forward toward the wheel while turning it slowly clockwise. Hold the yarn at an angle so it winds onto the spindle shaft in a neat cone shape. Do not let the yarn pile up in one spot — shift the angle slightly as you wind to build an even layer. The yarn should be taut but not stretched as it winds on.
Repeat the draft-and-wind cycle
Repeat the draft-and-wind cycle
This is the rhythm of the great wheel: walk backward to draft and spin, walk forward to wind on. Each cycle produces one arm's length of yarn. An experienced spinner completes 6–8 cycles per minute, producing roughly 10–15 meters of yarn per minute. Continue until the roving supply is exhausted or the spindle is full.
Join new roving when the current length runs out
Join new roving when the current length runs out
When the roving thins to its end, fan out the tip into a wispy tail. Take a new length of roving, fan its starting end, and overlap the two wispy ends by about 8 cm. Draft through this overlap while spinning — the twist binds the overlapping fibers together seamlessly. A good join is invisible in the finished yarn.
Build a cone of yarn on the spindle
Build a cone of yarn on the spindle
As yarn accumulates, shape it into a cone (called a cop) on the spindle. Wind each layer slightly overlapping the previous one, tapering from a wide base to a narrow top. A well-built cop holds 50–100 grams of yarn before it needs to be removed. If the cop becomes lopsided, the spindle vibrates and the drive band may slip.
Remove the full cop from the spindle
Remove the full cop from the spindle
When the cop is full, break the yarn and tuck the end under the last layer to prevent unwinding. Slide the cop off the spindle tip by gently twisting and pulling. Set it aside and begin a new cop with a fresh leader. Each cop of yarn will later be wound into a skein for washing and setting the twist.
Wind the yarn from cops into a skein
Wind the yarn from cops into a skein
Wind the yarn from the cop onto a niddy-noddy or the back of a chair to form a skein. Count the wraps to estimate yardage — each wrap around a 1.5 m niddy-noddy equals 3 meters of yarn. Tie the skein loosely in four places with figure-eight ties to prevent tangling during washing.
Set the twist by washing the skein
Set the twist by washing the skein
Soak the tied skein in warm water (40°C) for 20 minutes. The water relaxes the fibers and allows the twist to distribute evenly. Gently squeeze out excess water — never wring wool, which causes felting. Hang the skein with a light weight (a filled jar works) to dry under gentle tension. This sets the twist permanently and produces balanced, kink-free yarn ready for knitting or weaving.
ပစ္စည်းများ
1- 100 ဂရမ်Placeholder
လိုအပ်သော ကိရိယာများ
1- Placeholder
Connected Blueprint Materials
You can swap these in
Can't get one of the materials? Swap it for an equivalent — these work just as well.
- Instead of Great Wheel (Walking Wheel), try:
 Pottery Wheel
 V-Groove Wheel Set (4-Pack)
 Pulley Wheel Set (10 Sizes)
 Go-Kart Wheel Set (4 Wheels)
 Rubber Wheel Set (Assorted, 20-Pack)
 Caster Wheel Set (4-Pack, 3-inch)
 Toy Axle and Wheel Kit (Metal/Rubber)
 Bench Grinder Wheel Set (6-inch)
 Skateboard Wheel Set (4 Wheels)
 Toy-Making Wood Wheel Set (100-Pack)
 Buffing Wheel Set (Cotton, 6-inch)
 Grinding Wheel
Recommended for this build
Products makers often use with builds like this one.

ဆက်စပ် အစီအစဉ်များ
ဤအစီအစဉ်များသည် အသိပညာမျှဝေသည် — နည်းပညာ၊ ပစ္စည်း သို့မဟုတ် မူများ
Related blueprints
Other builds that share materials, tools, or techniques with this one.

CC0 အများပိုင်
ဤအစီအစဉ်ကို CC0 အောက်တွင် ထုတ်ဝေထားသည်။ ခွင့်ပြုချက်မလိုဘဲ ကူးယူ၊ ပြင်ဆင်၊ ဖြန့်ဝေ နှင့် အသုံးပြုနိုင်သည်။
အစီအစဉ်မှတစ်ဆင့် ကုန်ပစ္စည်းများဝယ်ယူ၍ ဖန်တီးသူကို ပံ့ပိုးပါ ဖန်တီးသူ ကော်မရှင် ရောင်းချသူက သတ်မှတ်သည်၊ သို့မဟုတ် ဤအစီအစဉ်၏ ဗားရှင်းအသစ်ဖန်တီး၍ ဝင်ငွေခွဲဝေရန် သင့်အစီအစဉ်တွင် ချိတ်ဆက်မှုအဖြစ် ထည့်သွင်းပါ။