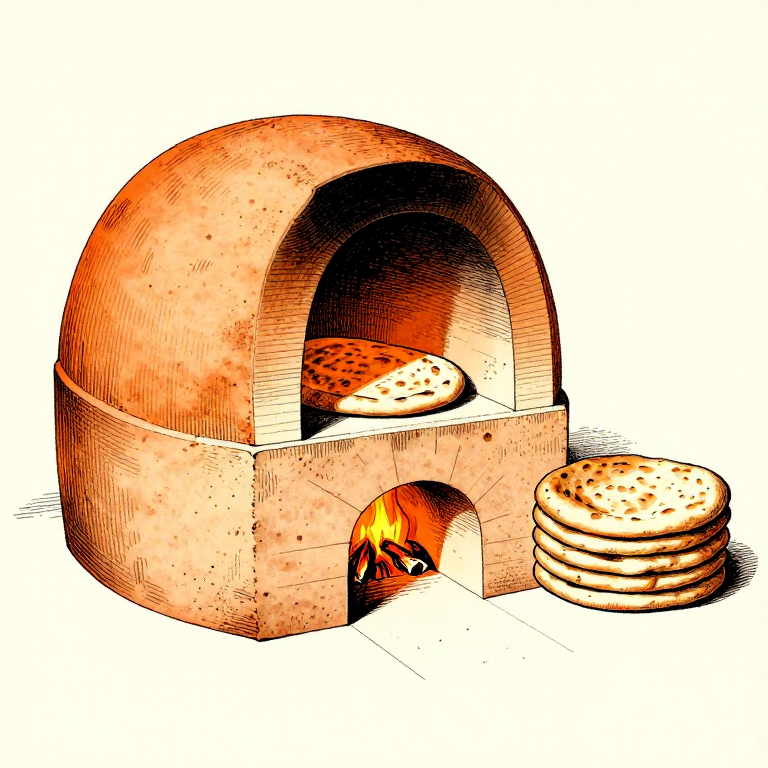
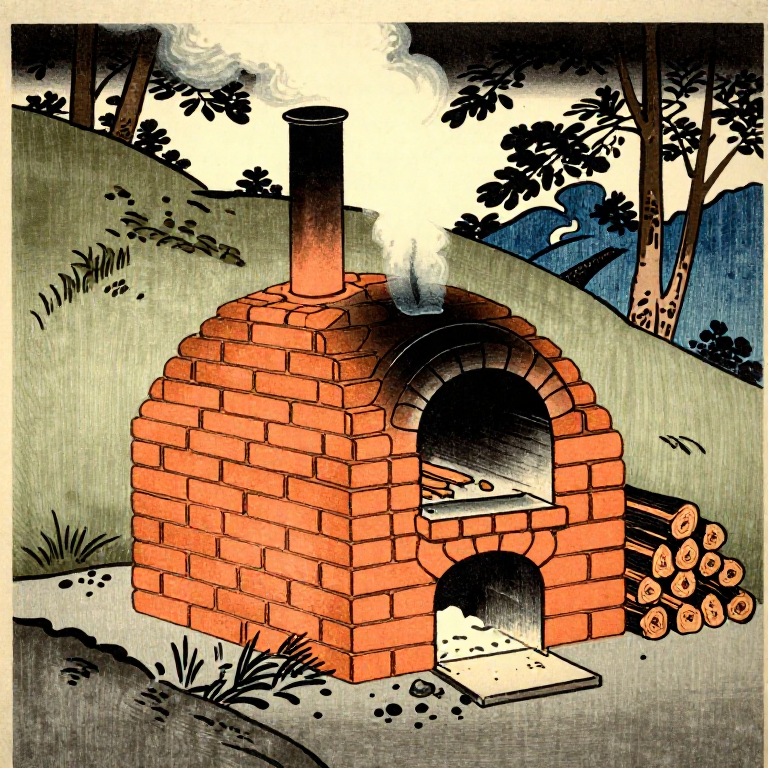
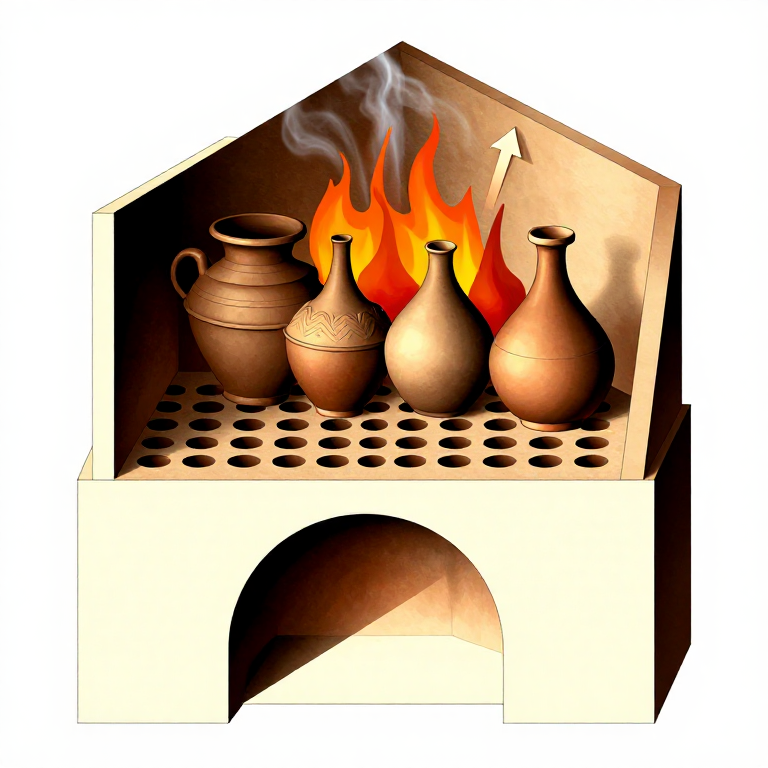
Building a Clay Tannur Bread Oven — Vertical Cylindrical Oven
Зааварчилгаа
Prepare the Clay Mix and Foundation
Prepare the Clay Mix and Foundation
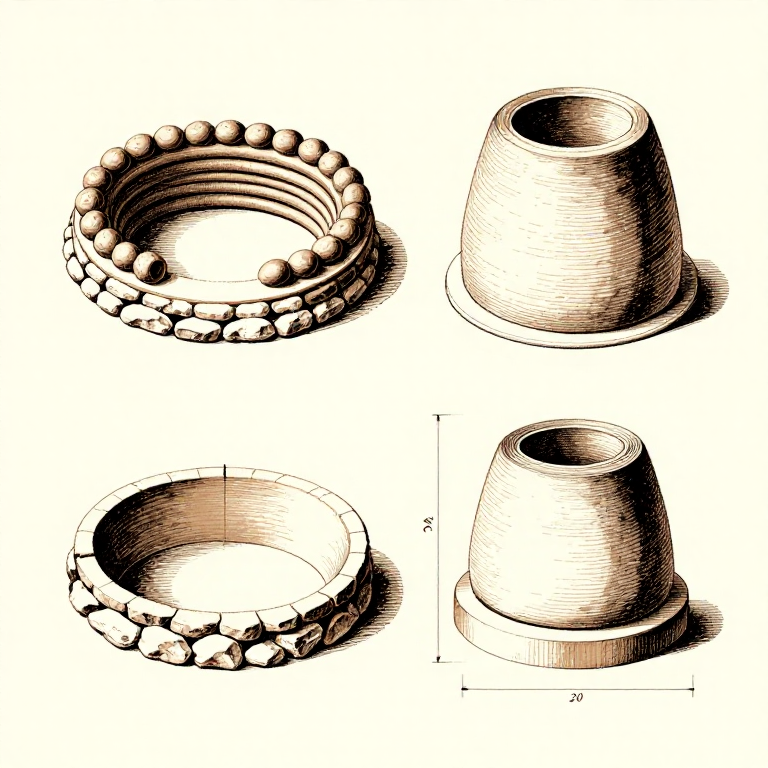
Mix clay with chopped straw (approximately 20-30 percent by volume) and coarse sand (10-15 percent). The straw provides tensile reinforcement and reduces cracking during drying, while the sand improves thermal shock resistance. Knead the mixture thoroughly until uniform. Build a circular stone or broken-pottery foundation ring approximately 50-60 cm in diameter at ground level or on a low platform. The foundation provides drainage and structural support. Some ancient tannurs were partially sunk into the ground for thermal mass; others sat fully above ground on a raised platform for ventilation.
Build the Cylinder
Build the Cylinder
Build the tannur walls using the coil method — roll the clay mixture into thick ropes (5-8 cm diameter) and stack them in a rising spiral on the foundation, smoothing the coils together on both the inside and outside surfaces. The cylinder should be approximately 50-60 cm in internal diameter at the base, tapering slightly toward the top to form a truncated cone or cylinder 60-80 cm tall. Leave the top open (30-40 cm diameter) for access. The walls should be 5-8 cm thick — thick enough for thermal mass but thin enough to heat efficiently. Build the oven in stages, allowing each section to stiffen before adding the next to prevent collapse.
Materials for this step:
 Firewoodfor firing and preheating ширхэг
Dry and Fire the Oven
Dry and Fire the Oven
Allow the completed tannur to dry slowly in shade for 5-7 days. Rapid drying in direct sun causes cracking. Once surface-dry, build a series of progressively larger fires inside the oven over 2-3 days to drive out all remaining moisture and fire the clay walls to ceramic hardness. Start with a very small fire of twigs and build up to a full wood fire over several sessions. Cracks that develop during firing can be patched with fresh clay — they are normal and do not significantly reduce performance. The first firing season hardens and tempers the clay walls, and the tannur improves with use as the thermal cycling strengthens the ceramic structure.
Preheat for Baking
Preheat for Baking
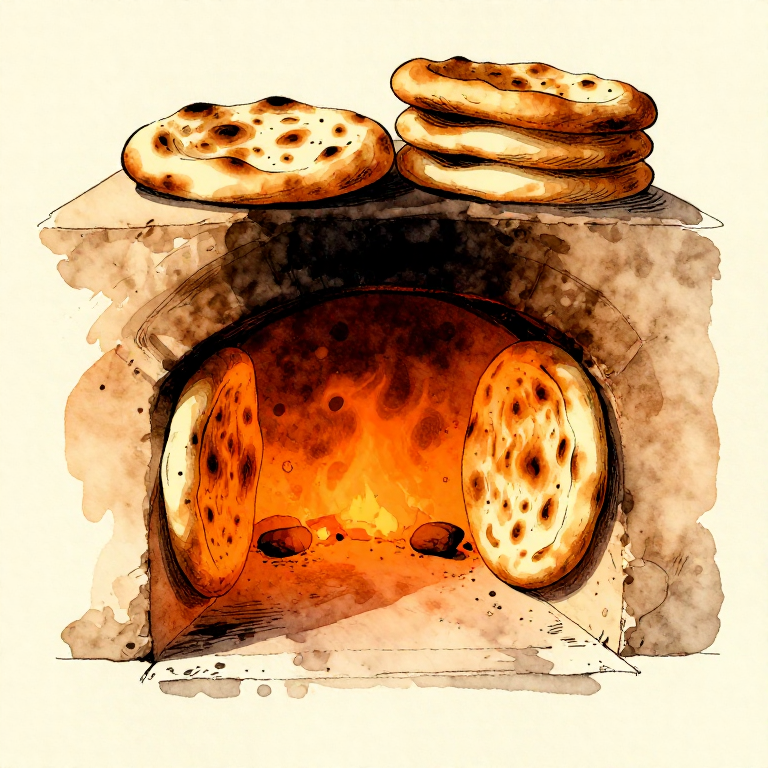
Build a wood fire inside the tannur and allow it to burn for 1-2 hours until the interior walls are uniformly hot — they should glow dull red or orange in dim light, indicating a temperature of approximately 400-480 degrees C. Rake out excess ash and embers, leaving a small fire at the base to maintain temperature. The thick clay walls store enormous thermal energy and radiate it back onto the bread from all sides simultaneously. This radiant heat environment produces the characteristic rapid baking (2-4 minutes per bread) and the distinctive char-blistered surface that is impossible to achieve in a conventional oven.
Bake Flatbread
Bake Flatbread
Form bread dough into thin rounds (5-8 mm thick, 20-25 cm diameter). Stretch a round over a damp cloth pad or your forearm and slap it firmly against the hot interior wall of the tannur. The dough adheres to the wall through a combination of moisture suction and dough stickiness. The bread bakes in 2-4 minutes — the side against the wall bakes from conducted heat while the exposed surface bakes from radiant heat. The bread puffs, blisters, and chars slightly. When done, peel the bread from the wall using a long hook. If a bread falls off into the embers, retrieve it quickly — the charcoal contact adds flavour. This is the identical technique used in modern tandoori bread (naan) restaurants, unchanged in over 5,000 years of continuous practice.
Материал
5- enough for a foundation ring ширхэгPlaceholder
Шаардлагатай багаж
2- Placeholder
- Placeholder
Related blueprints
Other builds that share materials, tools, or techniques with this one.
CC0 Нийтийн домэйн
Энэ загвар CC0 дор гаргагдсан. Та зөвшөөрөл авахгүйгээр хуулах, өөрчлөх, түгээх, ашиглах боломжтой.
Загвараар дамжуулан бүтээгдэхүүн худалдаж авч Бүтээгчийг дэмжээрэй Бүтээгчийн шимтгэл Борлуулагчаар тогтоосон, эсвэл энэ загварын шинэ хувилбар үүсгэж орлогоо хуваахын тулд өөрийн загварт холбоос болгон оруулна уу.