Хамтын ажиллагаа
УРЛАГ
ГОО САЙХАН БА ЭРҮҮЛ МЭНД
ГАРААР ХИЙСЭН
СОЁЛ БА ТҮҮХ
ҮЗВЭР НААДАМ
БАЙГАЛЬ ОРЧИН
ХООЛ БА УНДАА
УРВУУ ИНЖЕНЕРЧЛЭЛ
ШИНЖЛЭХ УХААН
СПОРТ
ТЕХНОЛОГИ
ӨМСДӨГ ХЭРЭГСЭЛ
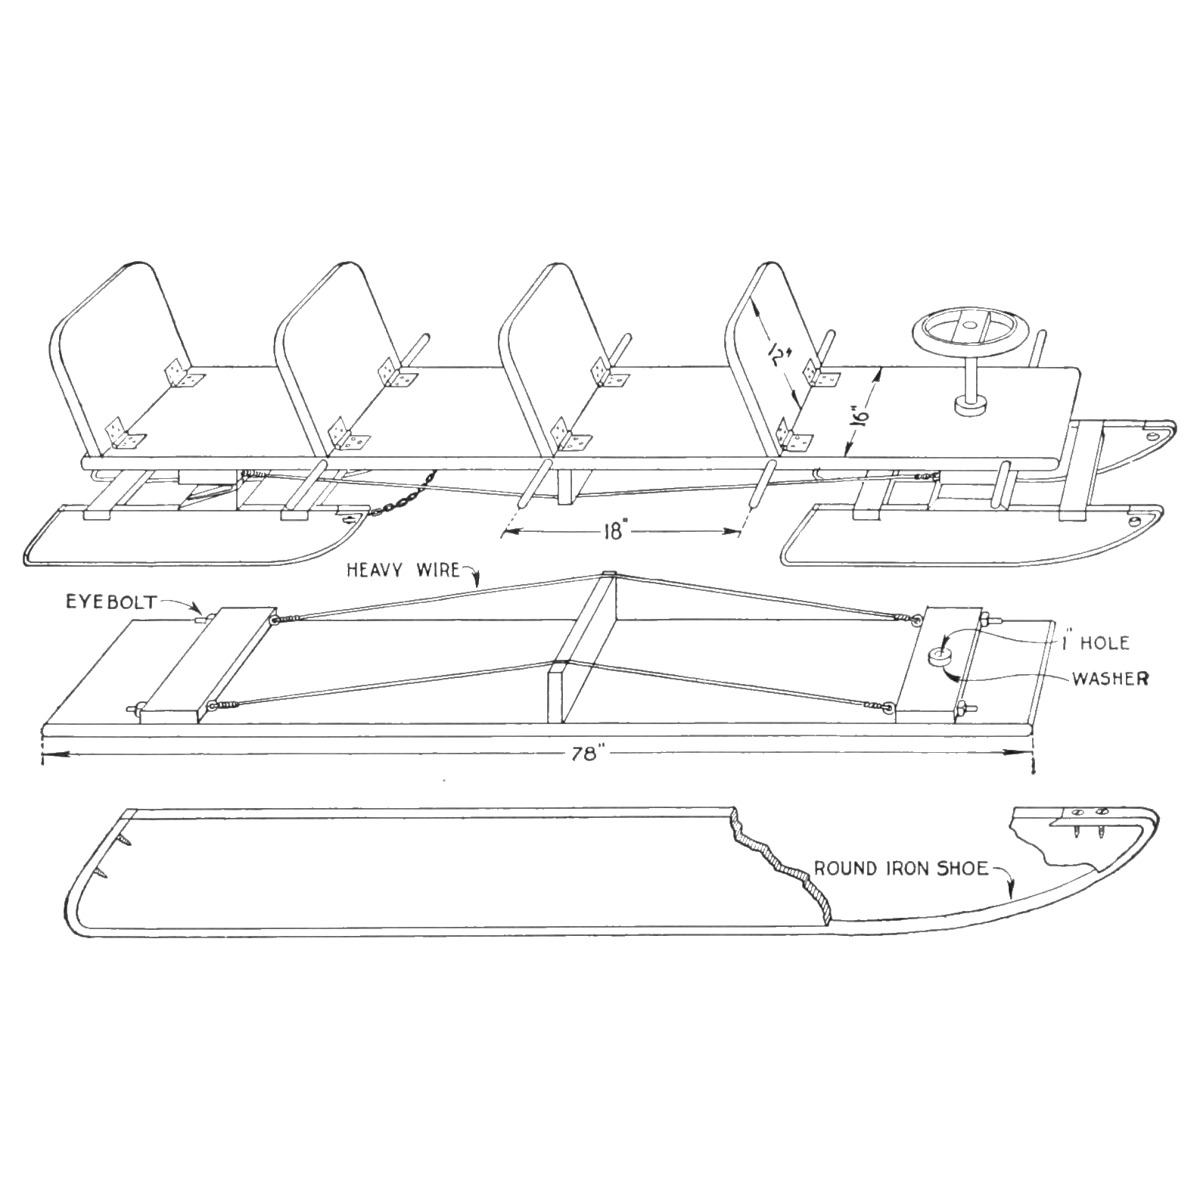


Four-Passenger Coasting Bobsled: Iron-Shod Ash Runners, Hinged Rear Sled and Hoop Steering Wheel (Boy Mechanic, 1915)
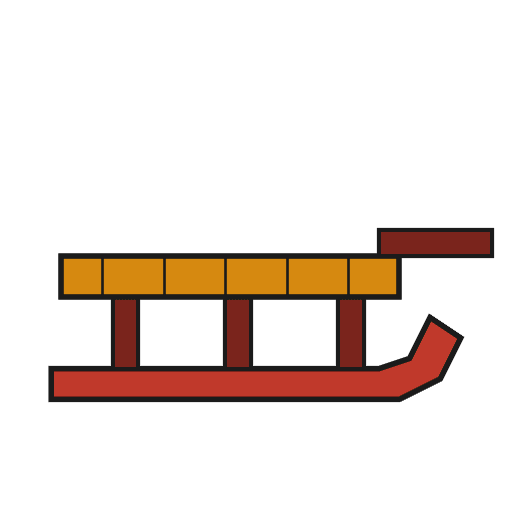
R. H. Allen's four-passenger coasting bob from The Boy Mechanic, Book 2 (1915): a 6-1/2 ft top board with four hinged seat backs, carried on two short sleds with ash runners shod in 5/8 in round iron. The rear sled rocks on a wedge and hinges to follow the ground; the front sled steers by a broom-handle post and a wheel made from a nail-keg hoop. Every size is his.
Дунд шат
About 3 days
Зааварчилгаа
1
1
His list of materials in centimetres
His list of materials in centimetres
Jupyter дэвтэр ачаалж байна…
2
2
Read The Boy Mechanic, Book 2
Read The Boy Mechanic, Book 2
"Any wood may be used for the sled, except for the runners, which should be made of ash." His list of materials: 1 top 6-1/2 ft x 16 in x 1-1/4 in; 4 runners 22 x 4 x 1 in; 4 crosspieces 16 x 3 x 1 in; 3 pieces 16 x 5 x 2 in; 1 piece 16 x 5 x 1 in; 1 shore 16 x 3 x 1 in; 4 seat backs 12 x 16 x 1 in; 1 dowel 3 ft x 1 in; 4 rods 5/8 in x 30 in; 4 eyebolts 1/2 x 6 in; 3 hinges 5 in strap; 8 hinges 3 in strap.
3
3
Shape and shoe the runners
Shape and shoe the runners
Cut one ash runner to shape and use it as the pattern for the other three. Cut a groove about 1/4 in deep along the under edge to take the curve of a 5/8 in round iron rod. Bend each rod to fit in the groove, up the back of the runner and over the top at the front; flatten the ends and drill two holes in each for wood screws (a blacksmith can flatten them, he says). Screw the irons on.
Энэ алхмын материал:
 Хатуу модон банз1 ширхэг
 Төмөр туйван4 ширхэг
 Модны шураг1 ширхэг
Шаардлагатай багаж:
 Гар хөрөө
 Муруй хөрөө
 Модны цүүцнүүд
 Нүүрсний зуух
 Дөш
 Дархны алх
 Ширээний хавчаар
 Гар өрөм
 Харандаа
4
4
Build the two sleds
Build the two sleds
Notch the top edges of each pair of runners for the 16 x 3 in crosspieces, near the ends, so the crosspieces lie flush with the runner tops and the notches of each pair line up. Fit them snugly, fasten with long, slim wood screws, and stiffen each joint inside with a small metal brace.
Энэ алхмын материал:
 Нарсан банз1 ширхэгМодны шураг1 ширхэг
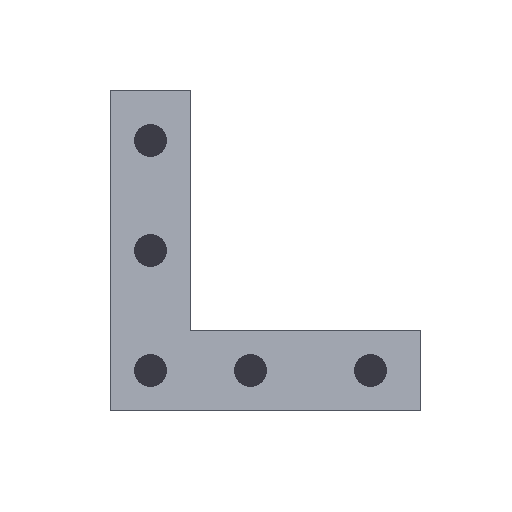 Булангийн төмөр бэхэлгээ8 ширхэг
Шаардлагатай багаж:
Гар хөрөөМодны цүүцнүүдГар өрөм5
5
Make the rocking rear joint
Make the rocking rear joint
Cut a heavy 2 x 5 in crosspiece sloping across its width, from 2 in thick at one edge to a feather edge at the other. Fix the three large strap hinges to the sloping face, and fasten the piece solidly on the rear sled's runners with its centre 8 in from their front ends. This lets the rear sled rock but not turn sideways.
Энэ алхмын материал:
Нарсан банз1 ширхэг Төмөр урт нугас3 ширхэгМодны шураг1 ширхэг
Шаардлагатай багаж:
Гар хөрөө Гар цүүц (модны хусуур)Гар өрөм
6
6
Mount the front sled crosspiece
Mount the front sled crosspiece
Fasten the supporting crosspiece on top of the front sled's runners with its centre 11 in from their front ends.
Энэ алхмын материал:
Нарсан банз1 ширхэгМодны шураг1 ширхэгШаардлагатай багаж:
Гар өрөм Соронзон хэмжих туузан шугам
7
7
Brace the top board
Brace the top board
Round both ends of the top board and plane it smooth. Underneath, fit two crosspieces, each with two 1/2 in holes bored through its width near the ends for the eyebolts: one with its centre 12 in from the rear end, the other 8 in from the front. Screw them on. Set the shore in the centre of the board, run wires over it between the eyebolts, and draw the eyebolts up until the wire is taut over the shore, so the long board cannot sag.
Энэ алхмын материал:
Нарсан банз1 ширхэг Нүдэн боолт4 ширхэг
 Төмөр утас1 ширхэгМодны шураг1 ширхэг
Шаардлагатай багаж:
Гар хөрөөГар цүүц (модны хусуур) Гар мушгиур өрөм ба үзүүрСоронзон хэмжих туузан шугам
8
8
Fit the seat backs and foot rests
Fit the seat backs and foot rests
Round the top corners of the four backs and cut the bottom ends at a slight angle for a slant. Hinge them to the top board with the small strap hinges every 18 in, starting at the rear. Bore 1 in holes about 1 in deep in the edges of the top board every 18 in, beginning about 5 in from the front, and drive in pins 4 in long cut from the dowel, as foot rests.
Энэ алхмын материал:
Нарсан банз1 ширхэгТөмөр урт нугас8 ширхэг Хатуу модон гадас1 ширхэгМодны шураг1 ширхэг
Шаардлагатай багаж:
Гар хөрөөГар мушгиур өрөм ба үзүүрСоронзон хэмжих туузан шугам9
9
Make the steering
Make the steering
Cut a broom handle to 18 in and fasten one end in a hole bored centrally in the 5 in crosspiece of the front sled. Bore a hole in the top board through the centre of the crosspiece underneath; put two metal washers on the stick and run it up through the hole, then fasten a hardwood collar to it just above the board so the top cannot lift off the sled. For the wheel, fasten a piece of wood across a nail-keg hoop, cover the hoop with garden hose and wrap it with twine; bore the centre of the crosspiece to fit the broom handle and screw it on.
Энэ алхмын материал:
 Шүүр1 ширхэг
 Хавтгай угаагуур2 ширхэгХатуу модон банз1 ширхэг
 Төмөр хүрээ1 ширхэг
 Резин хоолой1 ширхэг
 Жут дээс1 ширхэгМодны шураг1 ширхэг
Шаардлагатай багаж:
Гар хөрөөГар мушгиур өрөм ба үзүүрГар өрөм10
10
Join the sleds and fit the ropes
Join the sleds and fit the ropes
Fasten the rear sled to the top board with screws through the free wings of the hinges into the crosspiece. Bore holes in the front ends of all runners and attach a chain or rope: the rear one's loop to the underside of the top board, the front one for drawing the sled.
Энэ алхмын материал:
Модны шураг1 ширхэг Төмөр гинж1 ширхэг
Шаардлагатай багаж:
Гар мушгиур өрөм ба үзүүрГар өрөм11
11
Troubleshooting
Troubleshooting
Bobsled troubleshooting.
Flow
Loading...
12
12
History and honest limits
History and honest limits
From "Four-Passenger Coasting Bobsled" by R. H. Allen, in **The Boy Mechanic, Book 2**, Popular Mechanics, 1915 (Project Gutenberg 44585; checked on the archive.org scan boymechanicbook200chic2, pp. 24-26). The runner shape comes from his drawing, not from figures. The scan calls the steering collar a hardwood collar; the Gutenberg text drops "hardwood". The tools and metric figures are ours.
Материал
15- 1 ширхэгТүр орлуулагч
- 4 ширхэгТүр орлуулагч
- 8 ширхэгТүр орлуулагч
- 1 ширхэгТүр орлуулагч
- 8 ширхэгТүр орлуулагч
- 8 ширхэгТүр орлуулагч
- 4 ширхэгТүр орлуулагч
- 1 ширхэгТүр орлуулагч
- 1 ширхэгТүр орлуулагч
- 1 ширхэгТүр орлуулагч
- 2 ширхэгТүр орлуулагч
- 1 ширхэгТүр орлуулагч
- 1 ширхэгТүр орлуулагч
- 1 ширхэгТүр орлуулагч
- 1 ширхэгТүр орлуулагч
Шаардлагатай багаж
12- Түр орлуулагч
- Түр орлуулагч
- Түр орлуулагч
- Түр орлуулагч
- Түр орлуулагч
- Түр орлуулагч
- Түр орлуулагч
- Түр орлуулагч
- 1 vendor sell this, none ship to you yetТүр орлуулагч
- Түр орлуулагч
- 1 vendor sell this, none ship to you yetТүр орлуулагч
- Түр орлуулагч
Энэ загвараар хийдэг
Холбоотой загварууд
Эдгээр загварууд мэдлэг хуваалцдаг — арга техник, материал эсвэл зарчим
CC0 Нийтийн домэйн
Энэ загвар CC0 дор гаргагдсан. Та зөвшөөрөл авахгүйгээр хуулах, өөрчлөх, түгээх, ашиглах боломжтой.
Загвараар дамжуулан бүтээгдэхүүн худалдаж авч Бүтээгчийг дэмжээрэй Бүтээгчийн шимтгэл Борлуулагчаар тогтоосон, эсвэл энэ загварын шинэ хувилбар үүсгэж орлогоо хуваахын тулд өөрийн загварт холбоос болгон оруулна уу.