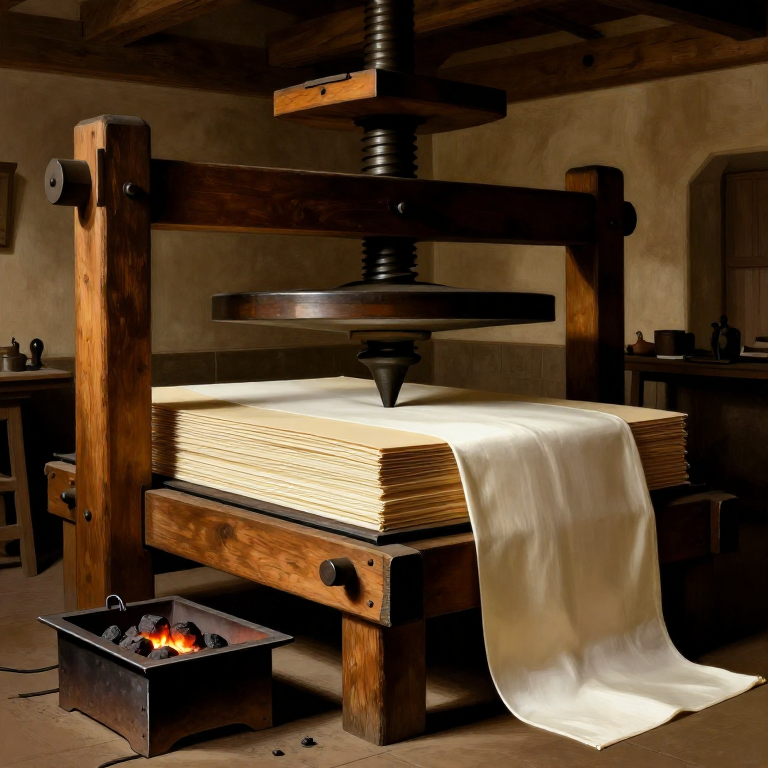
Pressing Broadcloth in a Screw Press — Hot and Cold Finishing for Lustre
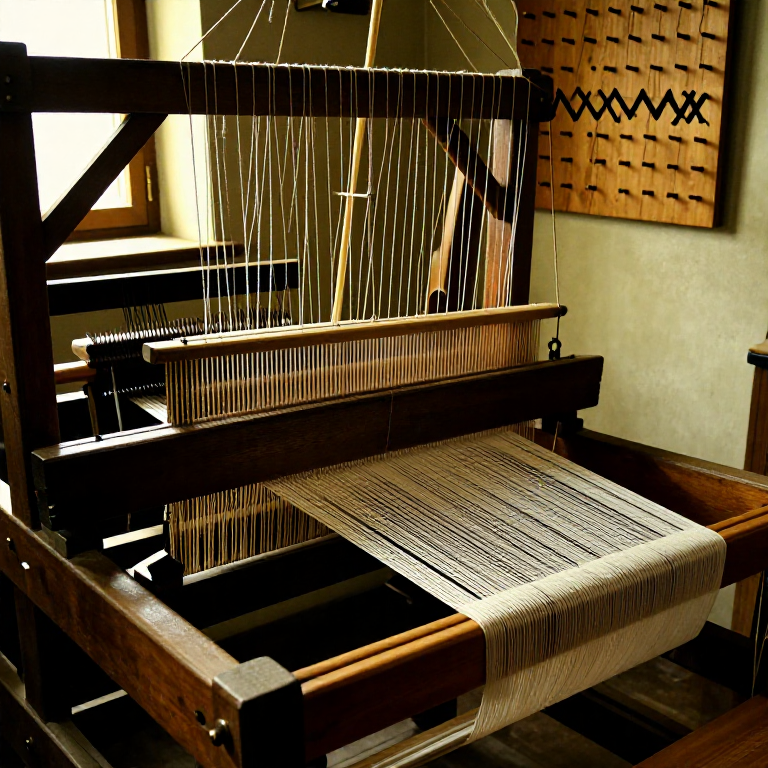
Pressing is the final step in the medieval broadcloth finishing sequence that gives the cloth its characteristic smooth, dense surface and subtle lustre. After the long cycles of fulling, tentering, napping, and shearing, the finished cloth is folded in layers with sheets of pasteboard or glazed linen between each fold, then placed in a massive wooden screw press and clamped under tremendous pressure for hours or overnight. Cold pressing flattens the sheared nap and gives a clean finish; hot pressing — where heated iron plates are inserted between the folds — adds a glaze and almost waxy sheen to the surface. The pressed cloth emerges with a body and hand that immediately distinguishes it from unfinished fabric. In medieval England, the quality of pressing was one of the marks inspected by guild aulnagers before cloth could be stamped and sold. This blueprint covers both cold pressing and hot pressing techniques using a traditional wooden screw press.
Зааварчилгаа
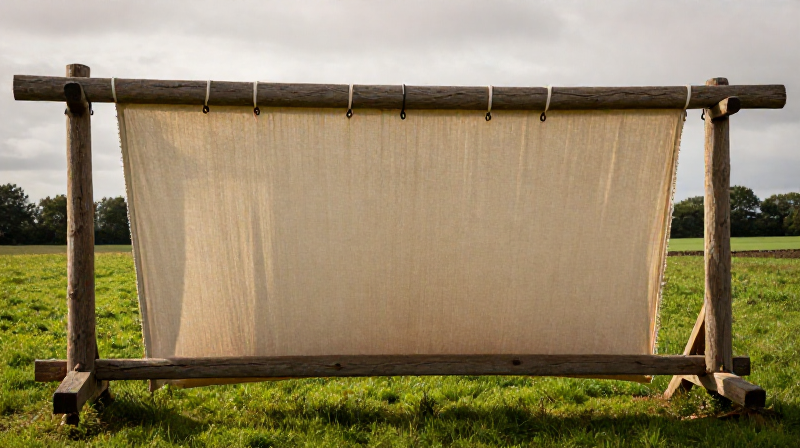
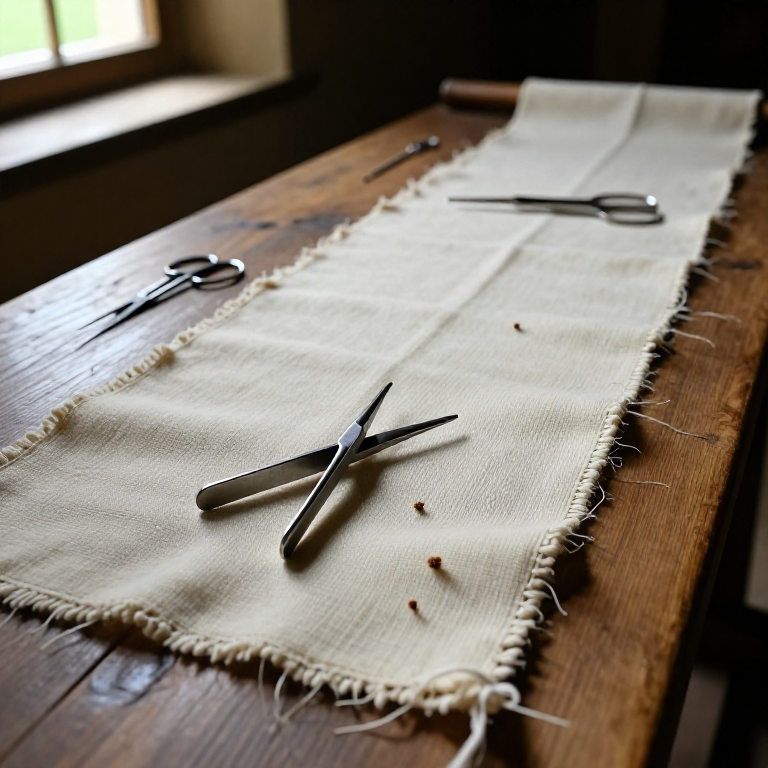
Inspect the finished cloth
Inspect the finished cloth
Materials for this step:
 Finished Broadcloth1 ширхэг
Prepare the pressing boards
Prepare the pressing boards
Fold the cloth with interleaving
Fold the cloth with interleaving
Materials for this step:
 Pressing Boards10 ширхэг
Place the cloth in the press
Place the cloth in the press
Tools needed:
 Cloth Screw Press
Apply cold pressure
Apply cold pressure
Leave under cold pressure
Leave under cold pressure
Release and inspect the cold-pressed cloth
Release and inspect the cold-pressed cloth
Prepare for hot pressing
Prepare for hot pressing
Tools needed:
 Iron Pressing Plates
Insert the hot plates
Insert the hot plates
Press with heat
Press with heat
Repeat with fresh plates if needed
Repeat with fresh plates if needed
Final release and inspection
Final release and inspection
Remove fold marks
Remove fold marks
Fold and seal for sale
Fold and seal for sale
Материал
2- 1 ширхэгPlaceholder
- 10 ширхэгPlaceholder
Шаардлагатай багаж
2- Placeholder
- Placeholder
Connected Blueprint Materials
Холбоотой загварууд
Эдгээр загварууд мэдлэг хуваалцдаг — арга техник, материал эсвэл зарчим
Related blueprints
Other builds that share materials, tools, or techniques with this one.
CC0 Нийтийн домэйн
Энэ загвар CC0 дор гаргагдсан. Та зөвшөөрөл авахгүйгээр хуулах, өөрчлөх, түгээх, ашиглах боломжтой.
Загвараар дамжуулан бүтээгдэхүүн худалдаж авч Бүтээгчийг дэмжээрэй Бүтээгчийн шимтгэл Борлуулагчаар тогтоосон, эсвэл энэ загварын шинэ хувилбар үүсгэж орлогоо хуваахын тулд өөрийн загварт холбоос болгон оруулна уу.