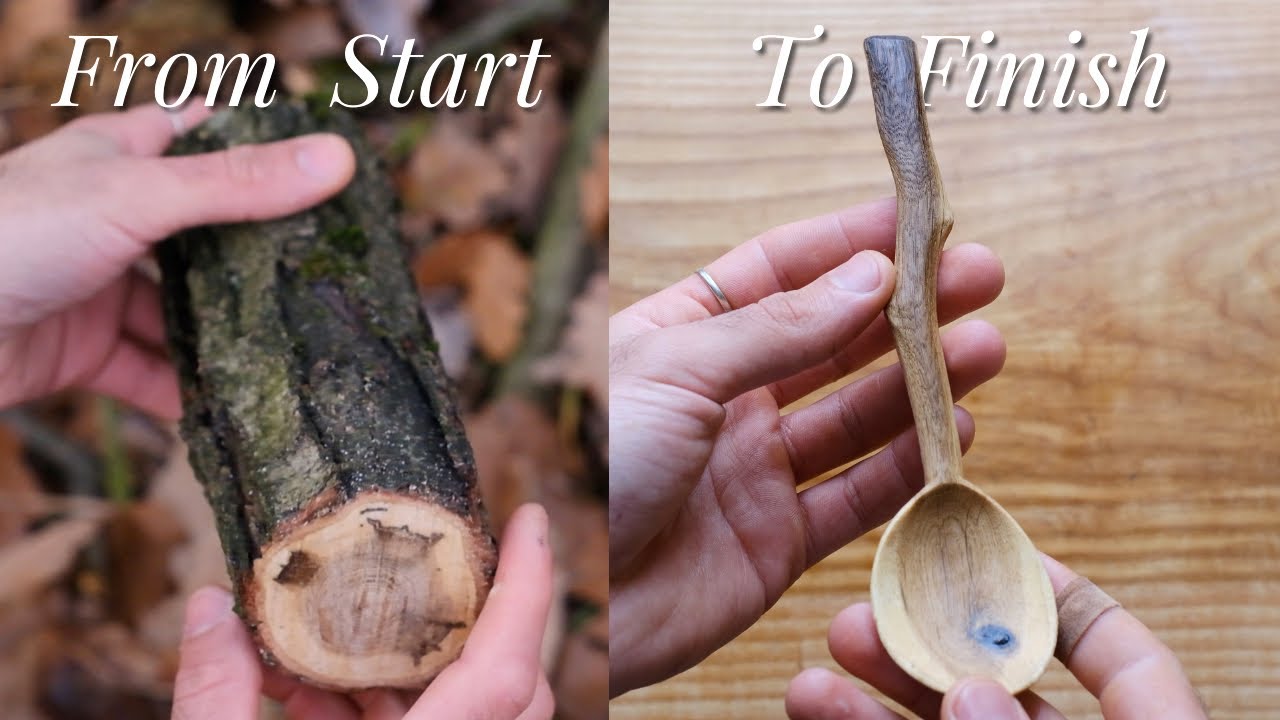
Making Treenails — Wooden Pegs for Timber Framing and Shipbuilding
Before iron nails were cheap, wood was fastened with wood. A treenail (pronounced 'trunnel') is a cylindrical wooden peg driven into a bored hole to lock a timber joint together. Treenails held together medieval roof trusses, Viking longships, and post-and-beam barns for centuries. In many applications they outperform iron nails — they do not rust, they swell when wet to tighten the joint, and they flex with the timber instead of working loose.
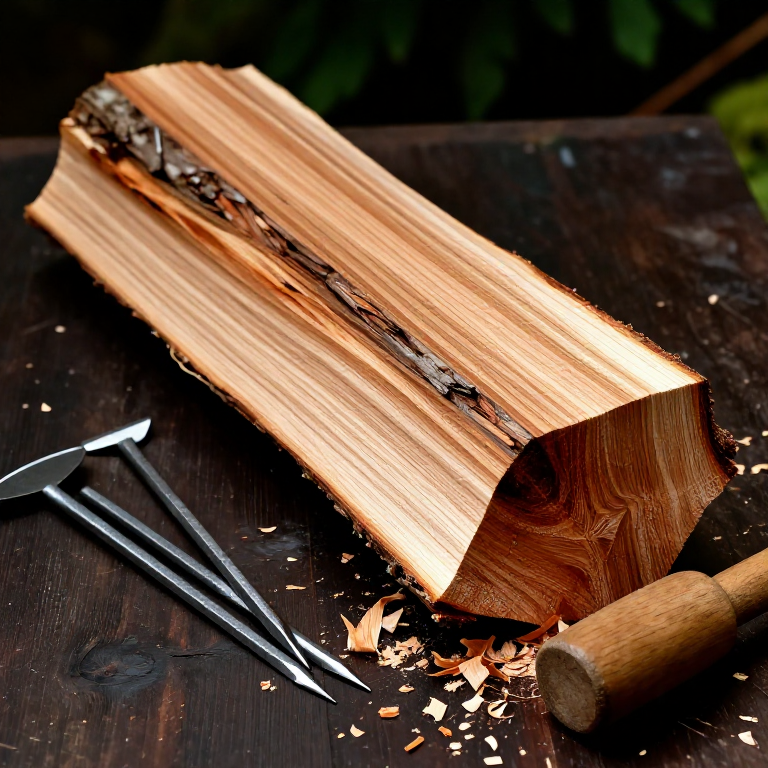
Treenails are always made from a wood harder or at least as hard as the timber they join. Oak treenails in oak frames, or locust treenails in softwood construction. They are riven from straight-grained stock, never sawn — riving preserves the grain continuity that gives the peg its shear strength. A sawn peg has cut fibres that snap under load.
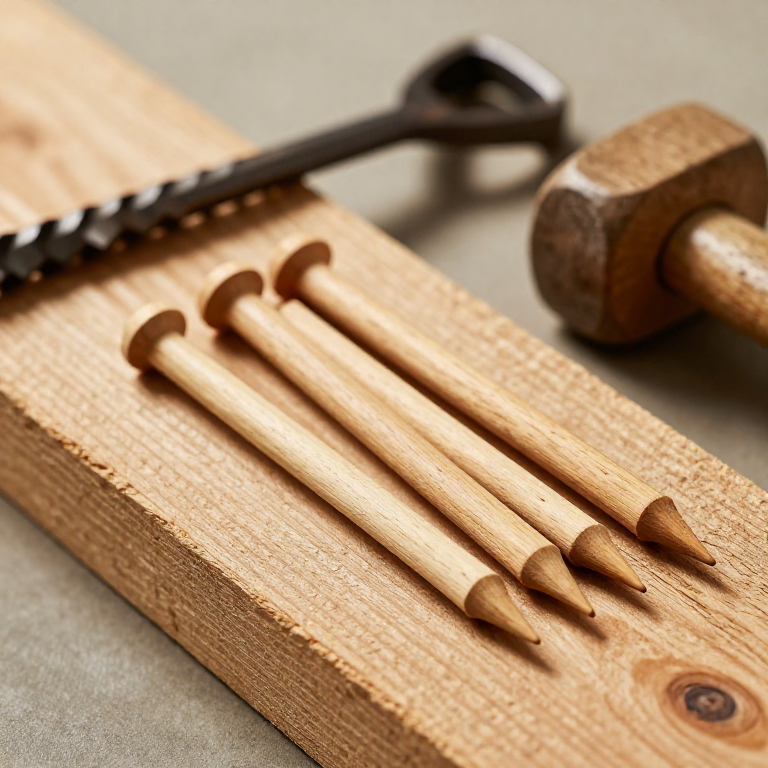
The technique is simple: rive a billet into rough square sections, then round them by driving through a steel plate with a round hole (a rounding die) or by shaving with a drawknife. The finished treenail is slightly tapered so it can be started in the hole and driven home with a mallet. Some traditions split the protruding end and drive a small hardwood wedge into the split, locking the treenail permanently.
Зааварчилгаа
Select straight-grained hardwood
Select straight-grained hardwood
Rive the billet into square blanks
Rive the billet into square blanks
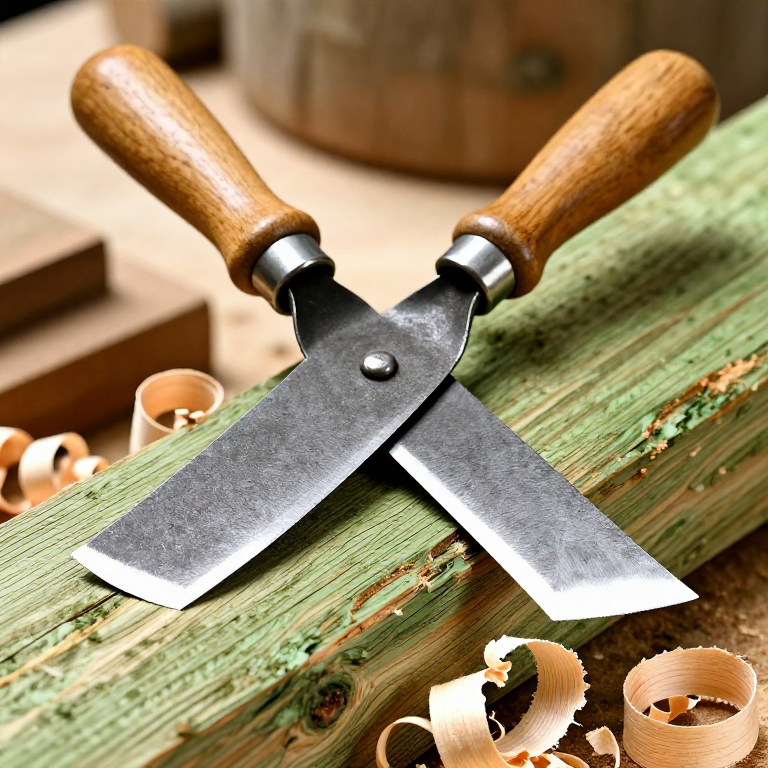
Tools needed:
 Froe
FroeRound the blanks
Round the blanks
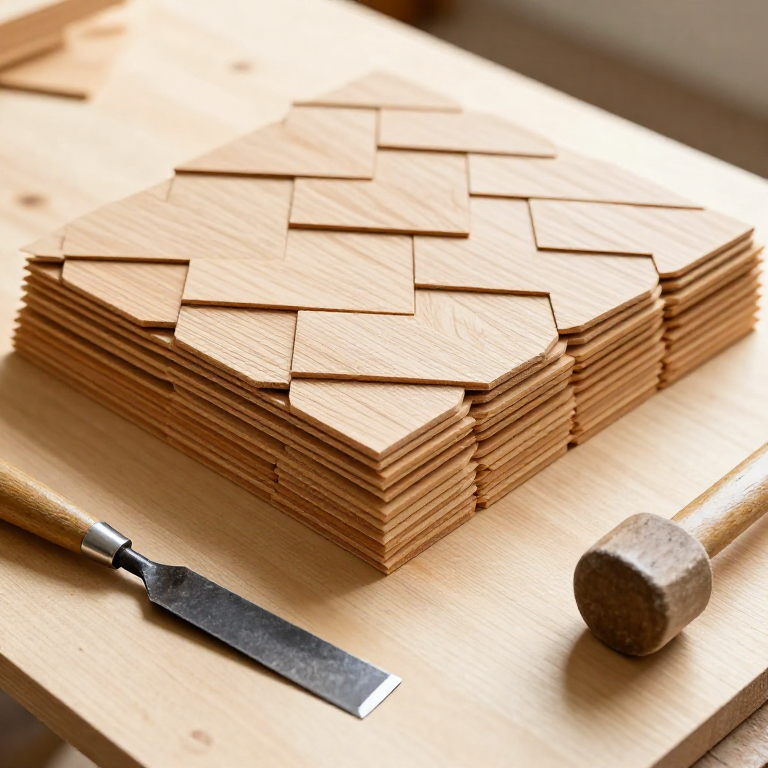
Taper the leading end
Taper the leading end
Bore the holes and drive the treenails
Bore the holes and drive the treenails
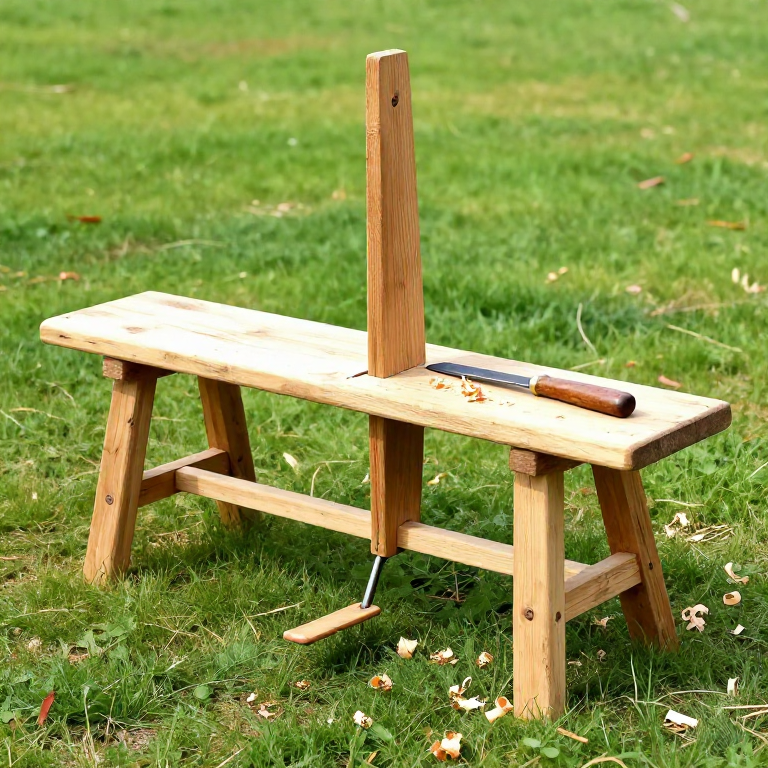
Tools needed:
 Hand Auger
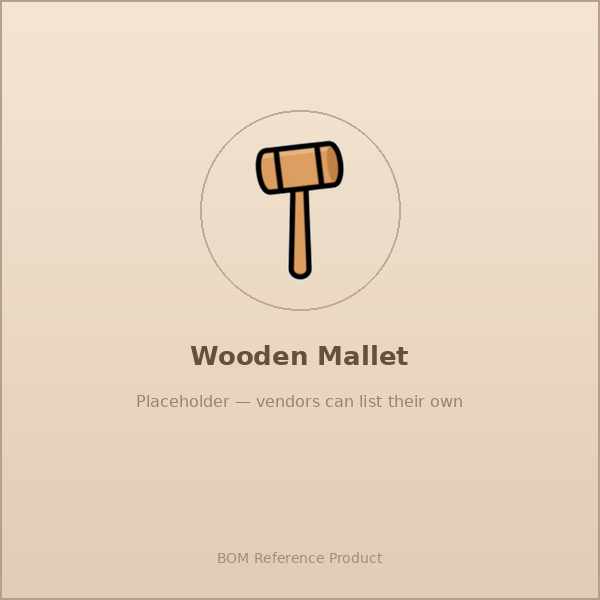 Wooden Mallet
Wedge the protruding end (optional lock)
Wedge the protruding end (optional lock)
Connected Blueprint Materials
Холбоотой загварууд
Эдгээр загварууд мэдлэг хуваалцдаг — арга техник, материал эсвэл зарчим
Related blueprints
Other builds that share materials, tools, or techniques with this one.
CC0 Нийтийн домэйн
Энэ загвар CC0 дор гаргагдсан. Та зөвшөөрөл авахгүйгээр хуулах, өөрчлөх, түгээх, ашиглах боломжтой.
Загвараар дамжуулан бүтээгдэхүүн худалдаж авч Бүтээгчийг дэмжээрэй Бүтээгчийн шимтгэл Борлуулагчаар тогтоосон, эсвэл энэ загварын шинэ хувилбар үүсгэж орлогоо хуваахын тулд өөрийн загварт холбоос болгон оруулна уу.