УРЛАГ
ГОО САЙХАН БА ЭРҮҮЛ МЭНД
ГАРААР ХИЙСЭН
СОЁЛ БА ТҮҮХ
ҮЗВЭР НААДАМ
БАЙГАЛЬ ОРЧИН
ХООЛ БА УНДАА
НОГООН ИРЭЭДҮЙ
УРВУУ ИНЖЕНЕРЧЛЭЛ
ШИНЖЛЭХ УХААН
СПОРТ
ТЕХНОЛОГИ
ӨМСДӨГ ХЭРЭГСЭЛ
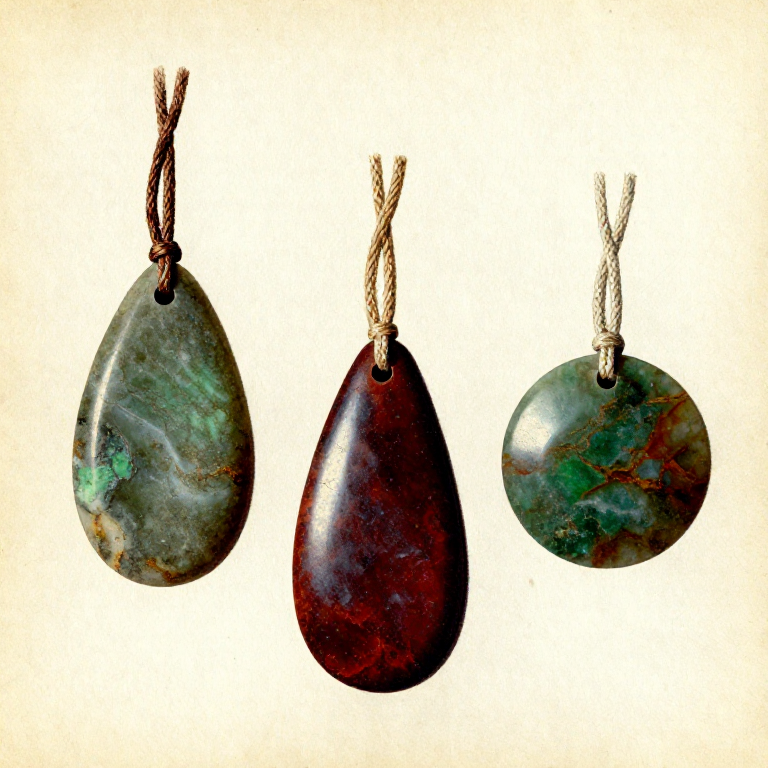
Making a Polished Stone Pendant — Prehistoric Personal Ornament
Stone pendants are among the earliest personal ornaments in human history, with examples found at archaeological sites dating back over 100,000 years. A pendant is a flat stone that has been shaped, smoothed, polished, and perforated with a suspension hole so it can be worn on a cord around the neck. The oldest known examples include perforated marine shells and flat stone pendants from Blombos Cave in South Africa (circa 75,000 BCE) and the Grotte du Renne in France (circa 42,000 BCE, attributed to Neanderthals). Suitable materials include soapstone (steatite), slate, serpentine, jade, schist, and any attractive stone that is soft enough to shape and drill with stone-age tools. The drilling technique is the most challenging step — a flint drill point or bow drill with wet sand as an abrasive is used to bore a clean hole through the stone. The hole must be drilled from both sides to prevent breakout, where the drill punches through and chips the exit surface. This blueprint covers selecting a stone, shaping it by grinding, polishing the surface, drilling the suspension hole, and threading it on a cord.
Анхан шат
2-3 hours
Зааварчилгаа
1
1
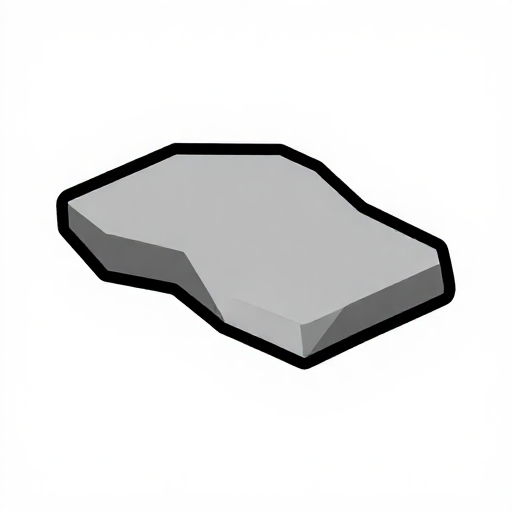
Select a Flat, Attractive Stone
Select a Flat, Attractive Stone
Choose a flat stone 4 to 7 cm long, 3 to 5 cm wide, and 5 to 8 mm thick. Soapstone is the easiest material — it is soft (Mohs 1 to 2), comes in attractive greens and greys, and polishes to a smooth satin finish. Slate, serpentine, and schist also work well. Avoid stones harder than Mohs 5 — they are extremely difficult to drill with stone tools.
Materials for this step:
 Soapstone1 ширхэг
2
2
Rough Out the Basic Shape
Rough Out the Basic Shape
If the stone is not already close to the desired pendant shape, rough it out by tapping the edges with a small hammerstone to remove excess material. Strike at a low angle to chip away small pieces rather than risking a crack through the centre. For soapstone, you can also score a line with a flint point and snap along it. Aim for an oval, teardrop, or disc shape.
Tools needed:
 Hammerstone
3
3
Grind the Pendant to Final Shape
Grind the Pendant to Final Shape
Rub the rough pendant against a flat sandstone slab in long, steady strokes. Work all edges and both faces until the shape is symmetrical and even. Grind the edges to a smooth curve — no sharp corners that could catch on clothing or snap off. Check the thickness — the pendant should be at least 4 mm thick at the narrowest point to survive drilling.
Materials for this step:
 Sandstone1 ширхэг
4
4
Smooth Both Faces on Progressively Finer Stone
Smooth Both Faces on Progressively Finer Stone
After shaping on coarse sandstone, switch to a finer-grained sandstone or siltstone slab. Rub both flat faces in circular motions until all visible scratches from the coarse grinding are removed. The surface should feel smooth to the touch with no rough patches. This step typically takes 15 to 20 minutes per face.
Materials for this step:
Sandstone1 ширхэг5
5
Polish the Surface to a Satin Finish
Polish the Surface to a Satin Finish
Wet the pendant and rub it vigorously with a piece of soft leather or a smooth water-worn pebble. The combination of water, pressure, and the fine natural abrasive in the stone itself produces a satin polish. For soapstone, this step transforms the surface from matte grey-green to a glossy, almost waxy sheen. Continue until the surface reflects light.
6
6
Mark the Drill Hole Position
Mark the Drill Hole Position
Mark the position for the suspension hole near one end of the pendant, approximately 5 to 8 mm from the edge. The hole must be far enough from the edge that the remaining stone can support the weight of the pendant without cracking, but close enough that the cord hangs naturally. Scratch a small cross or dot on both sides of the pendant at the exact same position — alignment from both sides is critical.
Tools needed:
 Flint Knife
7
7
Create a Starting Dimple on Each Side
Create a Starting Dimple on Each Side
Using a sharp flint point, press and twist firmly at the marked drill position to create a small conical dimple on each side of the pendant. These dimples guide the drill point and prevent it from wandering across the polished surface. The dimple should be about 1 to 2 mm deep — just enough to seat the drill point securely.
Tools needed:
Flint Knife8
8
Prepare a Flint Drill Point
Prepare a Flint Drill Point
Select or knap a small flint flake with a strong, pointed tip. The drill point should be 2 to 3 mm wide at the tip and taper to a sharp point. If using a bow drill, haft the flint point into a short wooden dowel by splitting the end and binding the flint in place with sinew. For hand drilling, the point can be held directly between the fingers and rotated.
Tools needed:
 Bone Awl
9
9
Drill from the First Side with Wet Sand
Drill from the First Side with Wet Sand
Place the pendant flat on a leather pad or soft wood surface. Add a pinch of fine wet sand to the dimple — this acts as an abrasive that does most of the actual cutting. Press the flint drill point into the dimple and rotate it between your palms (or use a bow drill for faster rotation). Apply steady downward pressure while rotating. Add fresh wet sand every 30 seconds. Drill halfway through the stone thickness, then stop.
Materials for this step:
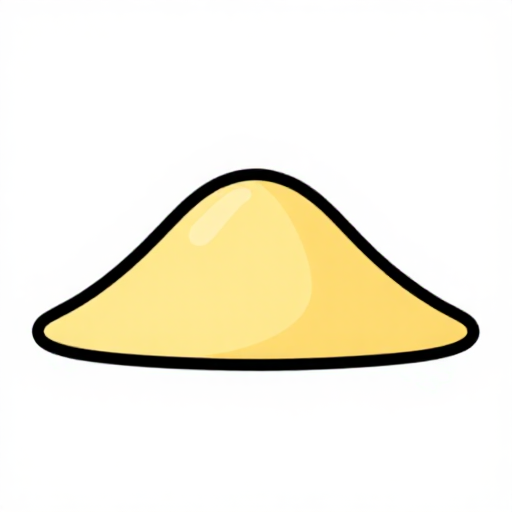 Clean Dry Sand10 г
Tools needed:
Bone Awl10
10
Flip and Drill from the Second Side
Flip and Drill from the Second Side
Turn the pendant over. Place the drill point in the dimple on the second side and drill downward in the same manner with fresh wet sand. When the hole from the second side meets the hole from the first side, you will feel the drill suddenly push through with less resistance. Drilling from both sides prevents the exit breakout that occurs when drilling straight through from one side.
Materials for this step:
Clean Dry Sand10 гTools needed:
Bone Awl11
11
Smooth and Widen the Hole
Smooth and Widen the Hole
Insert a thin pointed stone or a rolled piece of wet sandstone into the hole and rotate it to smooth the interior walls. The finished hole should be 3 to 4 mm in diameter — wide enough for sinew or thin cordage to pass through easily, but not so wide that it weakens the surrounding stone. Remove any sharp edges around both openings by gently grinding with fine sandstone.
Tools needed:
Sandstone12
12
Final Polish After Drilling
Final Polish After Drilling
The area around the drill hole may have been scratched during drilling. Give the entire pendant a final polish with wet leather or a smooth pebble to restore the surface finish. Pay special attention to the edges of the drill hole — they should be smooth and slightly rounded.
13
13
Thread the Pendant on Cordage
Thread the Pendant on Cordage
Cut a length of sinew thread or plant-fibre cordage approximately 60 to 80 cm long — enough to pass over the head with room to spare. Thread the cord through the drilled hole and tie a secure knot. For sinew, wet it first to make it pliable, thread it through, and let it dry — it shrinks and tightens as it dries, forming a permanent knot. For plant cordage, use a simple overhand knot doubled back on itself.
Materials for this step:
 Cordage1 ширхэг
14
14
Assess the Finished Pendant
Assess the Finished Pendant
Hold the pendant by the cord and let it hang freely. It should hang flat with the polished face forward. Check that the cord moves freely through the hole without catching. The pendant should feel smooth in the hand with no sharp edges. A well-made soapstone pendant weighs approximately 20 to 40 g — light enough for comfortable daily wear. The finished piece is both a personal ornament and a demonstration of core Stone Age skills: shaping, grinding, polishing, and drilling.
Материал
4- 1 ширхэгPlaceholder
- 2 ширхэгPlaceholder
- 20 гPlaceholder
Connected Blueprint Materials
Холбоотой загварууд
Эдгээр загварууд мэдлэг хуваалцдаг — арга техник, материал эсвэл зарчим
Related blueprints
Other builds that share materials, tools, or techniques with this one.
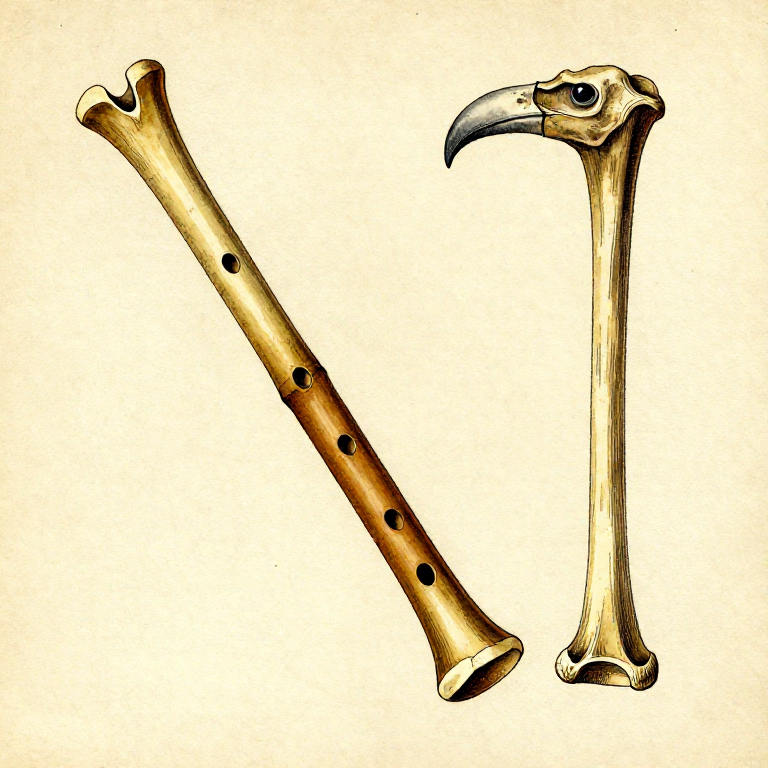
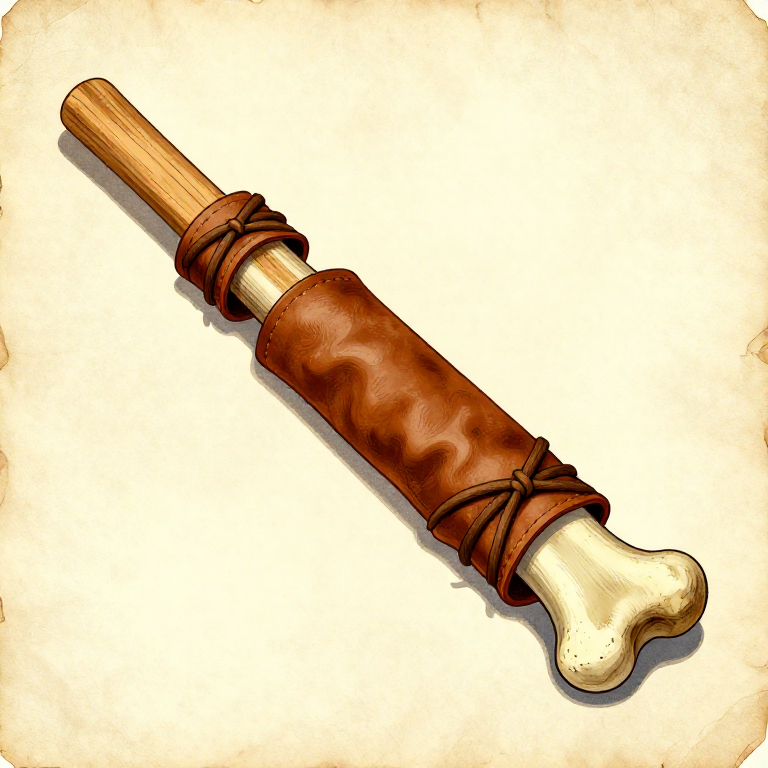
Carving a Bone Flute — Prehistoric Musical Instrumentwoodworking
Setting a Broken Bone with a Splint and Bandage — Prehistoric Fracture Treatmentbiology
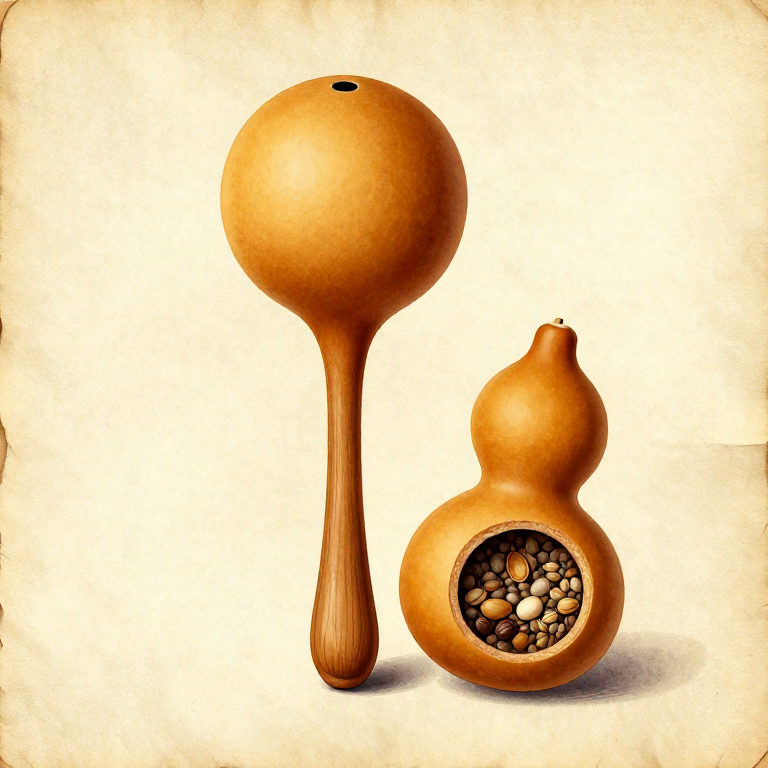
Making a Gourd Rattle — Prehistoric Seed-Pod Musical Instrumentwoodworking
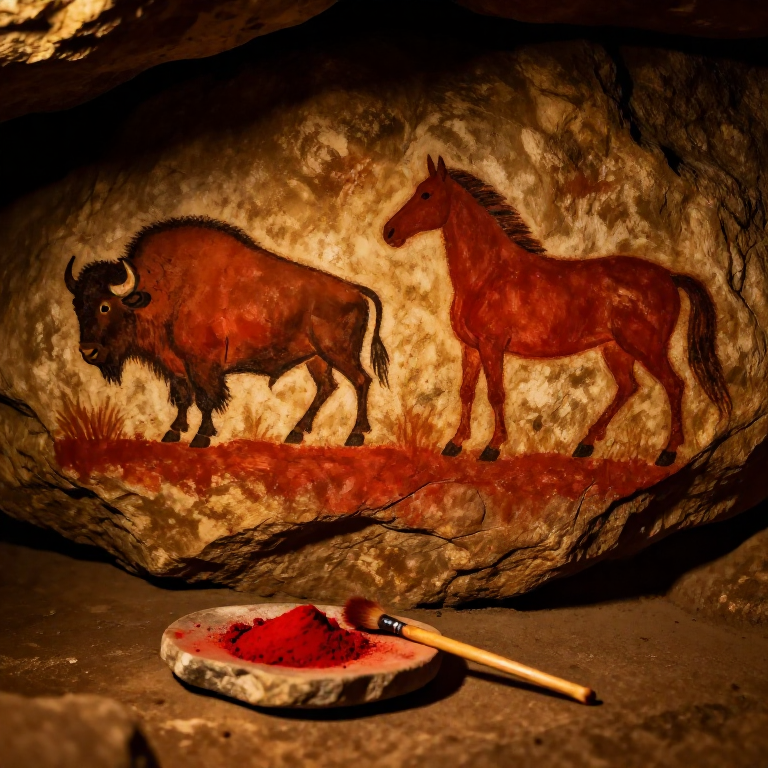
Making Cave Paintings with Mineral Pigments — Prehistoric Rock Art Techniqueschemistry
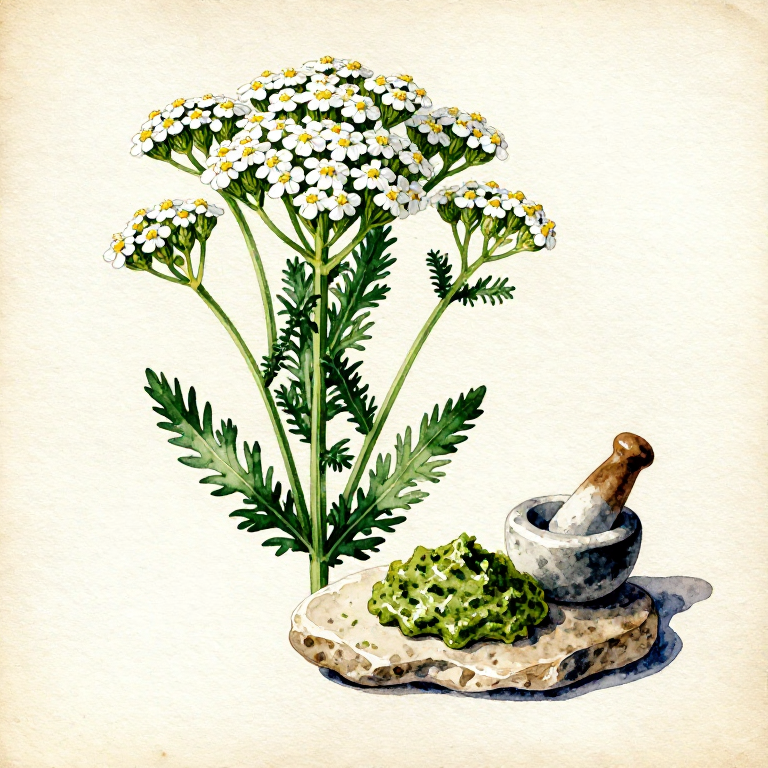
Preparing a Yarrow Wound Poultice — Prehistoric Herbal First Aidbiology
Carving a Wooden Paddle from a Single Piece of Hardwood — Prehistoric Watercraft Propulsionwoodworking
CC0 Нийтийн домэйн
Энэ загвар CC0 дор гаргагдсан. Та зөвшөөрөл авахгүйгээр хуулах, өөрчлөх, түгээх, ашиглах боломжтой.
Загвараар дамжуулан бүтээгдэхүүн худалдаж авч Бүтээгчийг дэмжээрэй Бүтээгчийн шимтгэл Борлуулагчаар тогтоосон, эсвэл энэ загварын шинэ хувилбар үүсгэж орлогоо хуваахын тулд өөрийн загварт холбоос болгон оруулна уу.