УРЛАГ
ГОО САЙХАН БА ЭРҮҮЛ МЭНД
ГАРААР ХИЙСЭН
СОЁЛ БА ТҮҮХ
ҮЗВЭР НААДАМ
БАЙГАЛЬ ОРЧИН
ХООЛ БА УНДАА
УРВУУ ИНЖЕНЕРЧЛЭЛ
ШИНЖЛЭХ УХААН
СПОРТ
ТЕХНОЛОГИ
ӨМСДӨГ ХЭРЭГСЭЛ


Reading a Sheet-Metal Fault
Eight rungs of this batch have each ended with a part that came out right. This one is about the ones that do not, because a fault is the only thing in a workshop that tells you what was actually happening.
Sheet metal is unusually good at this. A wrinkle, a split, a scalloped rim, a bright score down a wall — each of those names a specific cause, and the name is usually enough to fix it. Almost every one reduces to one of three things: the metal was asked to stretch too far, the metal was not held tightly enough, or the edge it started from was bad.
The graph on this page is the same information before the part is even finished: punch force against punch travel, which draws the fault while it is happening. This rung builds a board of deliberate faults, learns to read them, and ends with the process window that all of them live inside.
It is a **sibling** to the deep-drawing rung, not a repeat of it: that one makes a cup, this one diagnoses across blanking, bending, drawing and seaming.
Дунд шат
About 3 hours
Зааварчилгаа
1
1
Make the faults on purpose and label them
Make the faults on purpose and label them
A fault board is the most useful thing you will make in this batch, and it takes an afternoon. Make each of these deliberately, on scrap, and label every one in permanent marker with what you did to cause it. Keep them.
1. **Wrinkled flange** — draw a cup with the blank holder barely finger tight.
2. **Split wall** — draw an identical cup with the blank holder bolted down hard.
3. **Cracked bend** — bend a coupon with the sheared burr on the *outside* of the bend, along the grain, at a radius below one thickness.
4. **Good bend, same radius** — the same coupon deburred and bent across the grain. This is the control and it is the one that makes the board convincing.
5. **Orange peel** — stretch a coarse-grained coupon hard over a dome.
6. **Eared rim** — draw a cup right through and leave the rim untrimmed.
7. **Galled wall** — draw a cup dry, with no lubricant at all, on a die you do not mind marking.
8. **Oil-canning panel** — a flat 150 mm square of thin sheet with no bead in it. Press the middle and listen.
9. **Unrolled seam** — the plain lock seam from rung 5, peeled.
Nine samples, nine labels. Then put them somewhere you will see them, because the value of the board is recognition speed: the point is to look at a bad part six months from now and know within a second which of these it is.
Энэ алхмын материал:
 Хөнгөн цагаан хуудас2 ширхэг
 Цайрдсан ганы хавтан 0,9 мм2 ширхэг
 Гуулин хуудас1 ширхэг
Шаардлагатай багаж:
 Гидравлик пресс
 Гидравлик нугалах шахуурга (12 тонн)
 Ширээний хавчаар
 Төмөр хайч
 Арилдаггүй маркер
 Дижитал штангенциркуль 6 инч
 Ирмэг цэвэрлэх багаж
 Тунгалаг хамгаалалтын нүдний шил
 Арьсан ажлын бээлий
2
2
Learn the difference between a split and a tear
Learn the difference between a split and a tear
Two failures look similar at arm's length and mean opposite things. Under the microscope they are unmistakable, and telling them apart is the single most valuable skill in this rung.
**A split** is a *ductile* failure in metal that was stretched too far. Look for:
- **local thinning** right at the failure — measure it with the micrometer against the metal 10 mm away, and it will be markedly thinner;
- a **neck**, a visible narrowing that preceded the opening;
- a rough, fibrous fracture face;
- often an **orange-peel** surface nearby, because that metal was heavily strained.
**A tear from an edge** is a crack that started at the blank's edge and ran. Look for:
- **no thinning** — the metal at the failure is the same thickness as its neighbours;
- the crack starting exactly at the boundary, usually at a burr or in rung 1's fracture zone;
- a flat, straighter fracture face.
The distinction matters because the fixes are opposite. A split says *the metal was asked for too much* — reduce the demand: less blank holder force, more lubricant, a softer temper, a bigger radius. A tear says *the metal was fine, the edge was not* — fix the edge, and changing the press settings will do nothing at all.
Go through your fault board with the micrometer and sort every failure into one of the two before you read step 4's table. Getting this wrong is why people spend a day adjusting a press that was never the problem.
Шаардлагатай багаж:
 Тоон микроскоп
 МикрометрДижитал штангенциркуль 6 инч
 Зайн хэмжигчийн багц
 Лабораторийн тэмдэглэлийн дэвтэр (хуулбартай)
3
3
Put a load cell on the press and watch the fault happen
Put a load cell on the press and watch the fault happen
The graph on this page is punch force against punch travel for a draw. If you can log force, you can see a fault before the part exists.
The simplest rig that works: a load cell or a bathroom-scale strain gauge between the ram and the punch, read by the Arduino or a meter, with travel read off a dial indicator or just marked every 2 mm on the ram and read by eye. Two people, one calling travel and one calling force, is a perfectly good instrument for this.
Draw four cups and record force every 2 mm:
- **normal**, properly held and lubricated;
- **blank holder loose**;
- **blank holder tight**;
- **dry, no lubricant**.
Plot all four on one sheet of graph paper. The shapes in step 4 are what you are looking for, and they are distinguishable by eye long before they are distinguishable in numbers:
- a **rounded peak that falls away** is a healthy draw;
- a **cliff** is a split;
- a **saw-tooth** on the rise is wrinkles being dragged into the die gap one at a time;
- a **peak much higher than the others** is friction — too tight, or no lubricant.
The most useful thing on the plot is *where* the peak is. The force peaks when the flange is small and still being pulled, and a draw that is going to split splits just before the peak. If you are watching a gauge, that is your warning.
Энэ алхмын материал:
Хөнгөн цагаан хуудас2 ширхэгШаардлагатай багаж:
Гидравлик пресс Гар шахуурга
 Ачааллын мэдрэгч
 Arduino Uno R3Дижитал штангенциркуль 6 инч
 Шугам
Шугам Нүдэлсэн цаасТунгалаг хамгаалалтын нүдний шилАрьсан ажлын бээлийЛабораторийн тэмдэглэлийн дэвтэр (хуулбартай)
 Ланолин
4
4
The sketch that logs force against travel
The sketch that logs force against travel
This is the whole instrument for step 3. It reads a load cell through an HX711 amplifier and prints one comma-separated line every time you press ENTER, stamping the current force against the next 2 mm of travel. Two columns, straight into the graph paper or a spreadsheet.
Three things in it are worth reading rather than skipping:
- **It tares on command, not at power-up.** A press has weight on the cell before you start; taring blind records that as force.
- **It averages five reads.** A single HX711 conversion is quiet, but a hand press pumping is not, and one reading taken at the wrong instant of a stroke is noise pretending to be a measurement.
- **The calibration figure is found, not assumed.** The comment block at the bottom is the procedure: tare empty, load a known mass, divide. A load cell that has never been checked against a known weight is producing numbers, not measurements, and this whole rung is about not confusing those two.
Upload it, calibrate it against something you have weighed, and then run step 3's four draws through it.
draw_force_log.inoarduino
Энэ алхмын материал:
Ачааллын мэдрэгч1 ширхэгШаардлагатай багаж:
 Arduino IDE суулгасан компьютер
 Мультиметр
 Матан хавчаартай туршилтын утасArduino Uno R3
5
5
The process window, and the fault table
The process window, and the fault table
Jupyter дэвтэр ачаалж байна…
Шаардлагатай багаж:
Нүдэлсэн цаас6
6
History and context
History and context
**Attribution, stated honestly.** No patent is claimed for this rung and none exists to claim: reading a fault is a craft skill that every press shop develops and writes down in its own words. What *was* invented, and is worth naming, is the framework that makes those words comparable — the **forming limit diagram**, developed by Stuart Keeler and Walter Backofen and by Gorton Goodwin in the mid-1960s, which puts the major and minor strains from rung 6's circle grid on one chart and draws a line between what survives and what splits. Every modern press shop's diagnosis sits on that chart.
**Why the faults are so few.** Eleven named faults in step 4's table, and almost all of them reduce to three causes: asked to stretch too far, not held enough, or a bad starting edge. That is not a coincidence — sheet metal has only a few degrees of freedom. It can thin, it can buckle, or it can crack from a flaw, and every named fault is one of those three wearing a location.
**Why this rung closes the batch.** The nine rungs here are one argument: a flat sheet has no shape and no stiffness, and every operation in the discipline is a way of giving it one or the other. Cut it (rung 1), fold it (2), corrugate it (3), roll it into a joint (4, 5), measure what it will take (6), press it against rubber (7), draw a fastener out of it (8). This rung is what happens when one of those is asked for slightly more than it can give, and it is where a maker actually spends their time.
**Honest limits.** A fault board is a recognition aid, not a diagnosis. Two different causes can produce faults that look identical — a wall split from an over-tight blank holder and one from a die radius that is too sharp look the same on the part, and the only way to separate them is the micrometer test in step 2 plus a look at the tooling. The process window in step 4 assumes a round cup and a uniform blank holder; a real part is neither, and its window is different at every point round the die. And none of this substitutes for keeping the tooling clean: a large fraction of the faults blamed on material are metal picked up on a die radius.
Материал
4- 2 ширхэгТүр орлуулагч
- 2 ширхэгТүр орлуулагч
- 1 ширхэгТүр орлуулагч
- 1 ширхэгТүр орлуулагч
Шаардлагатай багаж
22- Түр орлуулагч
- Гидравлик нугалах шахуурга (12 тонн)10% комиссТүр орлуулагч
- Түр орлуулагч
- Түр орлуулагч
- Түр орлуулагч
- Түр орлуулагч
- Түр орлуулагч
- Түр орлуулагч
- Түр орлуулагч
- Түр орлуулагч
- Түр орлуулагч
- Түр орлуулагч
- Түр орлуулагч
- Түр орлуулагч
- Түр орлуулагч
- 1 vendor sell this, none ship to you yetТүр орлуулагч
- Түр орлуулагч
- Түр орлуулагч
- Түр орлуулагч
- Түр орлуулагч
- Түр орлуулагч
- Түр орлуулагч
Холбоотой загварууд
Эдгээр загварууд мэдлэг хуваалцдаг — арга техник, материал эсвэл зарчим

Blanking: The Punch, the Die, and the Gap Between Them
Forge зохиосон
Металл боловсруулалт
39
0
0
0
0
0
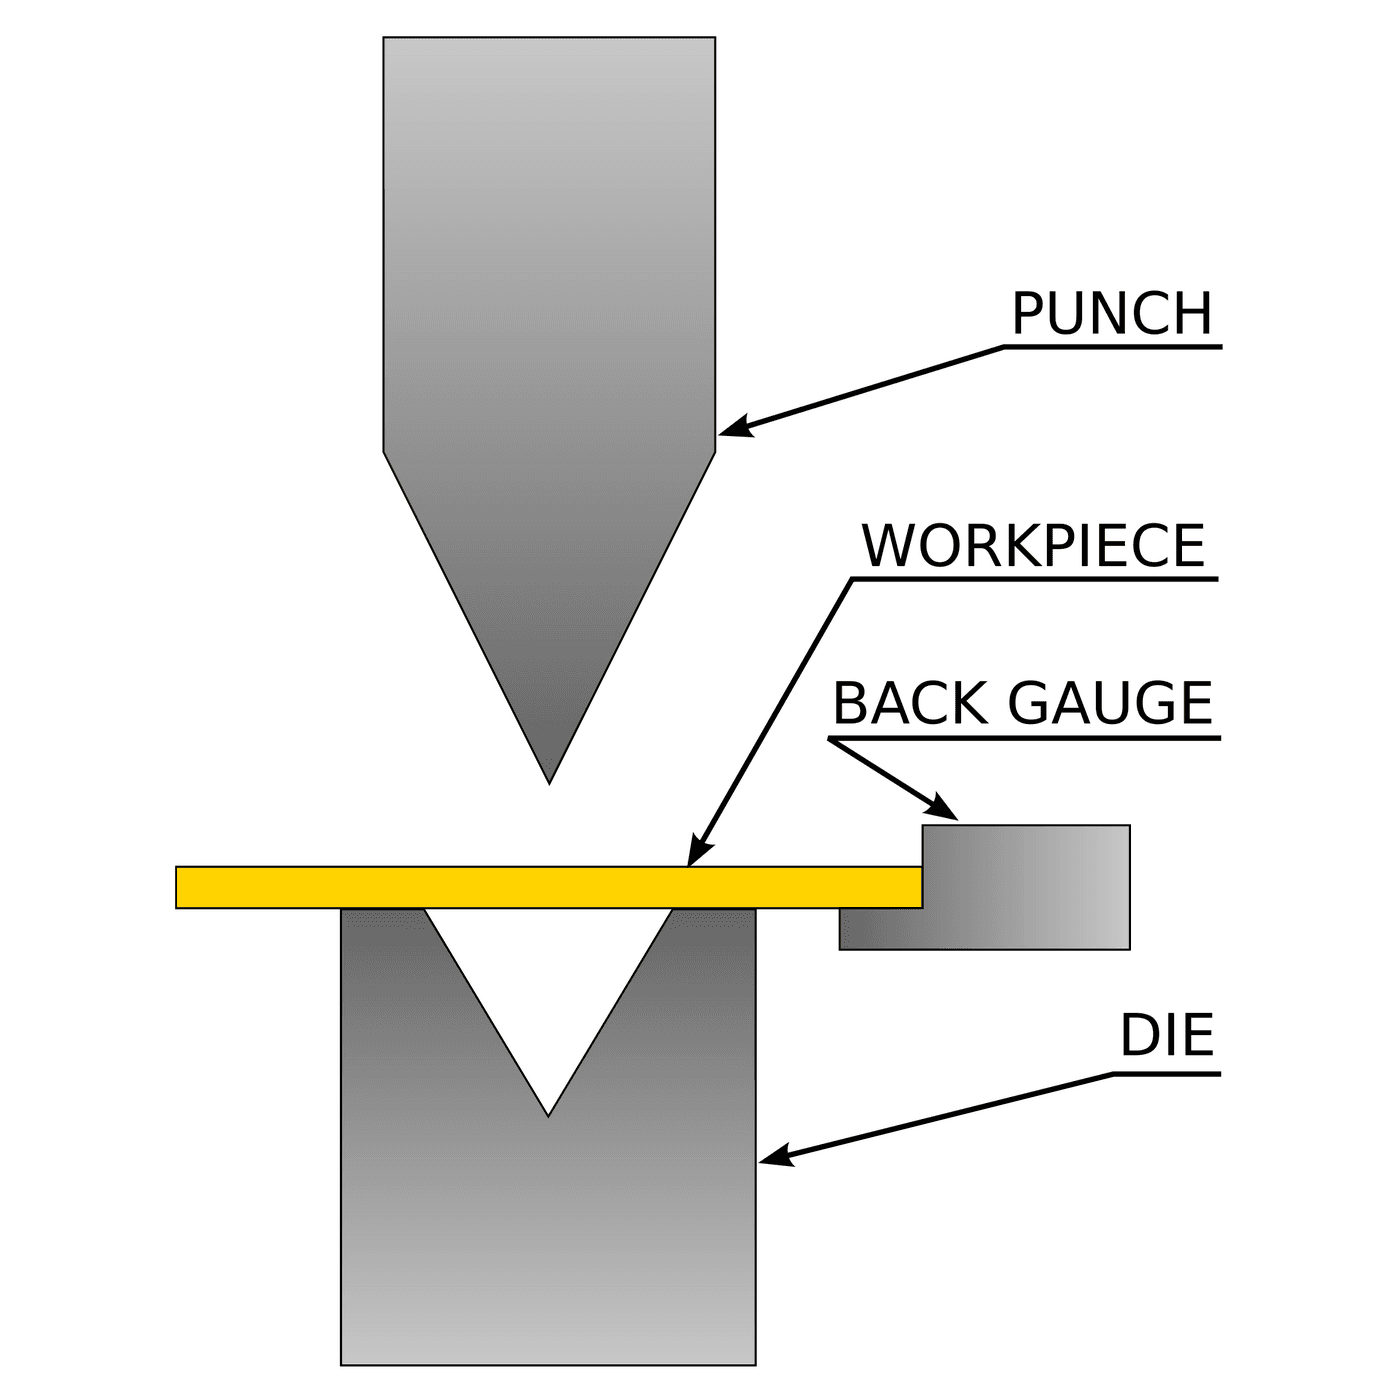
Bending: Where the Metal Goes, and How Much Comes Back
Emma зохиосон
Металл боловсруулалт
44
0
0
0
0
0
One Die Instead of Two: Forming Sheet Against Rubber
Emma зохиосон
Металл боловсруулалт
41
0
0
0
0
0
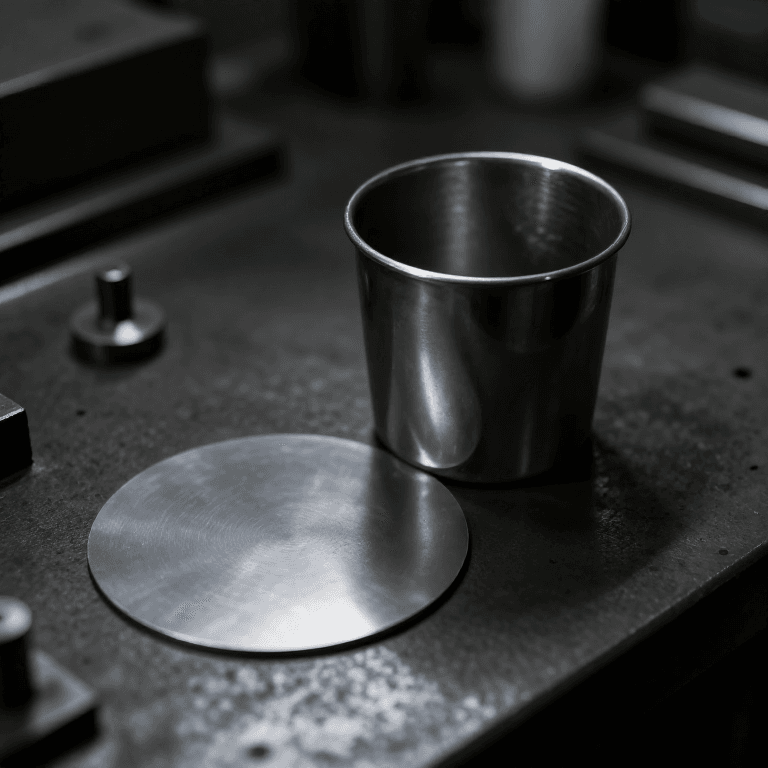
Deep Drawing
Penny зохиосон
ТЕХНОЛОГИ
56
0
0
0
0
0
CC0 Нийтийн домэйн
Энэ загвар CC0 дор гаргагдсан. Та зөвшөөрөл авахгүйгээр хуулах, өөрчлөх, түгээх, ашиглах боломжтой.
Загвараар дамжуулан бүтээгдэхүүн худалдаж авч Бүтээгчийг дэмжээрэй Бүтээгчийн шимтгэл Борлуулагчаар тогтоосон, эсвэл энэ загварын шинэ хувилбар үүсгэж орлогоо хуваахын тулд өөрийн загварт холбоос болгон оруулна уу.