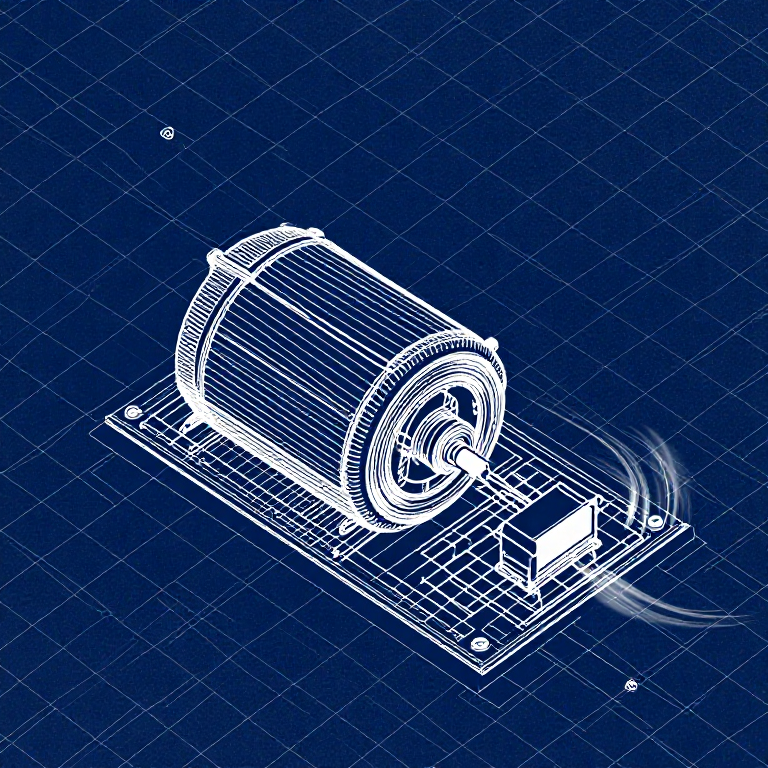


Driving a Motor — SIK Circuit 12
Зааварчилгаа
Parts & Introduction
Parts & Introduction
DC motors draw too much current for an Arduino pin to drive directly. A transistor acts as an electronic switch — a small signal from the Arduino controls a larger current flowing through the motor. The flyback diode protects against voltage spikes when the motor turns off.
Parts Needed
- 1x Arduino Uno + USB cable
- 1x Breadboard
- 1x DC Motor
- 1x NPN Transistor (P2N2222A)
- 1x Diode (1N4148)
- 1x 330Ω Resistor
- 6x Jumper Wires
Энэ алхмын материал:
 SparkFun Зохион бүтээгчийн Сан - V3.21 багц
Шаардлагатай багаж:
 Arduino IDE суулгасан компьютер
Hardware Hookup
Hardware Hookup
Wiring Instructions
Transistor pinout (flat side facing you, pins down): Collector, Base, Emitter (left to right).
- Place the transistor in the breadboard.
- Connect Base (middle pin) through a 330Ω resistor to Arduino Digital Pin 9.
- Connect Emitter (right pin) to GND.
- Connect Collector (left pin) to the motor's black wire.
- Connect the motor's red wire to 5V.
- Flyback Diode: Connect the banded end (cathode) to 5V, the other end (anode) to the motor's black wire.
Энэ алхмын материал:
 Хурдны хайрцагтай тогтмол гүйдлийн мотор1 ширхэг
 Макет самбар1 ширхэг
 Холбогч утас6 ширхэг
Arduino Code
Arduino Code
Open the Arduino IDE and upload the following sketch to your Arduino board.
Энэ алхмын материал:
 Arduino Uno R31 ширхэг
Шаардлагатай багаж:
Arduino IDE суулгасан компьютерTest & Experiment
Test & Experiment
What You Should See
The default serialSpeed() function lets you type speed values (0-255) into the Serial Monitor to control motor speed in real time.
Troubleshooting
- Motor not spinning: If you sourced your own transistor, double-check the pinout — many NPN transistors have reversed pin orders compared to the P2N2222A.
- Motor won't start at low values: Below ~50, the motor doesn't have enough torque to overcome friction. This is normal.
- Connection issues: Try unplugging and re-plugging the USB cable.
Experiments to Try
- Uncomment
motorAcceleration()to see smooth speed ramping. - Add a potentiometer to control speed with a knob instead of serial input.
- Add a button for on/off control.
Материал
8- SparkFun Зохион бүтээгчийн Сан - V3.210% комисс1 багц$106.86
- Түр орлуулагч
- Түр орлуулагч
- Түр орлуулагч
- Түр орлуулагч
- 1 ширхэгТүр орлуулагч
- 1 ширхэгТүр орлуулагч
- 1 ширхэгТүр орлуулагч
Шаардлагатай багаж
1- Түр орлуулагч
CC0 Нийтийн домэйн
Энэ загвар CC0 дор гаргагдсан. Та зөвшөөрөл авахгүйгээр хуулах, өөрчлөх, түгээх, ашиглах боломжтой.
Загвараар дамжуулан бүтээгдэхүүн худалдаж авч Бүтээгчийг дэмжээрэй Бүтээгчийн шимтгэл Борлуулагчаар тогтоосон, эсвэл энэ загварын шинэ хувилбар үүсгэж орлогоо хуваахын тулд өөрийн загварт холбоос болгон оруулна уу.