УРЛАГ
ГОО САЙХАН БА ЭРҮҮЛ МЭНД
ГАРААР ХИЙСЭН
СОЁЛ БА ТҮҮХ
ҮЗВЭР НААДАМ
БАЙГАЛЬ ОРЧИН
ХООЛ БА УНДАА
УРВУУ ИНЖЕНЕРЧЛЭЛ
ШИНЖЛЭХ УХААН
СПОРТ
ТЕХНОЛОГИ
ӨМСДӨГ ХЭРЭГСЭЛ
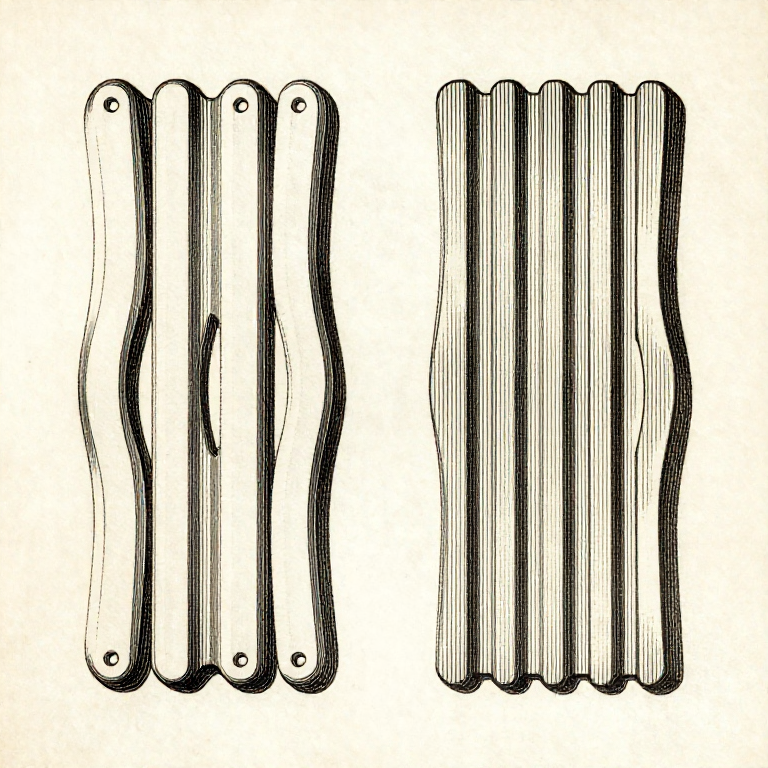


The First Layer Decides Everything Above It
Almost every print that fails, fails in the first layer — and almost every print that succeeds was decided there too. Everything above is built on it, so a first layer that is not stuck down and not flat has already lost.
What makes it work is the gap between nozzle and plate. Too large and the plastic is laid as a round thread that barely touches; too small and the nozzle ploughs, leaving ridges and eventually blocking. The window between them is a few hundredths of a millimetre.
Which is why levelling is not a chore to be got through but the main adjustment on the machine — and why a printer that has been moved, or has had its plate changed, needs it again.
Анхан шат
2 hours
Зааварчилгаа
1
1
Level the bed, and level it warm
Level the bed, and level it warm
Heat the bed and the nozzle to printing temperature before levelling. Metal expands, and a plate levelled cold moves as it warms — so a cold level is a level for a machine that is not running.
The paper test is the traditional method and works: slide a sheet of ordinary paper under the nozzle and adjust until you feel a light drag but can still move it. That is roughly 0.10 mm, which is the batch-124 figure for printer paper arriving in a different workshop.
Do all four corners, then the middle, then go round again. The first pass changes the others, which is exactly the compounding problem the marking-out rungs warn about — two passes is the minimum and three is common.
Энэ алхмын материал:
 3D хэвлэлийн утас (PLA)1 ширхэг
Шаардлагатай багаж:
 FDM 3D хэвлэгч
 Зайн хэмжигчийн багц
 3D хэвлэгчийн багажийн багц
2
2
Read the first layer and adjust while it prints
Read the first layer and adjust while it prints
Watch the first layer go down and judge it by its SURFACE. A good first layer is slightly squashed: the lines are flat-topped and just touching their neighbours with no gaps between them.
Round lines with visible grooves between them mean the nozzle is too high. A translucent, scraped-looking surface with ridges pushed up at the edges means it is too low. Both are obvious once you have seen them side by side and almost invisible if you only ever see one.
Most printers allow live adjustment during the first layer — babystepping the Z offset a few hundredths at a time. Change it in small steps and let a few centimetres print between changes, which is the change-one-thing-at-a-time rung with a very short feedback loop.
Энэ алхмын материал:
3D хэвлэлийн утас (PLA)1 ширхэгШаардлагатай багаж:
FDM 3D хэвлэгч Томруулагч луп
3
3
The plate has to be clean, and clean means degreased
The plate has to be clean, and clean means degreased
Fingerprints are the commonest adhesion failure, and they are invisible. The oil from one touch is enough to stop PLA sticking to a spot the size of a thumb.
Wash the plate with warm water and detergent, or wipe it with isopropyl alcohol, and then handle it by the edges. A plate that has been 'cleaned' with a dry cloth has usually just spread the oil around.
Different surfaces want different treatment. Smooth PEI likes to be clean and nothing else; textured PEI grips better cold; glass often wants a thin film of adhesive. Adding glue to a surface that did not need it is a common way to make adhesion worse rather than better.
Энэ алхмын материал:
 3D хэвлэгчийн ширээний наалт1 ширхэг
Шаардлагатай багаж:
 3D хэвлэгчийн хэвлэх хавтан (PEI бүрсэн пүрш ган)3D хэвлэгчийн багажийн багц
 3D хэвлэл салгах хусуурын багц
4
4
Temperature, speed and squish: change one at a time
Temperature, speed and squish: change one at a time
A hotter bed helps adhesion up to a point and then starts causing 'elephant foot' — the bottom few layers bulging outward because the plastic there stays soft under the weight above.
A slower first layer helps a great deal and costs almost nothing, because the first layer is a small fraction of the print. 20 mm/s is a common setting and half the speed of the layers above.
Print a small test square before a long print, not the long print itself. Twenty minutes of test squares saves a twelve-hour failure, and each square should change only one setting — which is what makes the results mean anything.
Энэ алхмын материал:
3D хэвлэлийн утас (PLA)1 ширхэгШаардлагатай багаж:
FDM 3D хэвлэгч 3MF файлын зүсэгч программ
 Дижитал штангенциркуль 6 инч
Материал
2- 3 ширхэгТүр орлуулагч
- 3D хэвлэгчийн ширээний наалт10% комисс1 ширхэгТүр орлуулагч
Шаардлагатай багаж
8- Түр орлуулагч
- Түр орлуулагч
- 3D хэвлэгчийн багажийн багц10% комиссТүр орлуулагч
- Түр орлуулагч
- Түр орлуулагч
- Түр орлуулагч
- Түр орлуулагч
- Түр орлуулагч
Холбоотой загварууд
Эдгээр загварууд мэдлэг хуваалцдаг — арга техник, материал эсвэл зарчим

CC0 Нийтийн домэйн
Энэ загвар CC0 дор гаргагдсан. Та зөвшөөрөл авахгүйгээр хуулах, өөрчлөх, түгээх, ашиглах боломжтой.
Загвараар дамжуулан бүтээгдэхүүн худалдаж авч Бүтээгчийг дэмжээрэй Бүтээгчийн шимтгэл Борлуулагчаар тогтоосон, эсвэл энэ загварын шинэ хувилбар үүсгэж орлогоо хуваахын тулд өөрийн загварт холбоос болгон оруулна уу.