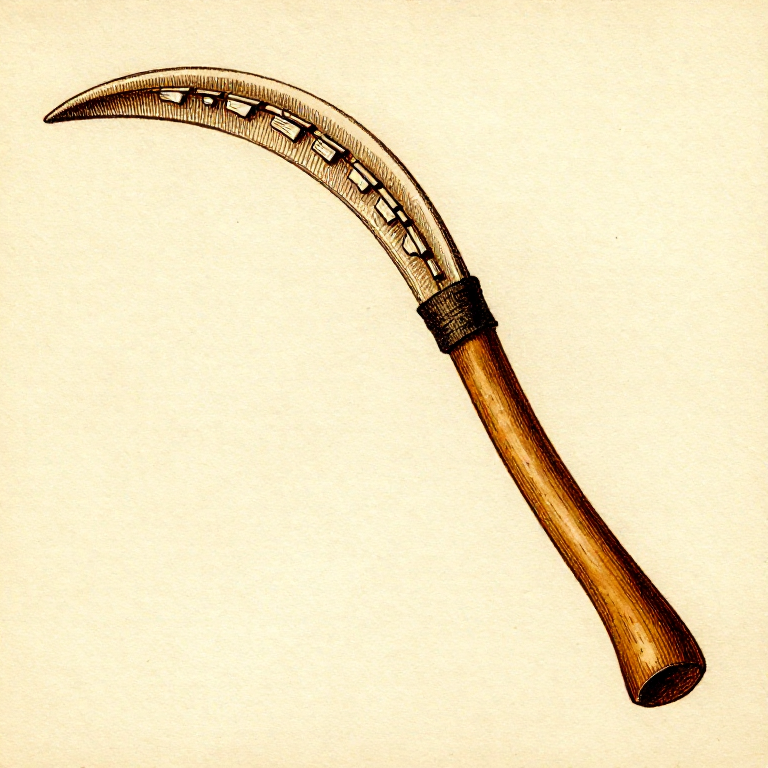
Hafting a Flint-Bladed Grain Sickle — Composite Harvesting Tool
Instrucciones
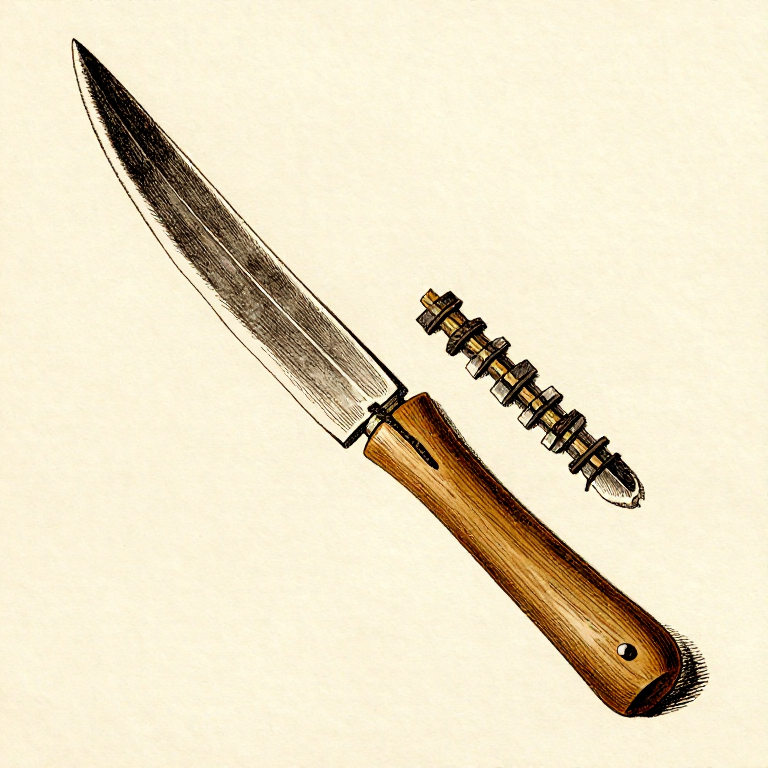
Select and Shape the Handle
Select and Shape the Handle
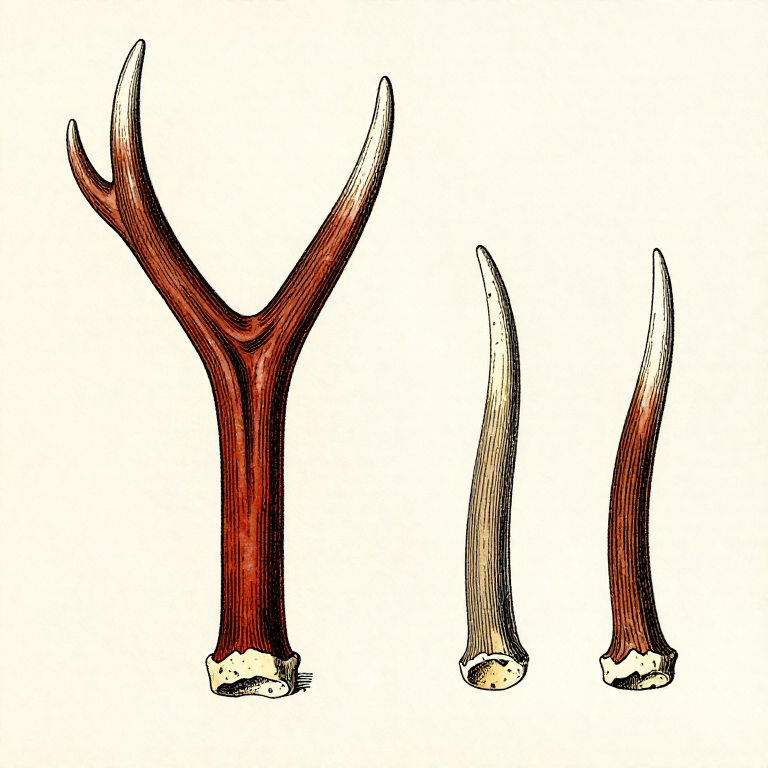
Choose a naturally curved piece of hardwood — the inner curve of a branch fork or a section of curved jawbone works well. The handle should curve like a shallow crescent, 30-40 cm along the outside edge. Carve a narrow groove (about 5 mm wide and 5-8 mm deep) along the inside edge of the curve. This groove will receive the flint blades. The groove must follow the curve consistently so that all blades present a uniform cutting edge. A mandible (jawbone) from a large animal such as a deer or cow provides a natural curved handle with a slot along the tooth socket that can serve as the blade groove.
Materiales para este paso:
 Pine Pitch Glueenough to fill the blade groove pieza
Herramientas necesarias:
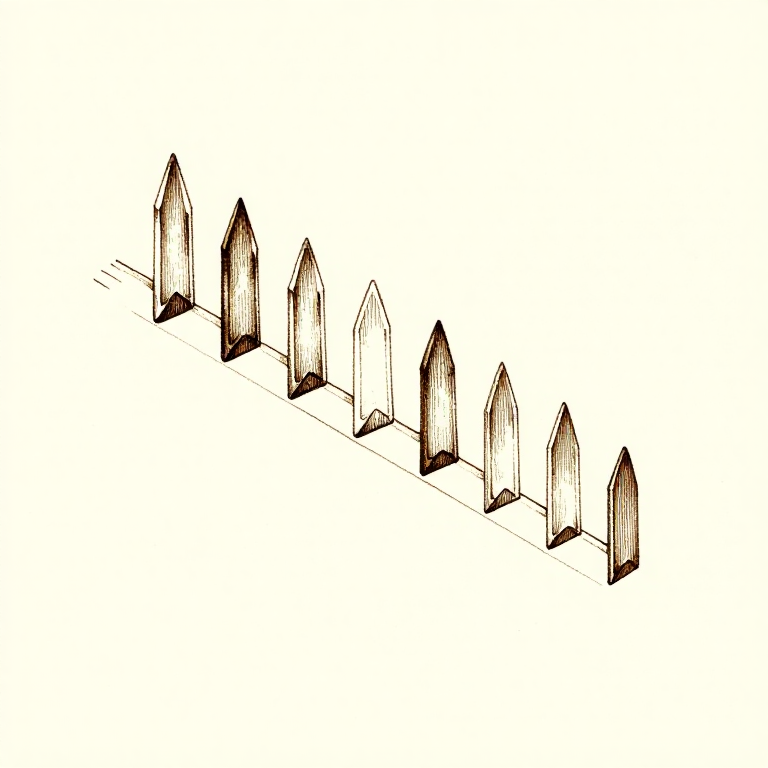
Prepare the Flint Blades
Prepare the Flint Blades
Select or knap small, thin flint bladelets — each approximately 3-5 cm long, 1-2 cm wide, and 3-5 mm thick. The bladelets should have at least one sharp, straight edge that will serve as the cutting surface. For a sickle 30-40 cm long, you need 5-10 bladelets arranged end to end along the groove. Test-fit the blades in the groove before gluing — they should sit flush with the edge of the handle, with their sharp edges protruding 3-5 mm beyond the groove to form a continuous serrated cutting edge. A slightly serrated (saw-toothed) edge is actually more effective for cutting grain stems than a smooth edge.
Set the Blades with Adhesive
Set the Blades with Adhesive
Warm bitumen (natural asphalt, found as surface deposits in Mesopotamia) or pine pitch until it is soft and workable. Press a layer of warm adhesive into the groove, then press each blade into position, one after another. The adhesive fills the gap around each blade and locks it firmly in place when it cools and hardens. Bitumen was the preferred adhesive in the Near East because it is naturally waterproof and very strong — archaeological sickles with bitumen hafting remain intact after 8,000 years. If using pine pitch, mix it with crusite charcoal powder and beeswax to improve its adhesion and reduce brittleness.
Test and Adjust
Test and Adjust
Once the adhesive has fully hardened (allow several hours for bitumen, overnight for pine pitch), test the sickle by cutting a bundle of grass or grain stems. Grip the handle firmly and draw the blade edge across the stems in a sweeping, pulling motion. The serrated flint edge should slice cleanly through the stems. If any blades are loose, re-warm the adhesive and re-seat them. If the cutting angle is awkward, the curve of the handle can be adjusted by selecting a different natural curve. The sickle should feel balanced and comfortable for extended use, as grain harvest was intense, time-critical work lasting days or weeks.
Harvesting Technique and Sickle Sheen
Harvesting Technique and Sickle Sheen
To harvest grain, grasp a bundle of stems near the seed heads with one hand and cut through the stems 15-20 cm above the ground with the sickle. The serrated flint edge creates a sawing action that is more effective on fibrous stems than a smooth knife edge. After repeated use cutting silica-rich grain stems (wheat, barley, and emmer all have high silica content in their stems), the flint blades develop a distinctive high-gloss polish on the cutting edge called sickle sheen. This polish is caused by microscopic silica particles in the plant stems abrading and polishing the flint surface. Sickle sheen is visible to the naked eye as a bright, reflective band along the blade edge and is one of the most reliable archaeological indicators that a site practised agriculture.

Materiales
3- 1 piece, 30-40 cm piezaMarcador de posición
- 5-10 pieces, 3-5 cm piezaMarcador de posición
- enough for groove piezaMarcador de posición
Herramientas requeridas
2- Marcador de posición
Required Equipment
Equipment this kind of build typically needs — buy from any maker below.
- RecommendedDust Mask / Respirator·
 Full-Face Gas Mask (ABEK multi-gas cartridge)
 Dust Mask
 Venetian Mask Blank (Papier-Mache)
 Full-Face Respirator
 Respirator Fit Test Kit
 Respirator with Acid Gas Cartridge
 - RecommendedSafety Glasses·
 Safety Sign (Caution/Warning)
 Splash-Proof Safety Goggles
 Reflective Safety Vest Kit (DIY)
 Chemical Splash Goggles
 Safety Netting for Rockfall
 Steel-Toed Safety Boots
 - RecommendedWork Gloves·
 Boxing Gloves (Training)
 Leather Gauntlet Gloves
 Cotton Gloves
 Welding Gloves
 Heavy-Duty Gloves
 Leather Work Gloves
 - OptionalFire Extinguisher·
 ABC Fire Extinguisher
 Fire Extinguisher
 - OptionalFirst Aid Kit·
 First Aid Kit
 Mountain First Aid Kit (Altitude)
 Workshop First Aid Kit
 Bow Release Aid
You can swap these in
Can't get one of the materials? Swap it for an equivalent — these work just as well.
- Instead of Flint Knife, try:
 Gilder's Knife
 Knife
Knife Blunt Collection Knife
 Sharp Knife (faca)
 Small Trimming Knife
 Sharp Pruning Knife
 Sharp Knife
 Hook Knife (Spoon Carving)
 Steel Pocket Knife
 Sharp Cinnamon Knife
 - Instead of Pine Pitch Glue, try:
 Polyurethane Glue
 Wood Glue
Recommended for this build
Products makers often use with builds like this one.
 BeeswaxUsed together and in similar builds
 HammerstoneFrequently used with this build's materials
 Pine ResinUsed together and in similar builds
 Smooth StoneUsed together and in similar builds
 Hardwood SaplingFrequently used with this build's materials
 Sandstone SlabFrequently used with this build's materials
 CordageFrequently used with this build's materials
 Bone AwlFrequently used with this build's materials
Related blueprints
Other builds that share materials, tools, or techniques with this one.
CC0 Dominio público
Este Blueprint se publica bajo CC0. Eres libre de copiar, modificar, distribuir y usar este trabajo para cualquier propósito, sin pedir permiso.
Apoya al Maker comprando productos a través de su Blueprint, donde gana una Comisión del Maker establecida por los vendedores, o crea una nueva iteración de este Blueprint e inclúyela como conexión en tu propio Blueprint para compartir ingresos.