

Band Brake
Instrucciones
Make the drum
Make the drum
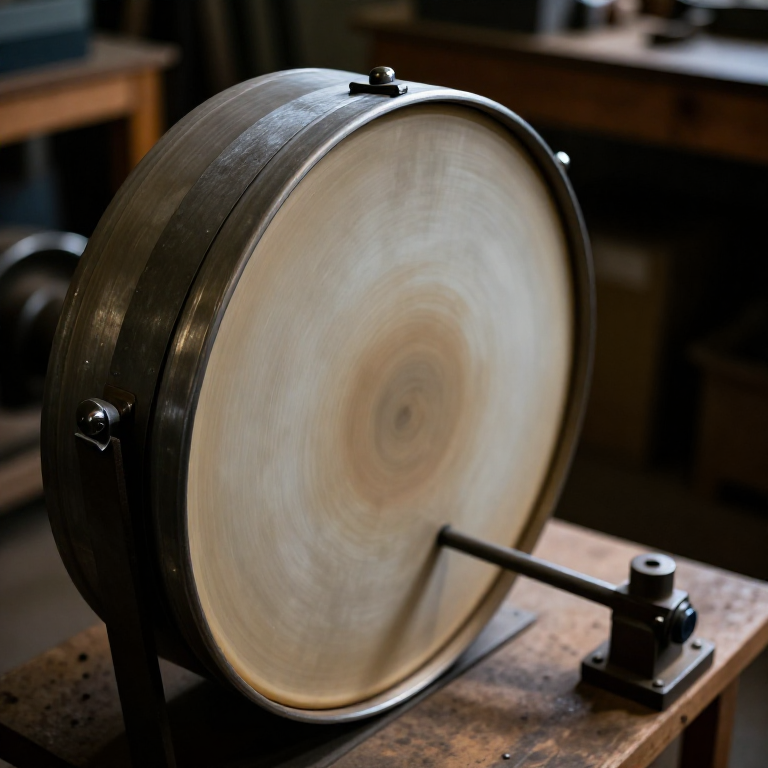
A simple cylinder, but its surface is a friction surface.
- Cut a 120 mm drum from 18 mm ply, or stack two discs for a 36 mm wide face.
- Wrap and fix a strip of 1 mm aluminium round the rim as the braking surface.
- Bore the centre 8.0 mm and mount on a 608 bearing in a plywood pillow block.
- Fix the block with M5 × 40 socket head cap screws × 2, M5 flat washers × 4 and M5 hex nuts × 2.
- Fit a long lever or a cord drum to the shaft so you can apply a known load.
Materiales para este paso:
 Tablero contrachapado1 hoja
 Pletina de aluminio1 pieza
 Rodamiento de bolas2 piezas
 Arandela plana4 piezas
 Tuerca hexagonal2 piezas
Herramientas necesarias:
 Sierra de calar
 Taladro inalámbrico
 Juego de brocas
 Juego de limas
 Calibre digital de 6 pulgadas
Fit the band with a measured wrap angle
Fit the band with a measured wrap angle
Wrap angle is the variable that matters most, so make it adjustable.
- Cut a band from thin steel strapping or a strip of leather, about 25 mm wide.
- Anchor one end to the baseplate with an M6 × 30 hex bolt, M6 flat washers × 2 and an M6 hex nut.
- Wrap it round the drum and take the free end to an operating lever.
- Mark the baseplate so you can re-anchor at wrap angles of 90, 180 and 270 degrees.
Modern build spec (derived). Steel strapping is stiff and consistent; leather grips better and is closer to what period band brakes used, with woven linings arriving later. Try both if you can — the difference in holding force for the same pull is the friction coefficient made visible.
Mark the anchor positions before assembly. Changing wrap angle is the core experiment and you want it to take a minute, not a rebuild.Materiales para este paso:
Pletina de aluminio1 piezaArandela plana4 piezasTuerca hexagonal2 piezasHerramientas necesarias:
Taladro inalámbricoJuego de brocas Juego de llaves Allen
 Escuadra combinada
 Arco de sierra para metales con hojas
Measure the holding force in both directions
Measure the holding force in both directions
The asymmetry is the point, and it is dramatic.
- Hang a known weight from the drum's cord so it tries to rotate one way.
- Pull the band lever with a spring balance until the drum just holds. Record the force.
- Now reverse the weight so the drum turns the other way, and repeat.
- Compare the two lever forces for the same held load.
Herramientas necesarias:
 CronómetroCalibre digital de 6 pulgadas
Vary the wrap angle and watch it grow exponentially
Vary the wrap angle and watch it grow exponentially
Wrap angle does not add force. It multiplies it, repeatedly.
- Set the band at 90 degrees of wrap and measure the lever force needed to hold your test load.
- Repeat at 180 degrees.
- Repeat at 270 degrees.
- Plot lever force against wrap angle.
Herramientas necesarias:
Escuadra combinadaCalibre digital de 6 pulgadasJuego de llaves AllenWhere the asymmetry helps and hurts, and history
Where the asymmetry helps and hurts, and history
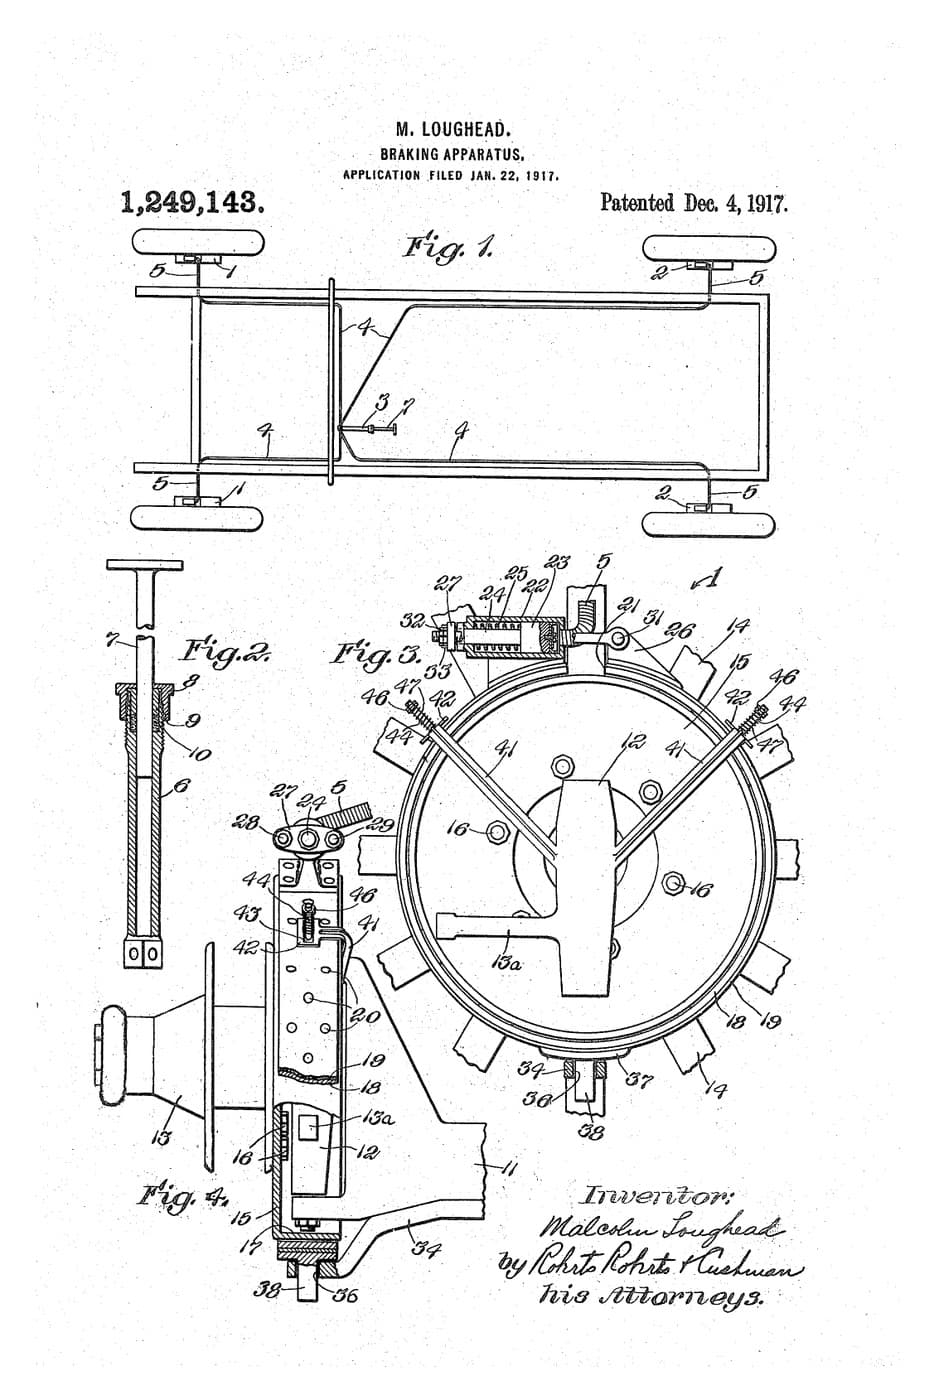
Band brakes were standard on early cars, winches, hoists and machinery, and remain common where a one-directional hold is what is wanted: a winch that must never run out, a chainsaw chain brake, a bandsaw wheel brake. Where the load only ever pulls one way, self-energising is a gift — a small hand force holds a large load.
Where it is a liability. A vehicle brake must work equally in both directions, so a self-energising band brake makes a car that stops well going forwards and poorly in reverse. Drum brakes with leading and trailing shoes were an attempt to balance this, and disc brakes removed the problem entirely by using no self-energisation at all — you get exactly the force you apply, in both directions, which is why they feel predictable.
The general lesson about self-energising mechanisms: they multiply force but they also multiply variation. A change in friction coefficient — wet, hot, worn — changes the output far more than it would in a non-self-energising design. Predictability is worth real money, and the modern preference for discs is a decision to pay force for predictability.
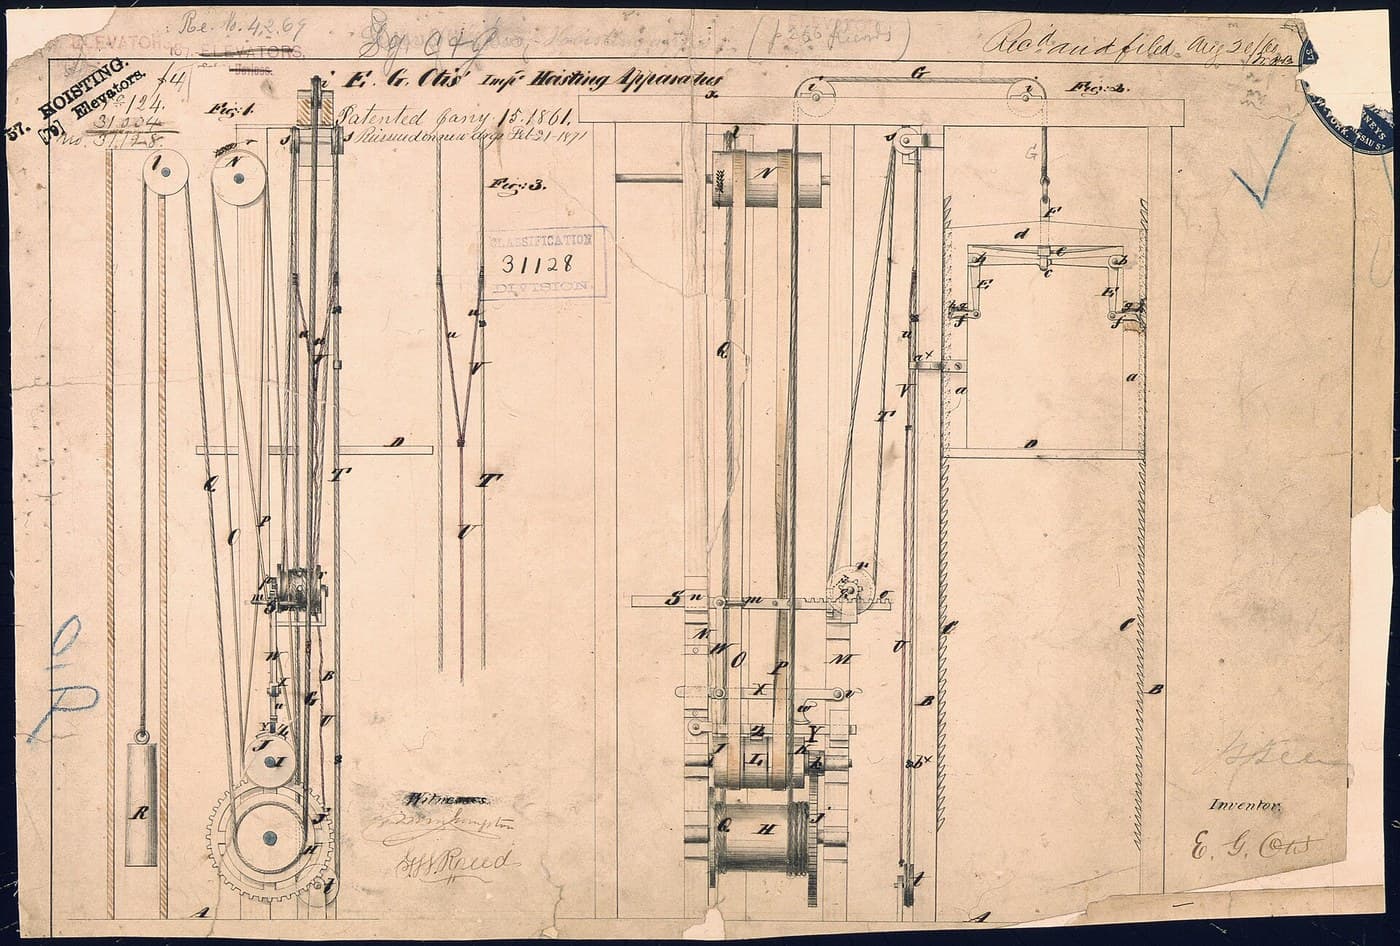
Against its siblings in the catalogue: the hydraulic brake multiplies force through fluid and applies equally both ways; the Otis safety brake is triggered by failure rather than operated; the eddy current brake has no contact and no wear but cannot hold at standstill. Four ways to stop something, distinguished by what they do when conditions change.
Materiales
5- 1 hojaMarcador de posición
- 1 piezaMarcador de posición
- Marcador de posición
- 4 piezasMarcador de posición
- 2 piezasMarcador de posición
Herramientas requeridas
9- 1 vendor sell this, none ship to you yetMarcador de posición
- 1 vendor sell this, none ship to you yetMarcador de posición
- Marcador de posición
- Marcador de posición
- Marcador de posición
- Marcador de posición
- Marcador de posición
- Marcador de posición
- Marcador de posición
Blueprints relacionados
Estos blueprints comparten conocimiento — técnicas, materiales o principios

CC0 Dominio público
Este Blueprint se publica bajo CC0. Eres libre de copiar, modificar, distribuir y usar este trabajo para cualquier propósito, sin pedir permiso.
Apoya al Maker comprando productos a través de su Blueprint, donde gana una Comisión del Maker establecida por los vendedores, o crea una nueva iteración de este Blueprint e inclúyela como conexión en tu propio Blueprint para compartir ingresos.