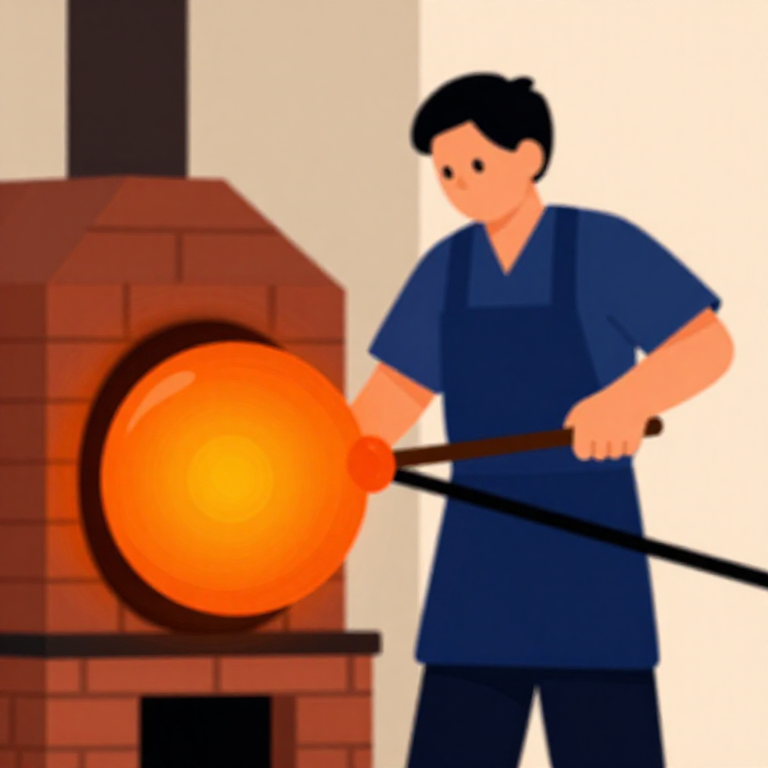
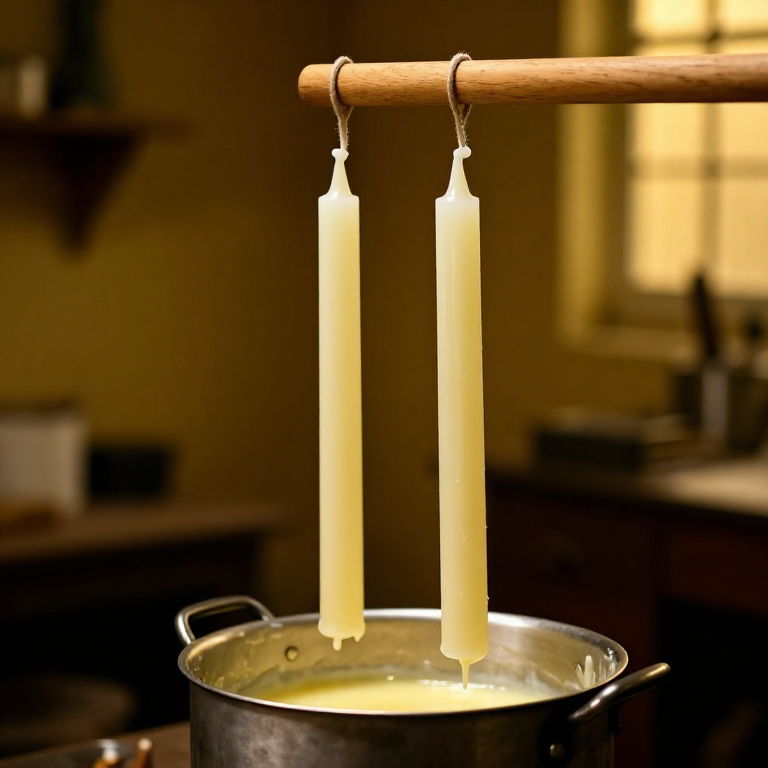
Making Window Glass by the Crown Glass Method — Spinning Molten Glass into Flat Panes
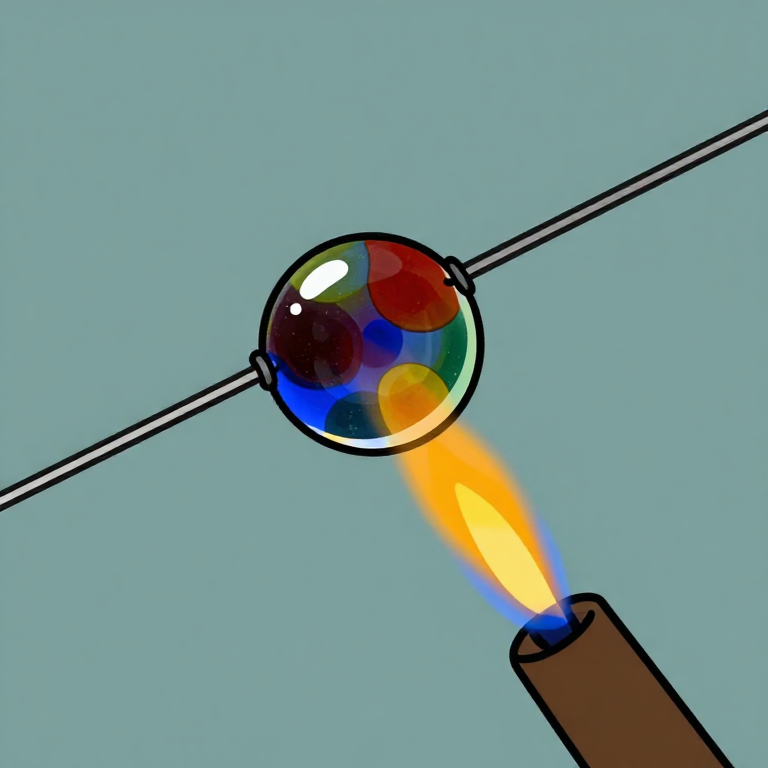
The crown glass method was the dominant technique for making flat window glass from the medieval period through the early 19th century. A glassblower gathers molten soda-lime glass on a blowpipe, blows a hollow sphere, transfers it to a pontil rod, opens the sphere at the blowpipe end, and then spins the open vessel rapidly. Centrifugal force flattens it into a large circular disc called a 'crown' or 'table,' typically 1.0–1.5 metres across. Once annealed and cooled, rectangular panes are cut from the disc. The characteristic bull's-eye at the centre — the pontil mark where the rod was attached — is a hallmark of historic crown glass windows.
Instrucciones
Prepare the glass furnace
Prepare the glass furnace
Herramientas necesarias:
 Brick Furnace
 Long-Handled Fire Tongs
Charge the crucible with batch
Charge the crucible with batch
Materiales para este paso:
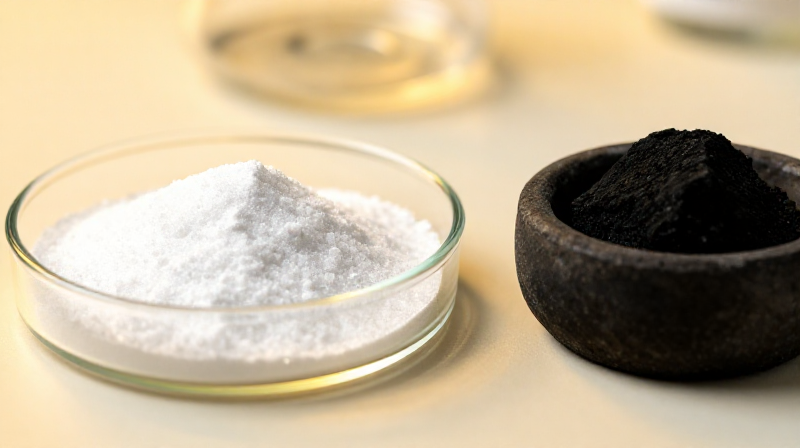
 Quartz Sand3 kg
 Sodium Carbonate (soda ash)1.25 kg
 Calcium Carbonate (limestone, crushed)750 g
Herramientas necesarias:
 Clay Crucible (refractory)
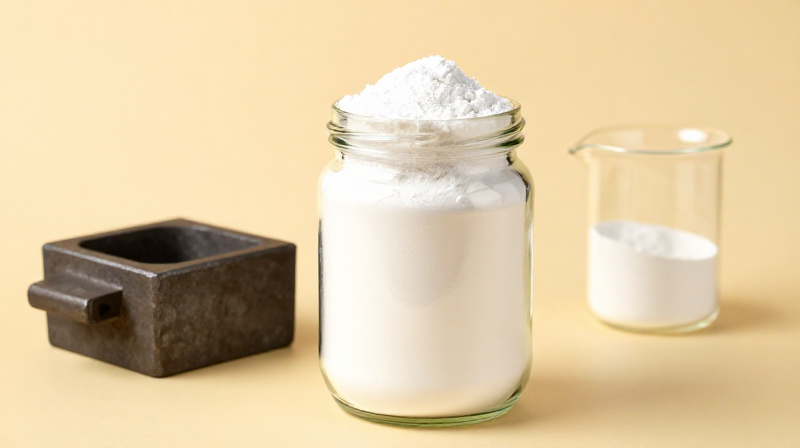
Fine the molten glass
Fine the molten glass
Gather glass on the blowpipe
Gather glass on the blowpipe
Herramientas necesarias:
 Glassblowing Blowpipe
Blow the initial bubble
Blow the initial bubble
Marver and shape the sphere
Marver and shape the sphere
Herramientas necesarias:
 Granite Slab
Attach the pontil rod
Attach the pontil rod
Herramientas necesarias:
 Pontil Rod
Crack off the blowpipe
Crack off the blowpipe
Reheat the open sphere
Reheat the open sphere
Flash the crown — spin to flatten
Flash the crown — spin to flatten
Control the disc thickness
Control the disc thickness
Crack off the pontil
Crack off the pontil
Transfer to the annealing oven
Transfer to the annealing oven
Anneal slowly over 12-24 hours
Anneal slowly over 12-24 hours
Inspect the annealed disc
Inspect the annealed disc
Score and cut rectangular panes
Score and cut rectangular panes
Herramientas necesarias:
 Diamond Scriber
Snap and dress the panes
Snap and dress the panes
Herramientas necesarias:
 Grozing Pliers
Grade and store the finished panes
Grade and store the finished panes
Materiales
3- Marcador de posición
- 1.25 kgMarcador de posición
- Marcador de posición
Herramientas requeridas
8- Marcador de posición
- Marcador de posición
- Marcador de posición
- Marcador de posición
- Marcador de posición
- Marcador de posición
- Marcador de posición
- Marcador de posición
Materiales de Blueprints conectados
Blueprints relacionados
Estos blueprints comparten conocimiento — técnicas, materiales o principios
Related blueprints
Other builds that share materials, tools, or techniques with this one.

CC0 Dominio público
Este Blueprint se publica bajo CC0. Eres libre de copiar, modificar, distribuir y usar este trabajo para cualquier propósito, sin pedir permiso.
Apoya al Maker comprando productos a través de su Blueprint, donde gana una Comisión del Maker establecida por los vendedores, o crea una nueva iteración de este Blueprint e inclúyela como conexión en tu propio Blueprint para compartir ingresos.