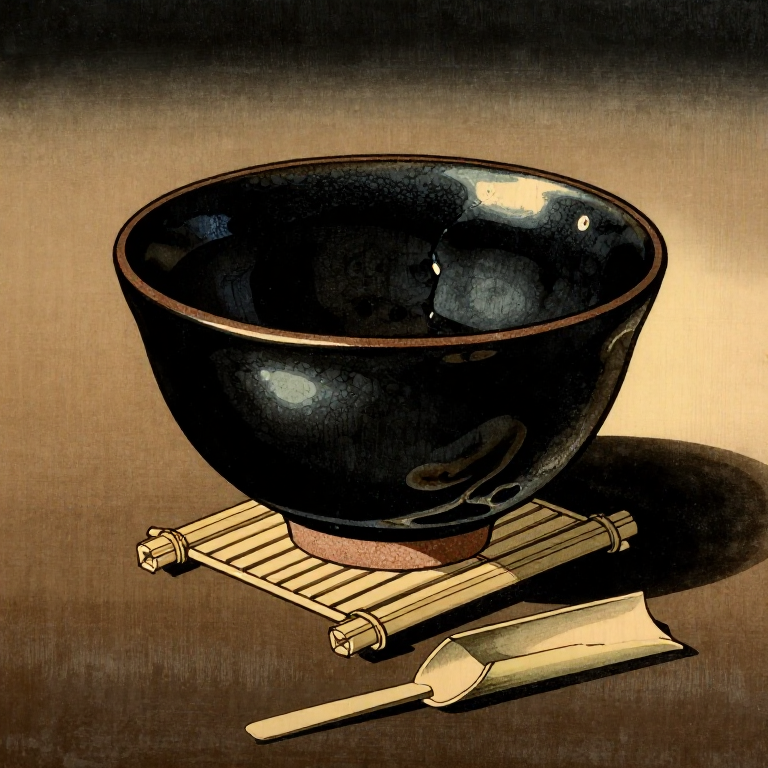
Hand-Building a Raku Tea Bowl — Chawan for the Tea Ceremony
Instrucciones
Pinch and Shape the Bowl
Pinch and Shape the Bowl
Start with a ball of raku clay approximately the size of a large orange (500-700g). Press your thumb into the centre to create a hollow, then pinch the walls outward and upward, rotating the ball as you work. Raku tea bowls are intentionally irregular — the aesthetic of wabi (rustic imperfection) values asymmetry and the maker's spontaneous gesture over mechanical precision. Keep the walls approximately 8-10mm thick, slightly thicker at the base. The bowl should be wide enough to whisk matcha (approximately 12cm diameter) with a flat-ish bottom for stability. Use a wooden rib to smooth the interior surface, as the tea drinker's lips will touch it directly.
Materiales para este paso:
 Potter's Clay Body500-700g g
 Raku Glaze100-200ml prepared ml
Herramientas necesarias:
 Heat-Resistant Gloves
Refine and Create the Foot Ring
Refine and Create the Foot Ring
Allow the bowl to firm up to leather-hard stage (several hours to overnight depending on humidity). Invert the bowl and carve a foot ring (kodai) from the base using a loop tool or knife. The foot ring should be approximately 5-6cm in diameter and 5-8mm tall. In the raku tradition, the foot ring is a critical aesthetic element — its shape, the way it was cut, and any tool marks are studied by tea practitioners. Scrape and smooth the exterior surface with a metal kidney tool. Stamp or carve your maker's mark (rakuin) into the base inside the foot ring. Allow the bowl to dry completely before firing — any residual moisture will cause it to crack or explode in the kiln.

Bisque Fire and Apply Glaze
Bisque Fire and Apply Glaze
Bisque fire the bone-dry bowl to approximately 900 degrees C to harden the clay body and make it porous enough to absorb glaze. After cooling, apply raku glaze by dipping the bowl into the glaze solution or pouring glaze over it. Traditional kuro-raku (black raku) uses a glaze rich in iron oxide that produces a glossy black surface. Aka-raku (red raku) uses a transparent or lightly tinted glaze. Apply glaze to the exterior and interior, leaving the foot ring unglazed. The glaze coat should be approximately 1-2mm thick — too thin and it crawls, too thick and it runs off during firing. Allow the glaze to dry completely before the raku firing.
Raku Fire the Bowl
Raku Fire the Bowl
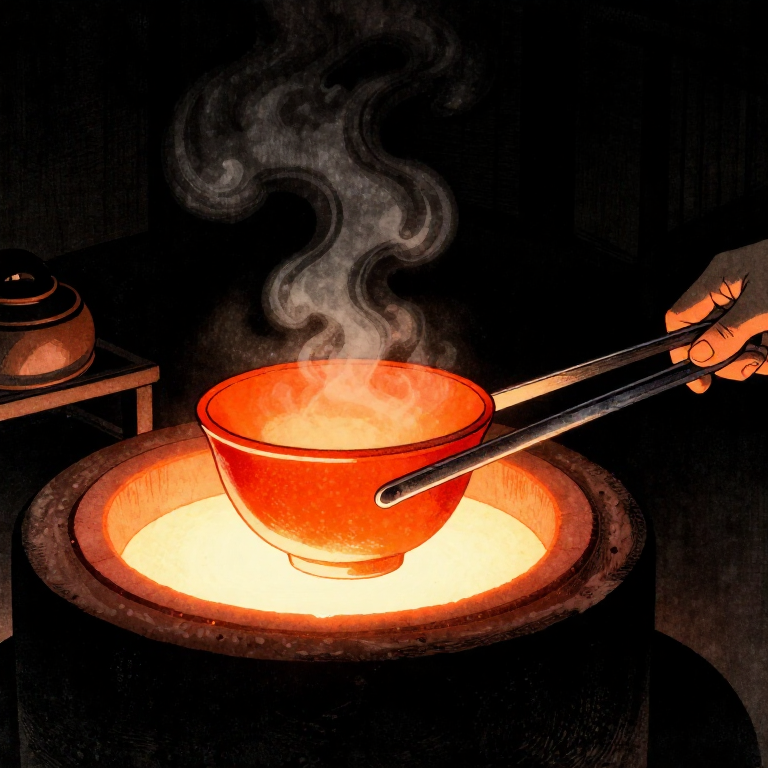
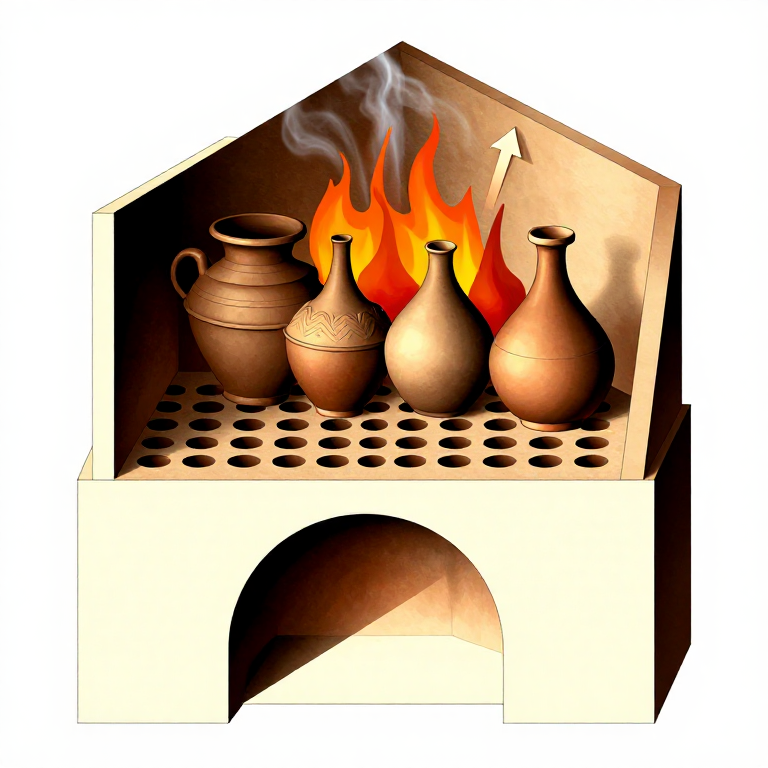
Preheat the raku kiln to approximately 1000 degrees C. Using long-handled tongs, carefully place the glazed bowl directly into the hot kiln. The rapid temperature change is survivable because raku clay has high grog content that resists thermal shock. Watch through the kiln peephole — the glaze will first appear rough and matte, then gradually melt and become glossy and reflective (approximately 10-20 minutes). When the glaze surface appears uniformly molten and glossy, grasp the bowl with tongs and lift it out of the kiln while still glowing orange-red. This is the defining moment of raku: the piece is alive with heat, and the next seconds determine its final appearance.
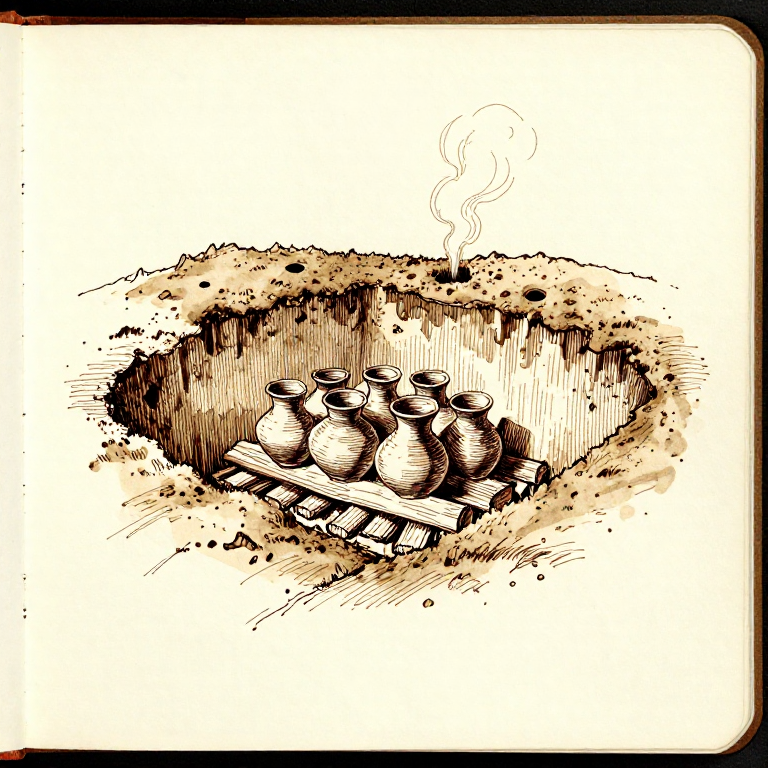
Post-Fire Reduction and Cooling
Post-Fire Reduction and Cooling
Place the glowing bowl into a metal bucket filled with combustible material (sawdust, newspaper, or straw). The material ignites on contact. Cover the bucket with a lid to create a reduction atmosphere — the fire consumes available oxygen, and the carbon-rich smoke penetrates the molten glaze and exposed clay body. This reduction process turns unglazed clay areas jet black (carbon trapping) and can produce metallic lustre effects in certain glazes. After 5-15 minutes, remove the bowl and quench it in water or allow it to cool in air. The rapid cooling creates the characteristic crackle pattern (crazing) in the glaze surface. Clean the bowl gently with fine steel wool to remove loose carbon deposits without disturbing the patina.
Materiales
3- 500-700 g piezaMarcador de posición
- 100-200 ml piezaMarcador de posición
Herramientas requeridas
5- Marcador de posición
- Marcador de posición
- Marcador de posición
- Marcador de posición
Related blueprints
Other builds that share materials, tools, or techniques with this one.
CC0 Dominio público
Este Blueprint se publica bajo CC0. Eres libre de copiar, modificar, distribuir y usar este trabajo para cualquier propósito, sin pedir permiso.
Apoya al Maker comprando productos a través de su Blueprint, donde gana una Comisión del Maker establecida por los vendedores, o crea una nueva iteración de este Blueprint e inclúyela como conexión en tu propio Blueprint para compartir ingresos.