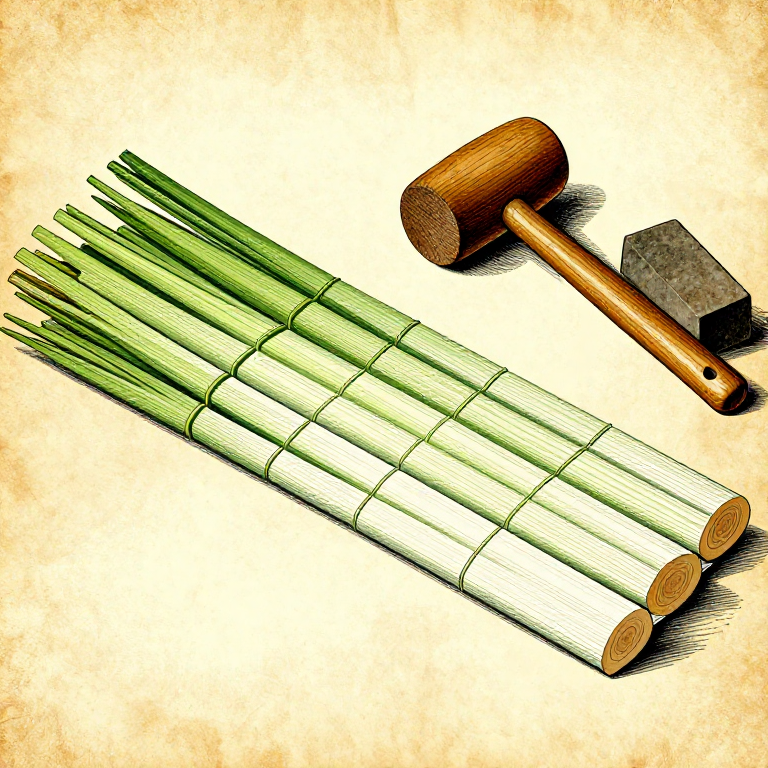


Egyptian Papyrus Making — Crafting Sheets from Cyperus Papyrus Stems
Instrucciones
Harvest and Peel the Papyrus Stalks
Harvest and Peel the Papyrus Stalks
Select fresh, green Cyperus papyrus stalks approximately 2-3 cm in diameter. Using a sharp knife, cut the outer green rind away from the stalk to expose the white pith interior. The pith is the spongy core tissue that contains the natural sugars and starches which act as a bonding agent when pressed. Work carefully to remove all of the hard outer cortex without gouging into the pith. Discard any brown or dried sections, as only fresh, moist pith will bond properly.
Materiales para este paso:
 Aguabasin full pieza
 Paño (de colar)2 pieces pieza
Herramientas necesarias:
 Cúter
CúterSlice the Pith into Thin Strips
Slice the Pith into Thin Strips
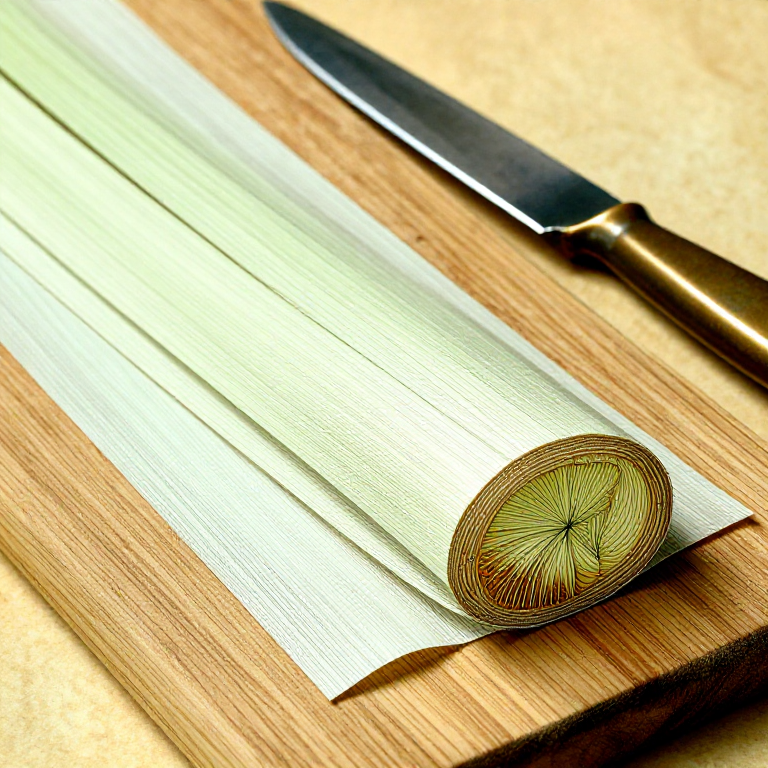
Place the peeled pith on a flat cutting surface and slice it lengthwise into thin strips approximately 2-3 mm thick. A sharp blade is essential to produce even cuts without tearing the fibrous tissue. The strips should be as uniform in thickness as possible, since uneven strips create lumps in the finished sheet. Cut enough strips to create two complete layers for your desired sheet size. Ancient Egyptian papyrus sheets were typically 20-25 cm wide, assembled from strips running the full length of the stalk.
Herramientas necesarias:
CúterSoak the Strips in Water
Soak the Strips in Water
Submerge the pith strips in a shallow basin of clean water and let them soak for at least 30-60 minutes. Soaking softens the cell walls and activates the natural plant starches and sugars within the pith, which serve as the adhesive that bonds the layers together during pressing. Some practitioners add a small amount of white vinegar to the water to help break down the cell structure. Gently press out air bubbles and ensure all strips are fully submerged. The strips will become slightly translucent and pliable when they are ready.
Materiales para este paso:
Aguabasin full pieza Vinagre50ml pieza
Herramientas necesarias:
 Barreño grande de plástico
Layer the Strips in a Cross Pattern
Layer the Strips in a Cross Pattern
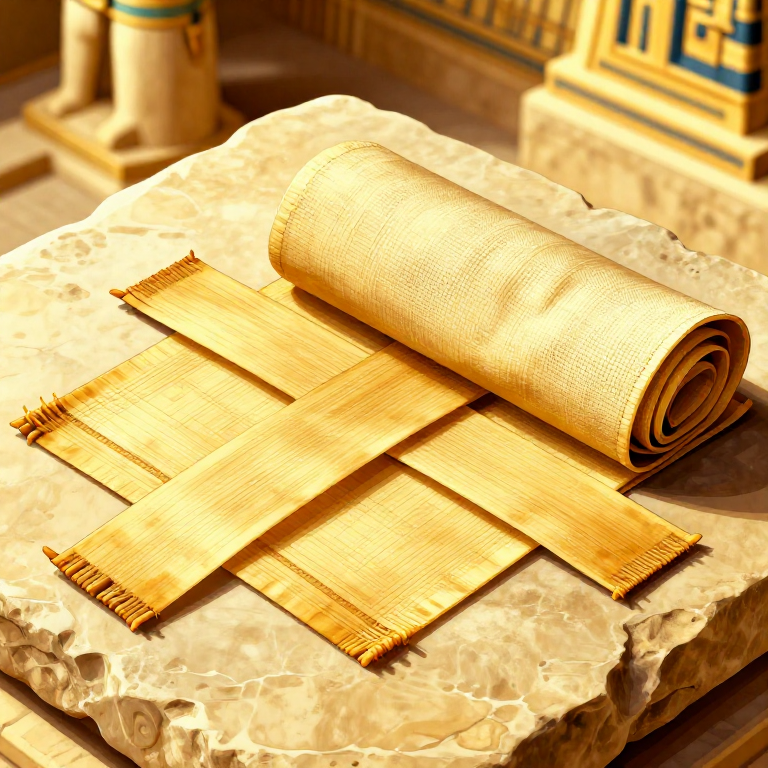
Place a sheet of linen cloth on one of your flat pressing boards. Lay the first layer of soaked strips side by side horizontally, with edges slightly overlapping by 1-2 mm. Then lay a second layer of strips vertically on top, perpendicular to the first layer, again with slight overlaps. This cross-laminated structure gives papyrus its characteristic strength in both directions, similar to modern plywood construction. The natural starches released during soaking will bond the two layers together under pressure. Cover the layered strips with the second piece of linen cloth.
Materiales para este paso:
Paño (de colar)1 piece piezaHerramientas necesarias:
 Tabla de madera plana
Press and Dry the Sheet
Press and Dry the Sheet
Place the second pressing board on top of the linen-covered papyrus layers and apply heavy weights totaling at least 10-15 kg. The pressure forces the moisture out and compresses the plant starches between the fibers, creating a natural bond. Alternatively, use a wooden mallet to pound the sandwich firmly before applying weight. Leave the assembly under pressure for 24-48 hours, changing the linen cloths after 12 hours if they become saturated. Once dry, carefully peel away the linen to reveal a smooth, cream-colored papyrus sheet. The finished sheet can be polished with a smooth stone or shell to create a finer writing surface.
Herramientas necesarias:
 Maza de gomaTabla de madera plana
Materiales
4- basin full piezaMarcador de posición
- 2 pieces piezaMarcador de posición
- 50ml piezaMarcador de posición
- 6-8 stalks, each 2-3 cm diameter piezaMarcador de posición
Herramientas requeridas
9- Marcador de posición
- Marcador de posición
- Marcador de posición
- Marcador de posición
- Marcador de posición
- Marcador de posición
- Marcador de posición
- Marcador de posición
- Marcador de posición
Este plano hace
CC0 Dominio público
Este Blueprint se publica bajo CC0. Eres libre de copiar, modificar, distribuir y usar este trabajo para cualquier propósito, sin pedir permiso.
Apoya al Maker comprando productos a través de su Blueprint, donde gana una Comisión del Maker establecida por los vendedores, o crea una nueva iteración de este Blueprint e inclúyela como conexión en tu propio Blueprint para compartir ingresos.