
Building a Clay Kiln — The First Furnace
Instrucciones
Prerequisite: Making Charcoal
Prerequisite: Making Charcoal
You need charcoal for kiln curing and temperature testing. Complete this blueprint first:
Blueprint prerrequisito
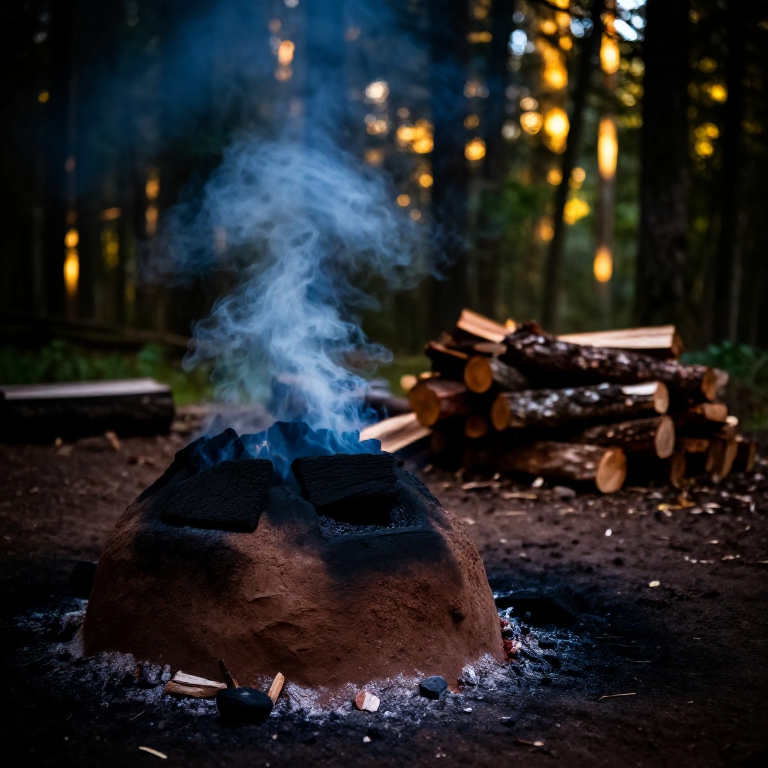
Making Charcoal — The First Chemical Process
Materiales para este paso:
 Carbón activado en polvo10 kg
Herramientas necesarias:
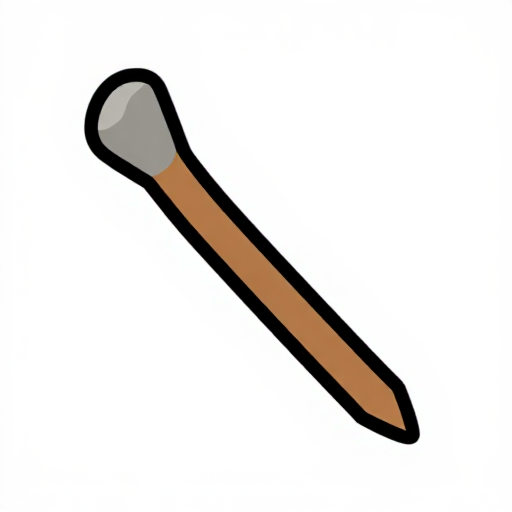 Herramienta de cavar (piedra, asta o palo)
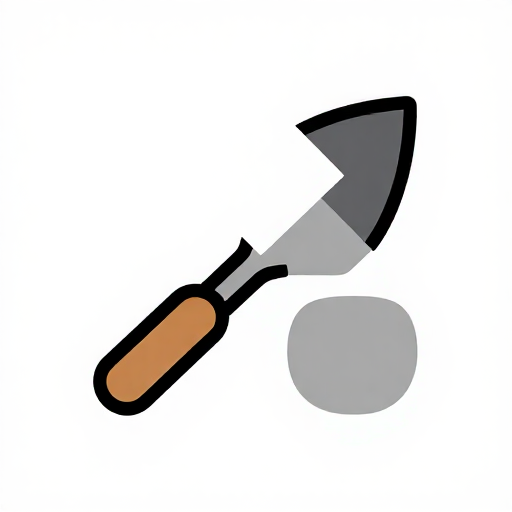 Piedra plana (llana / herramienta de conformado)
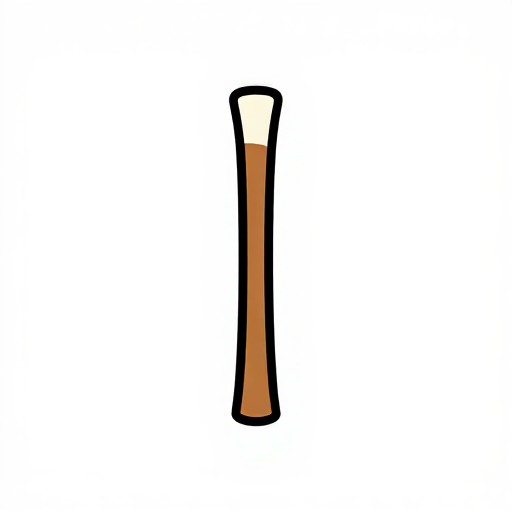 Formador de tobera
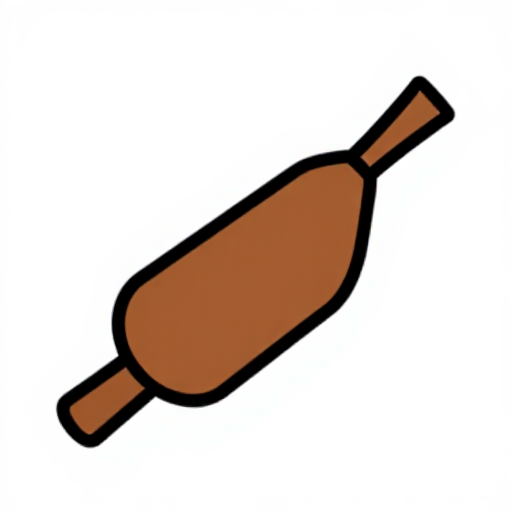 Fuelle
Kiln Design — The Updraft Principle
Kiln Design — The Updraft Principle
How a Kiln Works
A kiln is an insulated chamber with controlled airflow. The key principles:
- Insulation: Thick clay walls retain heat instead of radiating it into the air
- Updraft: Hot air rises. Cold air enters at the bottom (tuyère), hot exhaust exits at the top
- Forced air: Bellows or blowpipe through the tuyère increases oxygen supply, raising temperature
Design Specifications
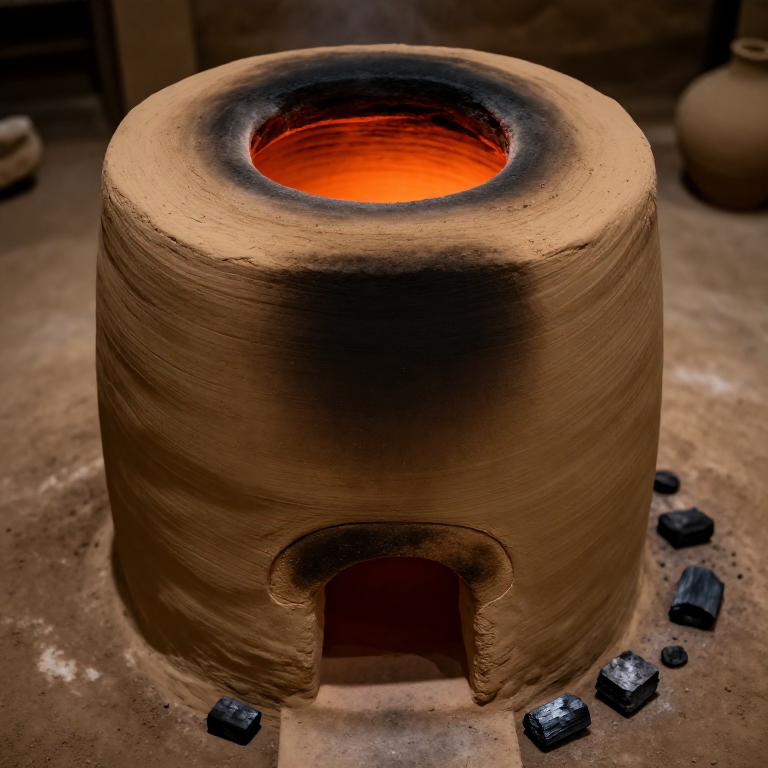
We're building a simple updraft kiln — the oldest furnace design, dating to ~6000 BCE:
- Internal diameter: 30-40cm (enough for a crucible)
- Wall thickness: 8-12cm (thicker = better insulation)
- Height: 50-60cm
- Tuyère hole: 3-5cm diameter, positioned 5cm above the floor, angled slightly downward
- Top opening: 15-20cm diameter (partially sealed during operation)
Materiales para este paso:
 Arcilla30 kg
Building the Kiln
Building the Kiln
Preparing the Clay Body
- Mix clay and sand in a 3:1 ratio (by volume). Too much clay = cracks. Too much sand = crumbles.
- Add chopped straw (~5% by volume). Knead thoroughly until uniform.
- The mix should hold its shape when squeezed but not stick excessively to your hands.
- Let the mix rest overnight (improves workability).
Construction Method: Coil Building
- Foundation: Create a flat clay disc, 50cm diameter, 5cm thick. This is the kiln floor.
- First course: Roll clay into coils (5cm diameter). Layer the first ring on the edge of the floor disc, 30cm inside diameter.
- Build up: Add coils one at a time, smoothing each into the one below. Overlap joints for strength.
- Tuyère: At the 3rd course (~5cm above floor), insert a stick horizontally to form the air inlet hole. Remove after clay firms up.
- Taper inward: From 30cm at the bottom, narrow gradually to 15-20cm at the top over 50cm height.
- Smooth interior: The inside surface should be as smooth as possible — rough surfaces waste heat.
Drying
Critical: Let the kiln dry slowly over 3-5 days in shade. Rapid drying causes cracks. If cracks appear, patch with wet clay.
Materiales para este paso:
 Arena gruesa (construcción/alfarería)10 kg
 Desgrasante orgánico2 kgArcilla de loza30 kg
 Ladrillo refractario20 pc
First Firing — Curing the Kiln
First Firing — Curing the Kiln
The Curing Process
A new clay kiln must be cured with progressively hotter fires. Jumping straight to full temperature will crack it.
- Day 1 — Warm fire: Small wood fire inside. Target ~200°C. Maintain for 2 hours. This drives out remaining moisture.
- Day 2 — Medium fire: Larger wood fire. Target ~500°C. Maintain for 2 hours. The straw burns out, creating insulating air pockets.
- Day 3 — Full fire: Switch to charcoal. Use bellows through the tuyère. Target 900-1000°C. The clay vitrifies (partially melts and hardens). The kiln is now a permanent structure.
Temperature Indicators (No Thermometer Needed)
| Temperature | Visual Indicator |
|---|---|
| ~400°C | Dull red glow barely visible in darkness |
| ~600°C | Dark cherry red, visible in shade |
| ~800°C | Cherry red, clearly visible |
| ~1000°C | Bright orange |
| ~1100°C | Yellow-orange (copper smelting range) |
Your Kiln is Ready
After curing, your kiln can reach 1100°C+ with charcoal and bellows. This unlocks:
- Pottery firing (900°C)
- Copper smelting from ore (1085°C)
- Bronze casting (~950°C)
- And eventually, with modifications, iron smelting (~1250°C)
Materiales para este paso:
Carbón activado en polvo10 kgDesgrasante orgánico2 kgArcilla de loza30 kgMateriales
6- 30 kgMarcador de posición
- Marcador de posición
- Marcador de posición
- 20 piezasMarcador de posición
- Marcador de posición
- Marcador de posición
Herramientas requeridas
4- Marcador de posición
- Marcador de posición
- Marcador de posición
- Marcador de posición
Materiales de Blueprints conectados
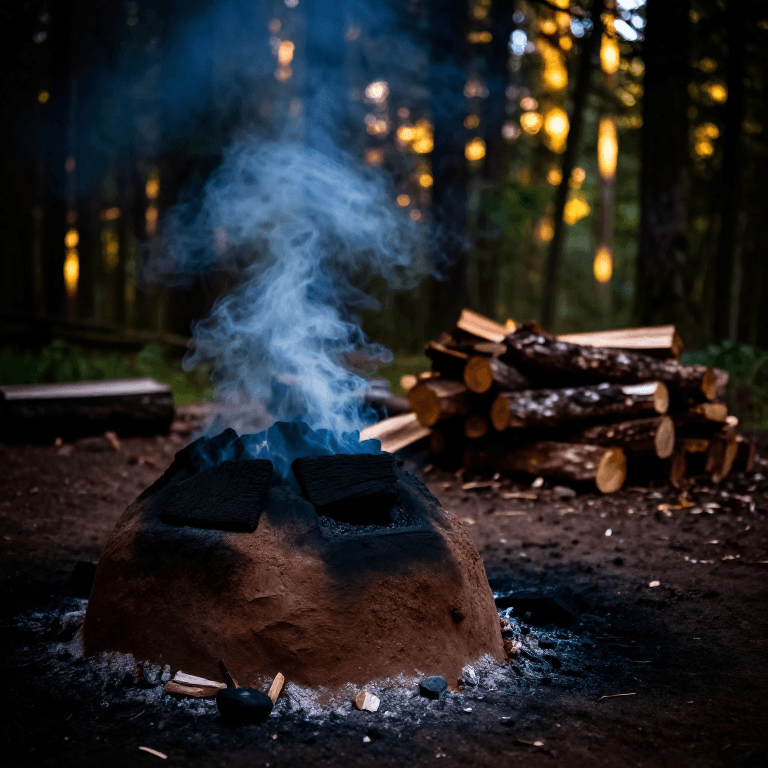

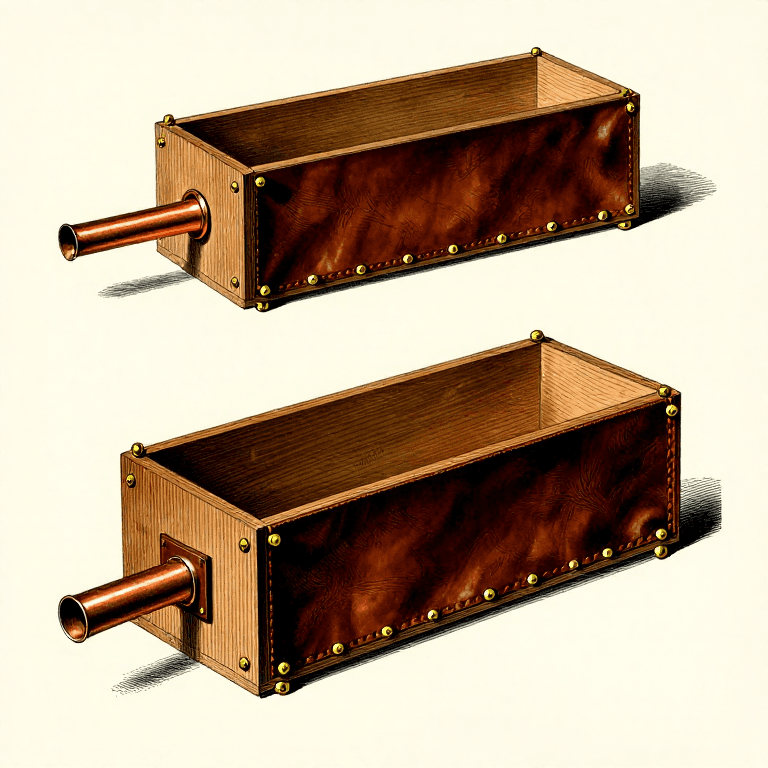

CC0 Dominio público
Este Blueprint se publica bajo CC0. Eres libre de copiar, modificar, distribuir y usar este trabajo para cualquier propósito, sin pedir permiso.
Apoya al Maker comprando productos a través de su Blueprint, donde gana una Comisión del Maker establecida por los vendedores, o crea una nueva iteración de este Blueprint e inclúyela como conexión en tu propio Blueprint para compartir ingresos.