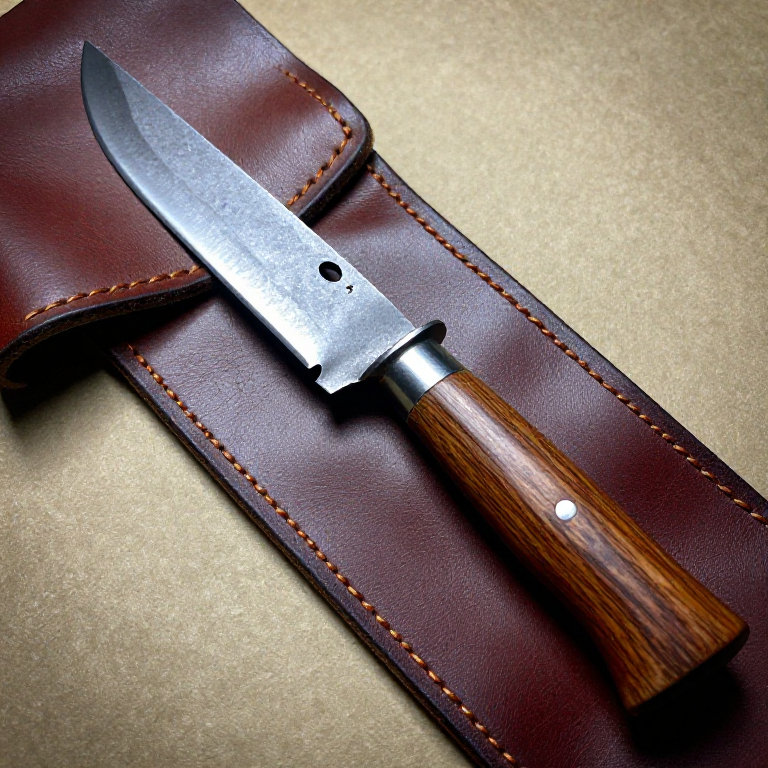
Forging an Iron Knife from a Wrought Iron Bar — The Smith's First Project
The iron knife is traditionally the first object a blacksmith apprentice learns to forge. It teaches every fundamental operation: drawing out (lengthening the metal), tapering (creating a point), bevelling (forming the cutting edge), and finishing (grinding and hafting). An experienced smith can forge a knife in under an hour; a beginner should expect a full day of practice.
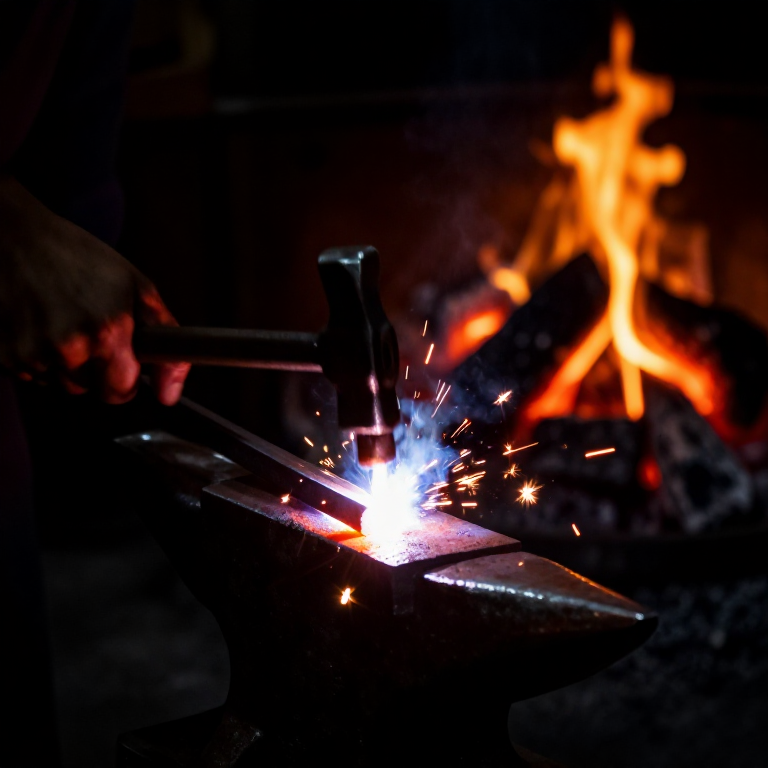
Unlike bronze tools which are cast into shape, iron tools are forged — beaten into shape from a solid bar using only heat, hammer, and anvil. The wrought iron bar is heated to bright orange in a charcoal forge, then hammered on an anvil to draw it into a blade shape. The tang (the part that goes into the handle) is formed by drawing the opposite end to a narrow taper.
The blade is then ground, and the edge can be hardened by case-carburising (packing in charcoal and heating) to add a thin layer of steel to the surface. This gives a wrought iron blade the best of both worlds: a tough, shock-absorbing body with a hard, sharp edge.
Instrucciones
Select and cut the bar stock
Select and cut the bar stock
Heat the tang end to forging temperature
Heat the tang end to forging temperature
Materiales para este paso:
 Charcoal3 kg
Draw out the tang
Draw out the tang
Herramientas necesarias:
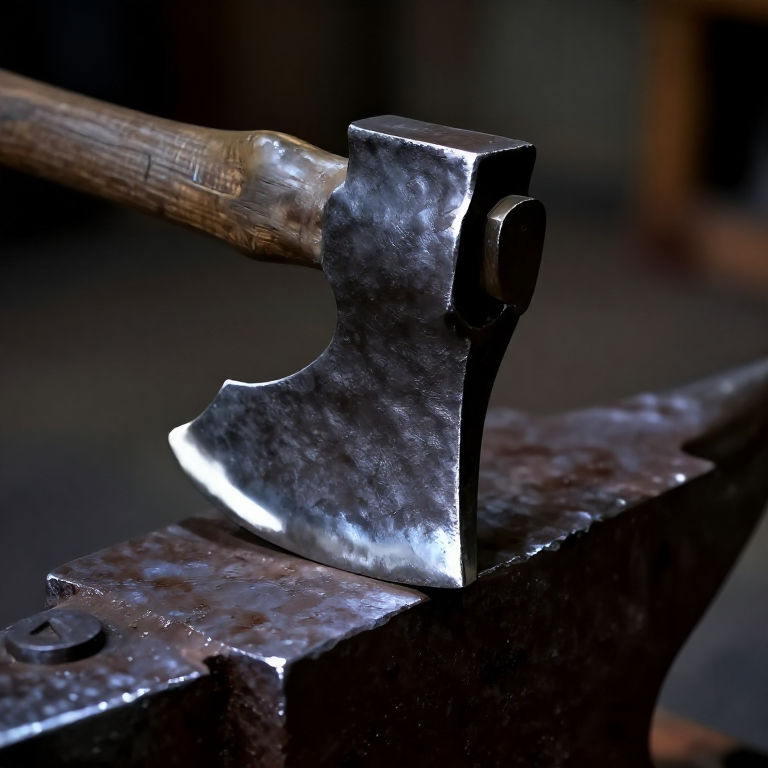
 Forge Hammer (Cross-Peen)
 Forge Tongs
 Hearth (Forge Fire)
Define the shoulder
Define the shoulder
Taper the blade to a point
Taper the blade to a point
Set the bevel
Set the bevel
Straighten and true the blade
Straighten and true the blade
Normalise the blade
Normalise the blade
Grind the edge
Grind the edge
Materiales para este paso:
 Sandstone (Abrasive)1 pieza
 Whetstone1 pieza
Haft with a wooden handle
Haft with a wooden handle
Materiales
3- 1 piezaMarcador de posición
Herramientas requeridas
3- Marcador de posición
- Marcador de posición
- Marcador de posición
Materiales de Blueprints conectados
Blueprints relacionados
Estos blueprints comparten conocimiento — técnicas, materiales o principios
Related blueprints
Other builds that share materials, tools, or techniques with this one.


CC0 Dominio público
Este Blueprint se publica bajo CC0. Eres libre de copiar, modificar, distribuir y usar este trabajo para cualquier propósito, sin pedir permiso.
Apoya al Maker comprando productos a través de su Blueprint, donde gana una Comisión del Maker establecida por los vendedores, o crea una nueva iteración de este Blueprint e inclúyela como conexión en tu propio Blueprint para compartir ingresos.