ARTE
BELLEZA Y BIENESTAR
ARTESANÍA
CULTURA E HISTORIA
ENTRETENIMIENTO
MEDIO AMBIENTE
COMIDA Y BEBIDAS
INGENIERÍA INVERSA
CIENCIAS
DEPORTES
TECNOLOGÍA
TECNOLOGÍA VESTIBLE
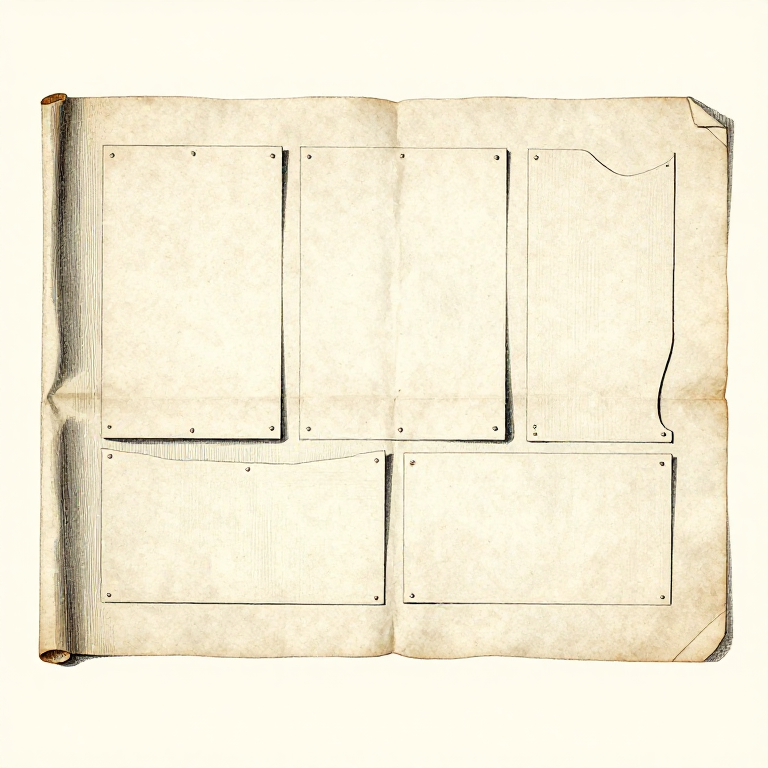


Laying Out and Cutting: Two Layers, One Way Up, and Cut Once
Cutting is the one step in the whole process that cannot be undone. Everything else can be unpicked; cloth cut away is gone, and a piece cut too small cannot be made larger.
So the layout is where the care belongs. Pieces on the right grain, the right number of each, mirrored where they should be mirrored, and all of them fitting on the cloth you actually have.
The second trap is NAP — cloth with a direction, whether from pile, sheen or a printed pattern. Two pieces cut facing opposite ways look like two different colours when the garment is finished, and nothing can be done about it afterwards.
Principiante
3 hours
Instrucciones
1
1
Lay out every piece before cutting any of them
Lay out every piece before cutting any of them
Pin or weight all the pattern pieces onto the cloth and only then pick up the scissors. Cutting as you go is how the last piece turns out not to fit on what is left.
Big pieces first, small ones into the gaps. Every layout is a packing problem, and the pieces that constrain it are the long ones — a trouser leg or a skirt panel has only a few possible positions once the grain is fixed.
Check the count against the instructions. "Cut 2", "cut 1 on fold", "cut 4 interfacing" — the commonest layout mistake is cutting one of something that needed two, and it is usually found when the second sleeve is wanted.
Materiales para este paso:
 Tela de algodón1 pieza
 Papel1 pieza
Herramientas necesarias:
 Alfileres de costura
 Jaboncillo de sastre
 Cinta métrica
2
2
Folded double, and what mirroring gives you
Folded double, and what mirroring gives you
Cloth folded selvedge to selvedge gives two layers, so one cut through both produces a mirrored PAIR — a left and a right. That is what almost every garment needs, and it is why the double layer is the default.
Pieces marked "cut on fold" go against the folded edge and open out into one symmetrical piece, twice the width of the pattern. Cutting along that fold by mistake gives two halves of a front and no way back.
Where a piece must NOT be mirrored — an asymmetric front, a pocket that goes on one side only — cut on a single layer, or cut the second one deliberately the same way up. Two mirrored pockets on the same side of a jacket is a real and common mistake.
Materiales para este paso:
Tela de algodón1 piezaHerramientas necesarias:
 TijerasAlfileres de costura
 Regla
Regla3
3
Nap: cloth that has a direction
Nap: cloth that has a direction
Velvet, corduroy, brushed wool and many satins reflect light differently depending which way they are stroked. Two pieces cut in opposite directions are visibly different shades in the finished garment, under any light.
So on napped cloth every piece goes the SAME way up. That is a 'with nap' layout, it uses more cloth than a layout that alternates, and the extra cloth is not optional.
Printed cloth has a direction too, and so does anything with a one-way pattern. Decide the direction, mark it on the cloth with chalk arrows before laying out, and check every piece against those arrows rather than against the pattern.
Materiales para este paso:
Tela de algodón1 pieza Tejido de lino1 pieza
Herramientas necesarias:
Jaboncillo de sastreAlfileres de costuraTijeras4
4
Cut with the cloth flat, and keep the scissors down
Cut with the cloth flat, and keep the scissors down
Keep the cloth flat on the table and move around it rather than lifting it. Cloth lifted while being cut distorts, so the piece is a different shape once it is laid down again — and the distortion is worst on bias edges, which are exactly the ones that matter.
Slide the lower scissor blade along the table and take long smooth cuts. Short snips leave a serrated edge, and the stitching line follows that edge — the seam-allowance rung's point, arriving from the cutting side.
Keep fabric shears for fabric only. Paper blunts them quickly, and a blunt shear chews rather than cuts, which is both a worse edge and far more effort. Mark them and keep separate scissors for paper patterns.
Materiales para este paso:
Tela de algodón1 piezaHerramientas necesarias:
TijerasReglaJaboncillo de sastreMateriales
3- 4 piezasMarcador de posición
- 1 piezaMarcador de posición
- 1 piezaMarcador de posición
Blueprints relacionados
Estos blueprints comparten conocimiento — técnicas, materiales o principios
CC0 Dominio público
Este Blueprint se publica bajo CC0. Eres libre de copiar, modificar, distribuir y usar este trabajo para cualquier propósito, sin pedir permiso.
Apoya al Maker comprando productos a través de su Blueprint, donde gana una Comisión del Maker establecida por los vendedores, o crea una nueva iteración de este Blueprint e inclúyela como conexión en tu propio Blueprint para compartir ingresos.