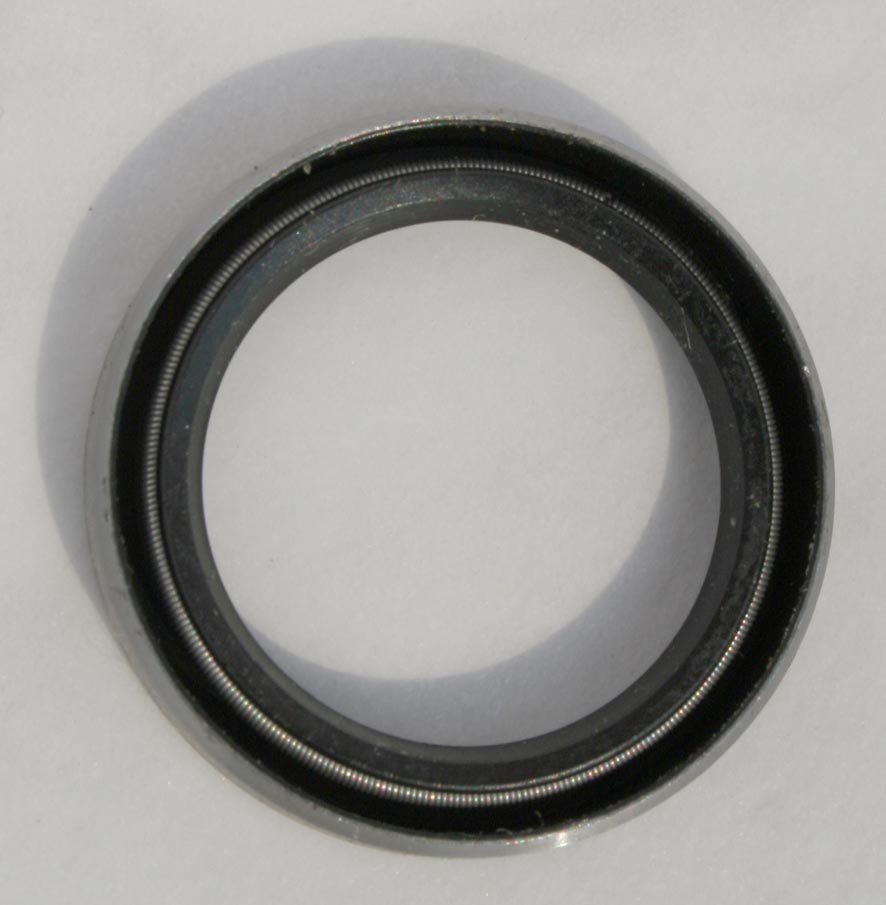


Lip Seal
Instrucciones
Cut the seal body with an asymmetric lip
Cut the seal body with an asymmetric lip
The cross-section is the entire design. Draw it before cutting.
- Draw the section full size: an outer rim that grips the housing, a flexible web, and a lip that meets the shaft.
- Make the FLUID side of the lip a steep angle, about 45 degrees.
- Make the AIR side shallow, about 25 degrees.
- Cut the seal from 3 mm sheet rubber with an outside diameter of 30 mm and a lip bore about 0.5 mm SMALLER than the 16 mm shaft.
Why the lip must be undersize. The interference is what makes initial contact before any spring or pressure acts. Cut it to shaft size and it seals nothing at rest; cut it far undersize and it grips hard, heats and wears through in minutes. Half a millimetre is about right at this scale.
Mark the fluid side of the seal clearly as you cut it. You are about to prove in step 4 that direction matters, and you need to know which way round it is.Materiales para este paso:
 Muselina de algodón1 metre
 Papel milimetrado1 pad
Herramientas necesarias:
 Calibre digital de 6 pulgadas
 Escuadra combinada
 Segueta (sierra de marquetería)
Add the garter spring
Add the garter spring
A small coil spring joined into a ring, sitting in a groove behind the lip.
- Take a length of light coil spring and join its ends into a closed ring about 15 mm across.
- Cut a shallow groove in the back of the lip to seat it.
- Fit the spring so it squeezes the lip inward, concentric with the bore.
- Check the lip still flexes freely — the spring should load it, not lock it.
What the spring is for. Rubber relaxes over time and wears; without a spring, contact pressure falls as both happen and the seal starts to leak long before the lip is worn out. The garter spring keeps the load roughly constant for the seal's whole life. This is the same idea as the nylon lock nut — a small element whose only job is to hold a setting against time.
Position the spring BEHIND the contact line, slightly toward the fluid side. A spring sitting directly over the contact point tends to lift the lip's edge rather than press it home.Materiales para este paso:
 Juego de muelles de compresión1 juego
Herramientas necesarias:
 Juego de limasCalibre digital de 6 pulgadas
 Tornillo de banco
Make the housing and fit the shaft
Make the housing and fit the shaft
The seal grips the bore and the shaft turns through it.
- Bore a 30 mm housing recess in an aluminium block, 5 mm deep.
- Press the seal in — it should be a firm interference fit, held by its outer rim alone.
- Mount a 16 mm shaft in two 608 bearings so it runs true through the seal.
- Fix the bearing blocks with M5 × 40 socket head cap screws × 4, M5 flat washers × 8 and M5 hex nuts × 4.
- Polish the shaft where the lip runs.
Shaft finish is a specification, not a nicety. A lip seal runs on the shaft surface itself, so a rough shaft acts like a file on the rubber. Real installations specify both a surface roughness range and a hardness, and rebuilding a shaft that a seal has worn a groove into is a routine repair job.
Chamfer the shaft end before pushing it through, or the lip will be turned inside out on assembly — another very common way to ruin a new seal during fitting.Materiales para este paso:
 Redondo de aluminio1 pieza
 Rodamiento de bolas2 piezas
 Arandela plana8 piezas
 Tuerca hexagonal4 piezas
 Tablero contrachapado1 hoja
Herramientas necesarias:
 Taladro inalámbrico
 Juego de brocas
 Juego de llaves AllenJuego de limasCalibre digital de 6 pulgadas
Fit it backwards on purpose
Fit it backwards on purpose
The direction test — the fastest way to understand why the lip is asymmetric.
- Fit the seal with the steep face toward the fluid. Fill with water and turn the shaft. Note any leakage.
- Remove, reverse the seal, refit with the SHALLOW face toward the fluid.
- Fill again and turn. Compare.
- Now press gently on the water to raise the pressure slightly in each orientation.
Herramientas necesarias:
 CronómetroCalibre digital de 6 pulgadas
Why it needs a film of oil, and history
Why it needs a film of oil, and history
A lip seal does not run dry. A correctly working one rides on a microscopically thin film of the fluid it is retaining — thin enough to leak nothing measurable, thick enough to separate rubber from steel. This is the same bargain as the packing gland's drip, three orders of magnitude smaller. Run a lip seal dry and it burns a hard glazed ring into the rubber within minutes, which is why fitting instructions insist on smearing the lip with oil before assembly.
History. Rotary lip seals in recognisable modern form date from the early twentieth century and were made practical by synthetic elastomers — nitrile rubber above all — which tolerate oil and heat in a way natural rubber and leather could not. The garter spring and the bonded steel case are what turned a rubber washer into a component that survives tens of thousands of hours.
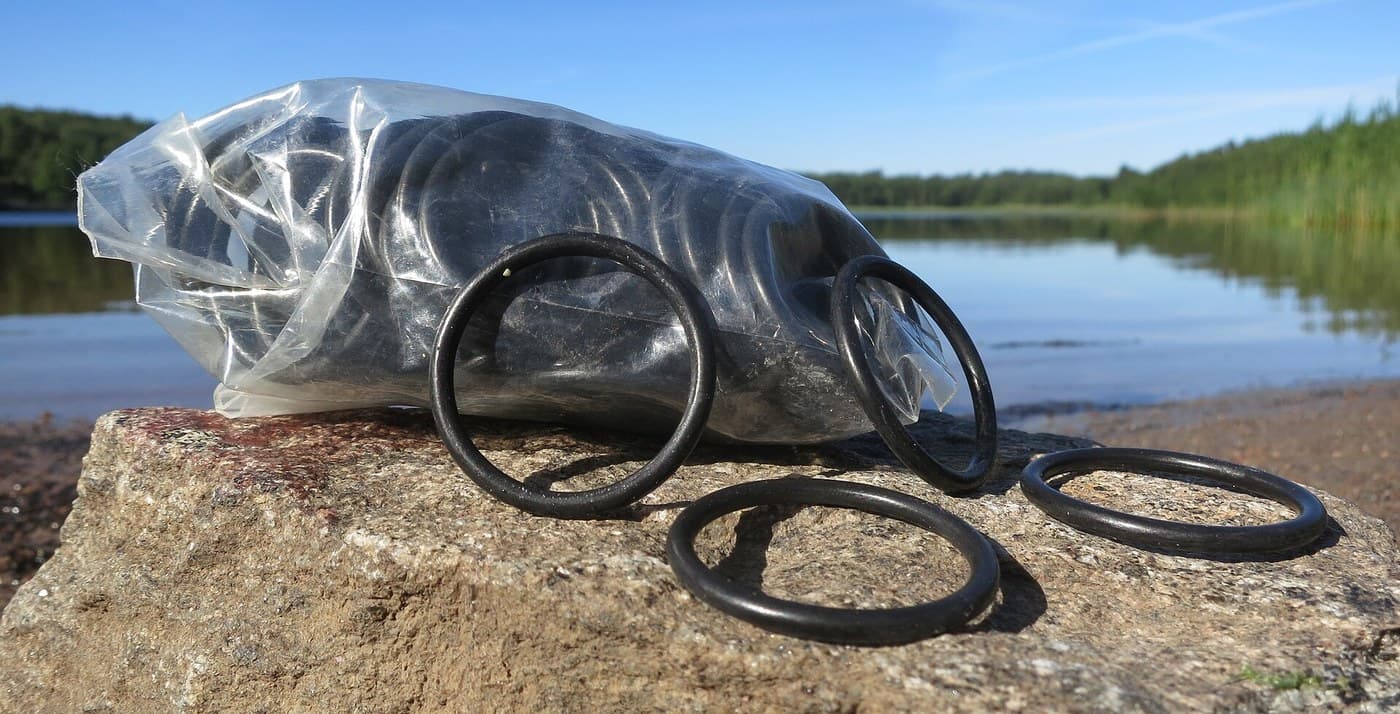
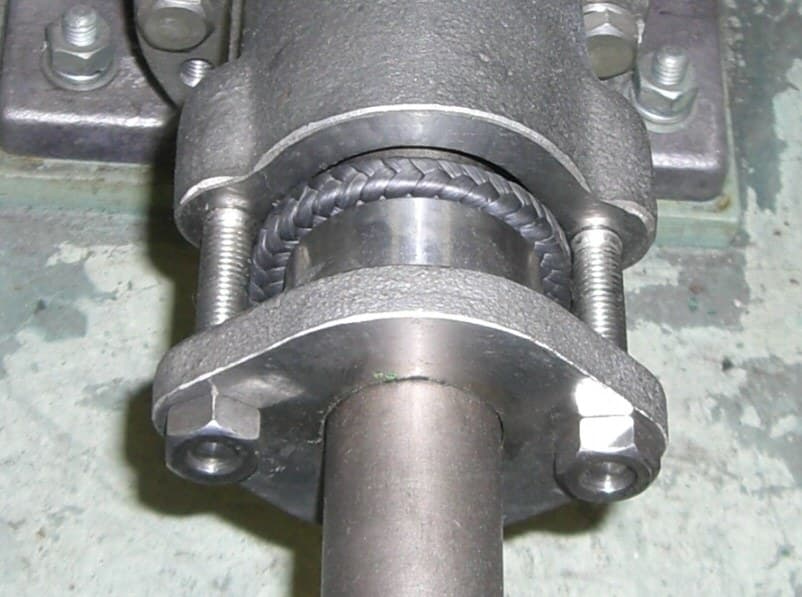
Against its siblings: the O-ring is cheaper and perfect for static joints but generates too much friction on a rotating shaft. The packing gland is adjustable and repairable but always leaks measurably and needs attention. The labyrinth seal never wears at all but never seals fully. The lip seal is the compromise that suits most rotating machinery — nearly no leakage, low friction, cheap, and it fails gradually and audibly rather than suddenly.
Its honest limits: a fixed speed and pressure range, no adjustment whatsoever, and total dependence on the shaft's surface finish and roundness. It is a component you replace rather than service — a different maintenance philosophy from the gland, and one that assumes spare parts are available.
Materiales
8- 1 metreMarcador de posición
- 1 padMarcador de posición
- Marcador de posición
- 1 piezaMarcador de posición
- Marcador de posición
- 8 piezasMarcador de posición
- 4 piezasMarcador de posición
- 1 hojaMarcador de posición
Herramientas requeridas
9- Marcador de posición
- Marcador de posición
- Marcador de posición
- Marcador de posición
- Marcador de posición
- 1 vendor sell this, none ship to you yetMarcador de posición
- Marcador de posición
- Marcador de posición
- Marcador de posición
Blueprints relacionados
Estos blueprints comparten conocimiento — técnicas, materiales o principios


CC0 Dominio público
Este Blueprint se publica bajo CC0. Eres libre de copiar, modificar, distribuir y usar este trabajo para cualquier propósito, sin pedir permiso.
Apoya al Maker comprando productos a través de su Blueprint, donde gana una Comisión del Maker establecida por los vendedores, o crea una nueva iteración de este Blueprint e inclúyela como conexión en tu propio Blueprint para compartir ingresos.