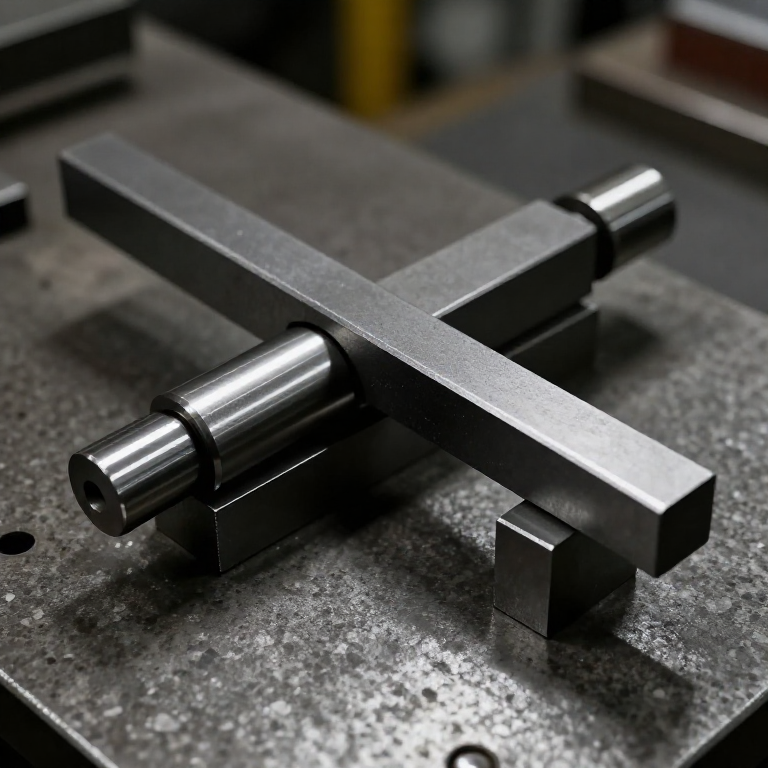


Sine Bar
Instrucciones
Fix the roller centre distance — it is the standard
Fix the roller centre distance — it is the standard
One dimension carries the whole instrument's accuracy.
- Cut a bar 160 × 40 mm from 6 mm aluminium flat bar.
- Mark two roller centres exactly 100.00 mm apart on the bar's centreline, 30 mm in from each end.
- Measure the marks with the caliper and correct them before punching.
- Centre-punch, then drill both 5.0 mm.
Why 100 mm. A round number turns every later calculation into mental arithmetic: the required stack is simply 100 × sin(angle). Commercial bars use 5 inches or 100 mm for exactly this reason.
An error here is an error in every angle the bar will ever set, and it is invisible — the instrument will look right and read wrong forever. Measure twice, and record the figure you actually achieved rather than the one you intended.Materiales para este paso:
 Pletina de aluminio1 pieza
Herramientas necesarias:
 Arco de sierra para metales con hojas
 Calibre digital de 6 pulgadas
 Granete
 Escuadra combinada
 Tornillo de banco
Fit two rollers of identical diameter
Fit two rollers of identical diameter
Equal diameters matter as much as the spacing. Unequal rollers tilt the bar before you start.
- Fit a 608 bearing at each marked centre, using an M5 × 25 socket head cap screw through the bore.
- Retain each with M5 flat washer × 2 and an M5 hex nut, tightened so the outer race still turns freely.
- Measure both outer races with the caliper and confirm they agree within 0.02 mm.
- Stand the bar on a flat surface — it should sit without rocking.
What a real sine bar uses: two hardened, ground steel cylinders lapped to the same diameter within a couple of microns, set into the bar's ends. Modern build spec (derived): the outer race of a 608 is ground and consistent between examples from one batch, which is why both rollers should come from the same pack.
The rollers do not need to rotate in use — they only need to be round and equal. Free rotation simply makes it easy to confirm they are.Materiales para este paso:
 Rodamiento de bolas2 piezas
 Arandela plana4 piezas
 Tuerca hexagonal2 piezas
Herramientas necesarias:
 Taladro inalámbrico
 Juego de brocas
 Juego de llaves AllenCalibre digital de 6 pulgadas
 Juego de limas
Compute a stack and set an angle
Compute a stack and set an angle
The arithmetic IS the instrument. Do it before touching the blocks.
- For 30 degrees: stack = 100 × sin(30) = 50.00 mm.
- For 15 degrees: 100 × sin(15) = 25.88 mm.
- For 45 degrees: 100 × sin(45) = 70.71 mm.
- Build each stack from gauge blocks, wringing them together, and slide it under one roller.
- Rest the other roller directly on the reference surface.
Materiales para este paso:
 Tablero contrachapado1 hoja
Herramientas necesarias:
Calibre digital de 6 pulgadasEscuadra combinadaFind where it stops being sensitive
Find where it stops being sensitive
Every instrument has a working region. This one's is set by the shape of the sine curve.
- Work out the stack for 10 degrees and for 11 degrees. Note the difference.
- Now do the same for 60 and 61 degrees.
- Compare the two differences.
Herramientas necesarias:
Calibre digital de 6 pulgadasCompare against reading a scale, and history
Compare against reading a scale, and history
Test both approaches on the same workpiece.
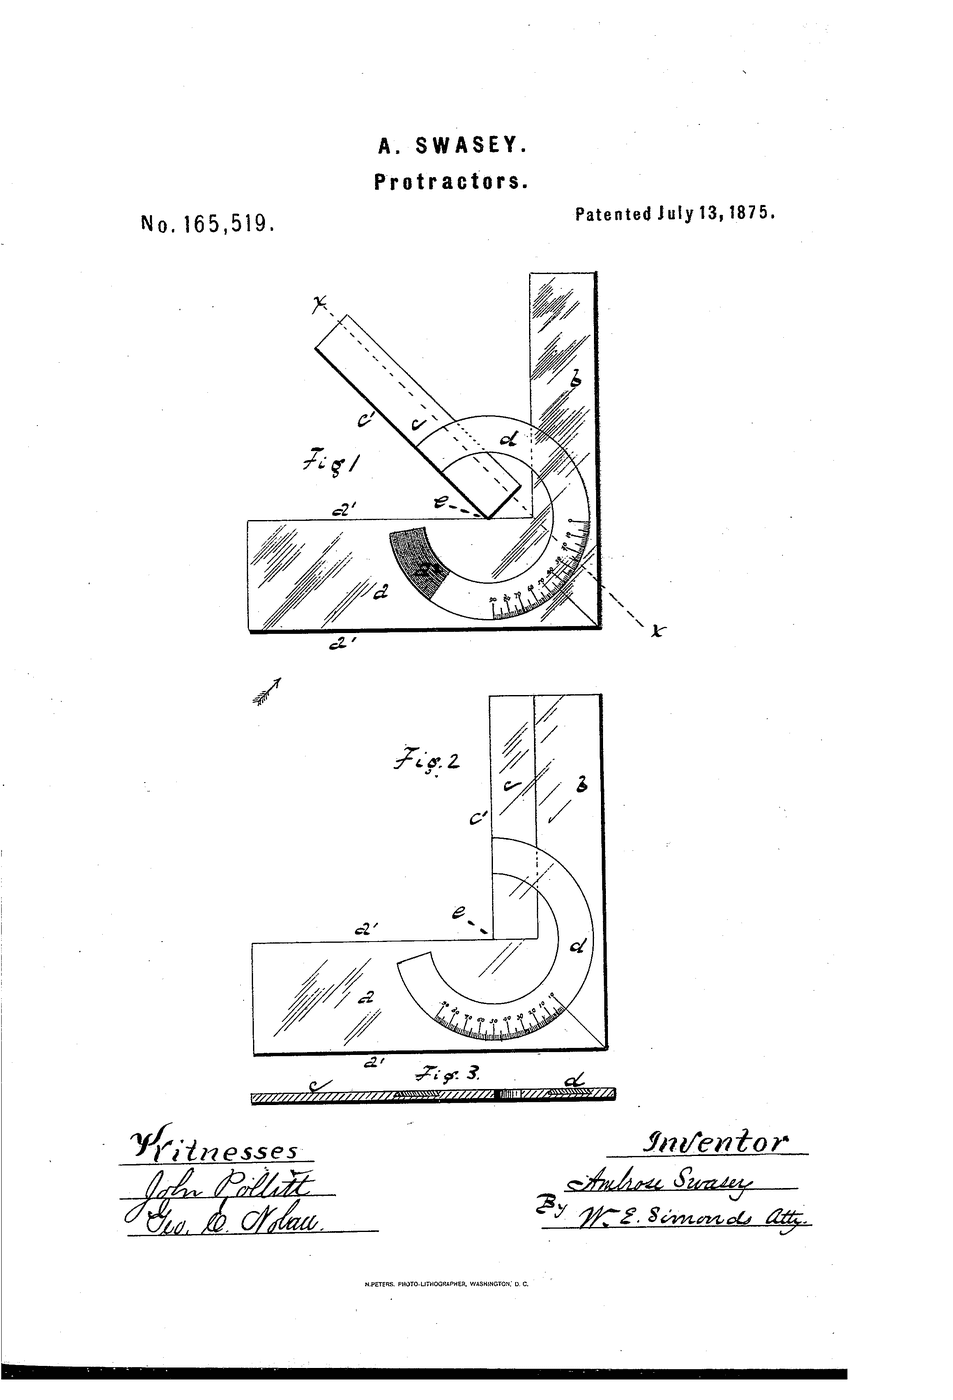
- Set a piece to 30 degrees using a bevel protractor, reading its scale.
- Set an identical piece with the sine bar and a computed stack.
- Check both against the other instrument and note the disagreement.
- Time both methods.
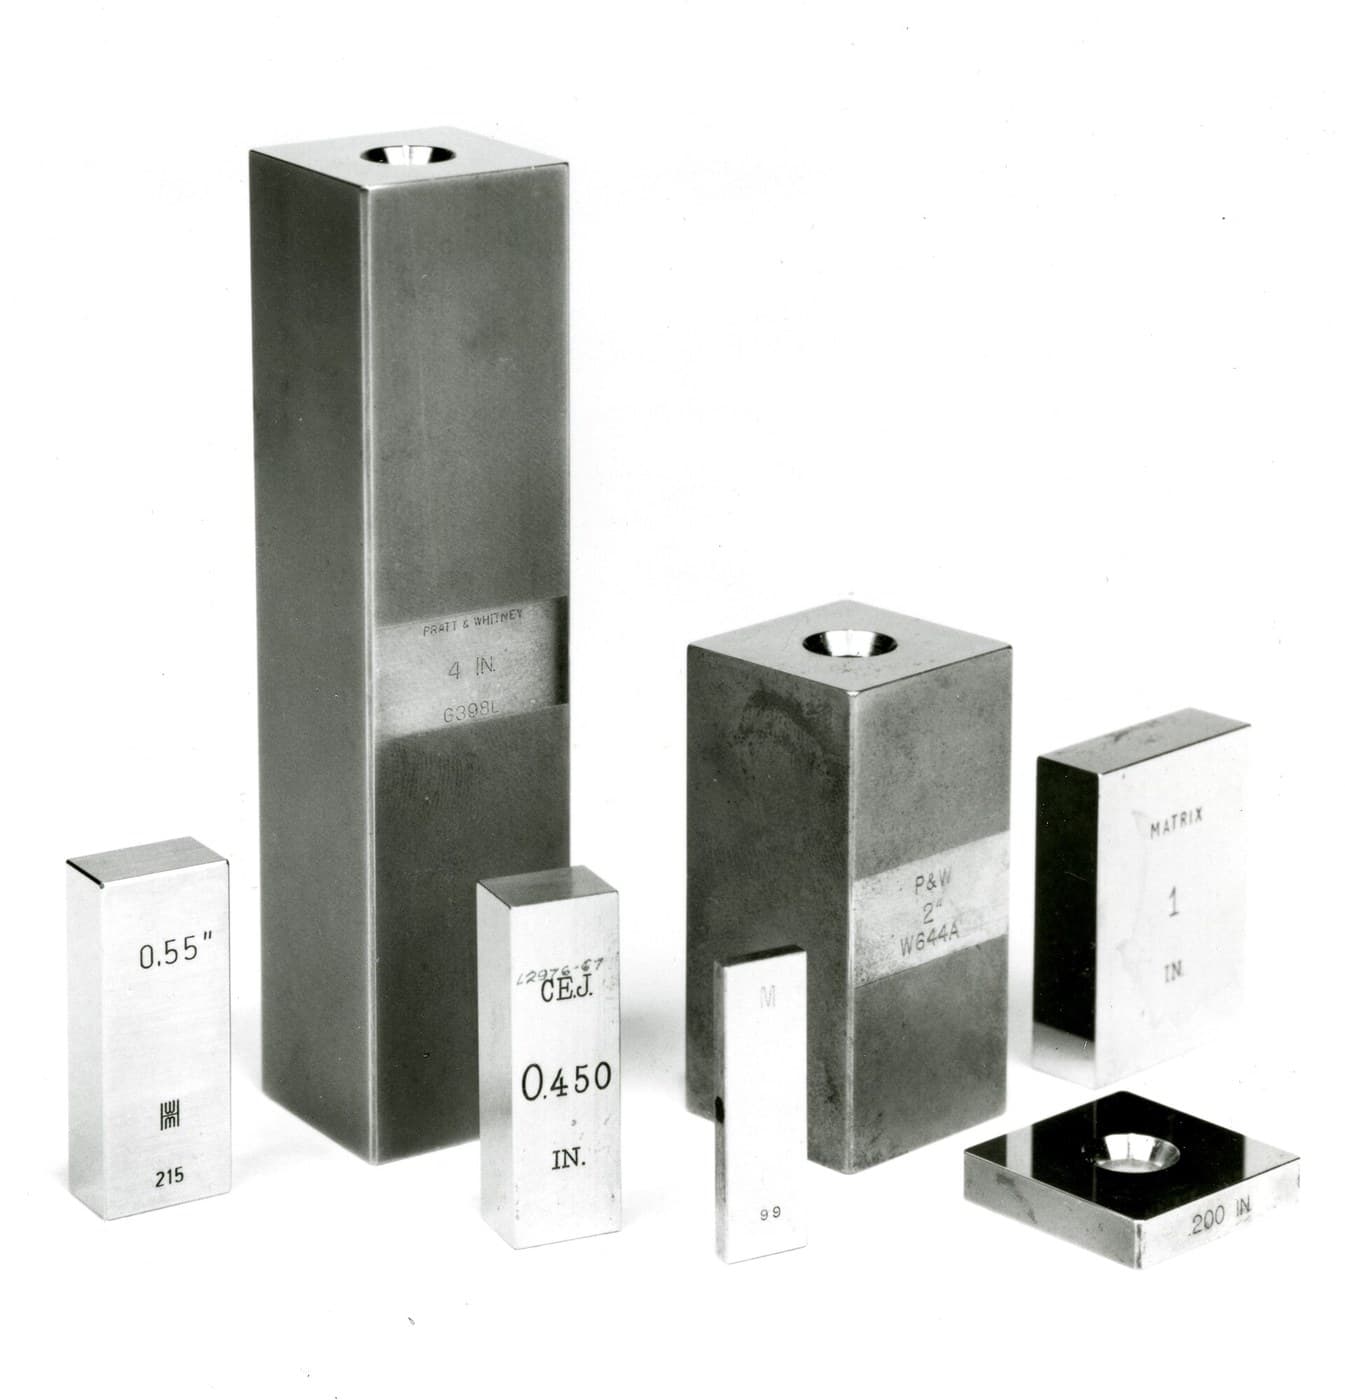
History. The sine bar comes out of the same late-nineteenth and early-twentieth-century push for interchangeable manufacture that produced gauge blocks, and it depends on them absolutely — the instrument is useless without a length standard to lift it. Carl Edvard Johansson's gauge blocks, published in this catalogue, are what made the sine bar practical rather than theoretical.
The idea is more general than the tool. Rather than measure the quantity you want, measure a DIFFERENT quantity you can measure precisely, and compute. Angles are hard to measure accurately and lengths are easy, so trade one for the other. The same substitution runs through the vernier caliper, the dial indicator's lever amplification, and the whole practice of metrology.
Its siblings: the bevel protractor reads directly and quickly; the sine bar computes slowly and precisely; a dividing head divides a circle exactly but only into whole divisions. Three ways to establish an angle, and a workshop that understands the trade keeps all three.
Herramientas necesarias:
Calibre digital de 6 pulgadasMateriales
5- 1 piezaMarcador de posición
- Marcador de posición
- 4 piezasMarcador de posición
- 2 piezasMarcador de posición
- 1 hojaMarcador de posición
Herramientas requeridas
9- Marcador de posición
- Marcador de posición
- Marcador de posición
- Marcador de posición
- Marcador de posición
- 1 vendor sell this, none ship to you yetMarcador de posición
- Marcador de posición
- Marcador de posición
- Marcador de posición
Este plano hace
Blueprints relacionados
Estos blueprints comparten conocimiento — técnicas, materiales o principios
CC0 Dominio público
Este Blueprint se publica bajo CC0. Eres libre de copiar, modificar, distribuir y usar este trabajo para cualquier propósito, sin pedir permiso.
Apoya al Maker comprando productos a través de su Blueprint, donde gana una Comisión del Maker establecida por los vendedores, o crea una nueva iteración de este Blueprint e inclúyela como conexión en tu propio Blueprint para compartir ingresos.