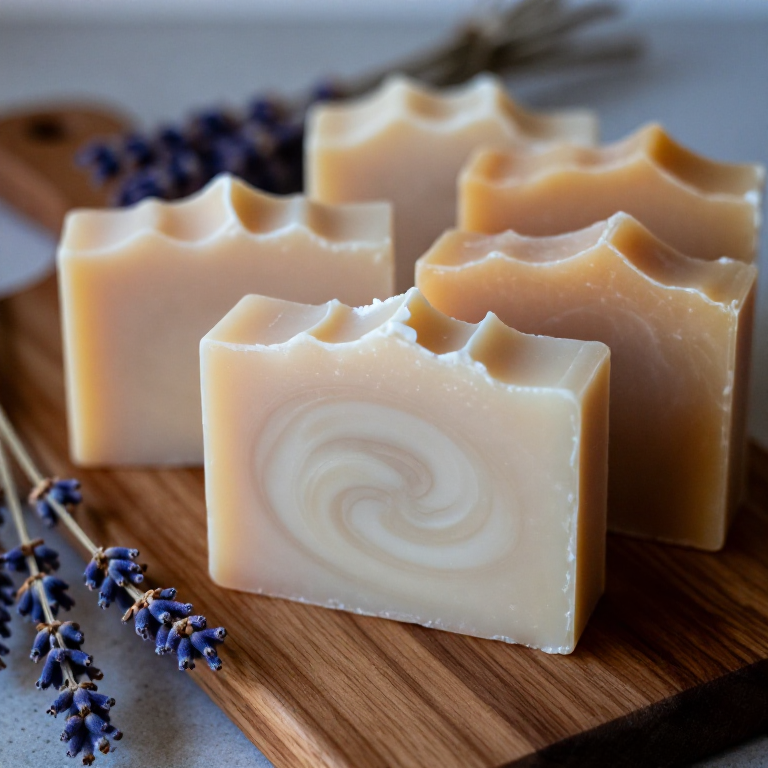
Making Cold Process Soap
Instrucciones
Understanding Saponification
Understanding Saponification
The Chemistry
Soap is made by a single chemical reaction — saponification:
Fat/Oil (triglyceride) + NaOH (sodium hydroxide) → Soap (sodium salt of fatty acid) + Glycerol
Each oil has a different SAP value — the amount of NaOH needed to fully convert 1g of that oil to soap:
| Oil | NaOH SAP Value (mg/g) | Properties in Soap |
|---|---|---|
| Coconut oil (76°F) | 0.178 | Hard bar, big bubbles, cleansing |
| Olive oil | 0.134 | Mild, moisturizing, small lather |
| Palm oil | 0.141 | Hard bar, creamy lather |
| Shea butter | 0.128 | Conditioning, creamy |
Superfat
We use 5% less lye than full saponification requires. This ensures all lye is consumed and 5% of the oils remain un-saponified in the final bar, making it more moisturizing. This is called the superfat or lye discount.
Lye Calculation for This Recipe
- Coconut oil: 200g × 0.178 = 35.6g NaOH
- Olive oil: 300g × 0.134 = 40.2g NaOH
- Total: 75.8g × 0.95 (5% superfat) = 72g NaOH
(The 69g specified in materials accounts for a slightly higher superfat margin for safety. Always verify with a lye calculator for your exact oils.)
Herramientas necesarias:
 Digital kitchen scale (0.1g resolution preferred)
 Immersion blender (stick blender)
 Heat-safe container for lye solution (polypropylene or stainless steel)
 Mixing bowl for oils (stainless steel or PP)
 Soap mold (silicone loaf mold)
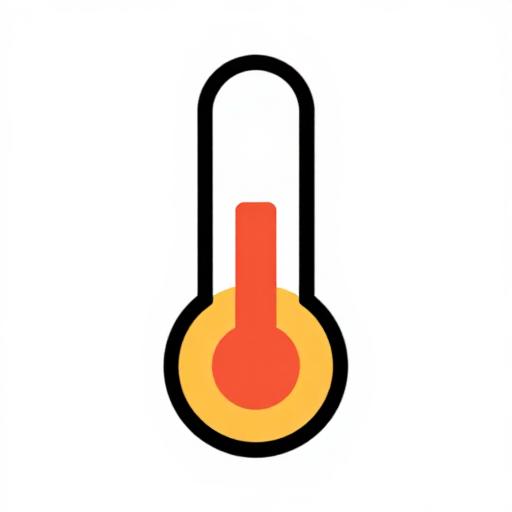 Thermometer
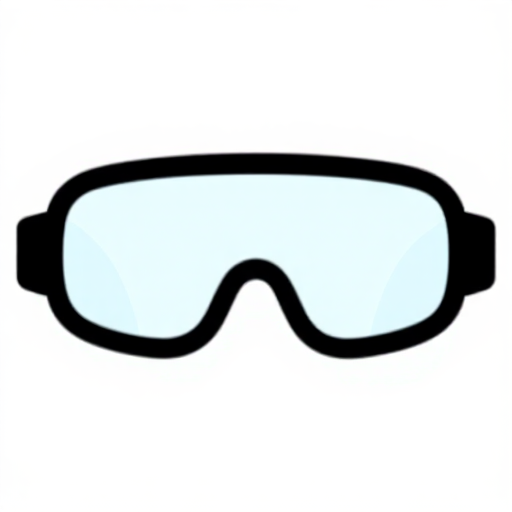 Safety goggles and rubber gloves
Preparing the Lye Solution
Preparing the Lye Solution
Safety First
Put on safety goggles and rubber gloves BEFORE opening the lye container. Work in a well-ventilated area — the lye-water reaction produces caustic fumes for the first 30 seconds.
Mixing Lye Solution
- Weigh 165g distilled water into the heat-safe container.
- Weigh 69g sodium hydroxide into a separate dry container.
- ALWAYS add lye TO water, never water to lye. Adding water to dry lye causes a violent exothermic eruption (like dropping water into hot oil).
- Slowly pour the lye into the water while stirring with a stainless steel spoon.
- The solution will heat up to 80-95°C (176-203°F) almost instantly and produce fumes. Stir until all lye is dissolved (solution will be clear).
- Set aside to cool to 38-43°C (100-110°F). This takes 30-60 minutes depending on ambient temperature.
Critical rule: LYE INTO WATER. The mnemonic: "Add the lye to the H₂O, nice and slow."
Materiales para este paso:
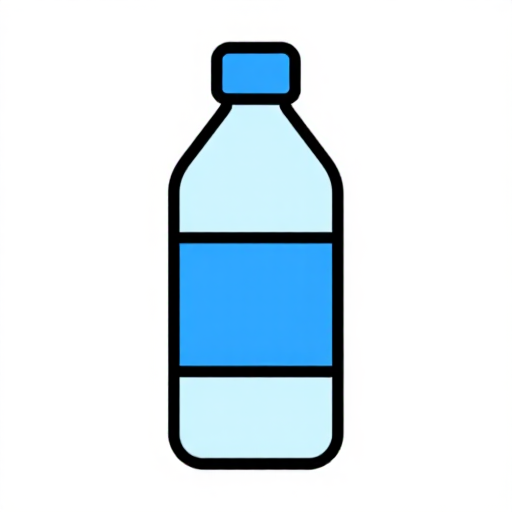 Distilled water165 g
 Sodium hydroxide (lye, NaOH)69 g
 Coconut oil (76°F melt point, refined)200 g
Preparing Oils and Reaching Trace
Preparing Oils and Reaching Trace
Melting and Mixing Oils
- Weigh 200g coconut oil into the mixing bowl. If solid, gently melt on low heat or in the microwave.
- Add 300g olive oil (already liquid at room temperature).
- Allow the oil blend to reach 38-43°C (100-110°F) — same target as the lye solution.
Combining and Reaching Trace
- When both the lye solution and oils are at 38-43°C, slowly pour the lye solution into the oils while stirring.
- Use the immersion blender in short 3-5 second bursts, alternating with stirring. Continuous blending can overheat the motor and bring the soap to trace too fast.
- Trace is reached when the soap batter is thick enough that a drizzle from the blender leaves a visible trail on the surface for a few seconds before sinking back in (like thin pudding).
- Light trace: Pourable, leaves faint lines. Best for swirl designs.
- Medium trace: Like thin pudding. Good for most basic recipes.
- Heavy trace: Like thick pudding. Difficult to pour, sets fast.
Adding Extras (at light trace)
- Essential oils: Add 15g and stir in well
- Colorants: Mica powder (1 tsp per 500g oils) or natural colorants
- Work quickly — the soap continues to thicken
Molding, Unmolding, and Curing
Molding, Unmolding, and Curing
Pouring
- Pour the soap batter at medium trace into the silicone mold. Tap the mold on the counter to release air bubbles.
- Smooth the top with a spatula.
- Cover the mold with a piece of cardboard, then wrap with a towel for insulation. This keeps the soap warm enough for gel phase — a stage where the soap becomes translucent and hot (60-80°C internally) as saponification accelerates. Gel phase produces harder, more vibrant soap.
Unmolding (24-48 hours)
- After 24-48 hours, the soap should be firm enough to unmold. If it's still soft, wait another day.
- Wear gloves — the soap is not yet fully saponified and may still contain free lye.
- Turn the mold upside down and flex the sides to release the soap loaf.
- Cut into bars using a sharp knife or soap cutter. Approx. 2.5cm (1 inch) thick.
Curing (4-6 weeks)
- Place bars on a wire rack or paper towels, spaced apart for air circulation.
- Cure in a dry, ventilated area away from direct sunlight.
- Cure for 4-6 weeks minimum. During curing:
- Saponification completes (all remaining lye is consumed)
- Water evaporates, making the bar harder and longer-lasting
- pH drops from ~10-11 to 8-10 (mild enough for skin)
Test pH before use: Wet the bar, press pH paper against it. Safe soap is pH 8-10. If above 10, cure longer.
Materiales para este paso:
Distilled water165 g Olive oil (pomace or pure, NOT extra virgin)300 g
Materiales
5- Marcador de posición
- Marcador de posición
- Marcador de posición
- Marcador de posición
- Marcador de posición
Herramientas requeridas
7- Marcador de posición
- Marcador de posición
- Marcador de posición
- Marcador de posición
- Marcador de posición
- Marcador de posición
- Marcador de posición
Related blueprints
Other builds that share materials, tools, or techniques with this one.

CC0 Dominio público
Este Blueprint se publica bajo CC0. Eres libre de copiar, modificar, distribuir y usar este trabajo para cualquier propósito, sin pedir permiso.
Apoya al Maker comprando productos a través de su Blueprint, donde gana una Comisión del Maker establecida por los vendedores, o crea una nueva iteración de este Blueprint e inclúyela como conexión en tu propio Blueprint para compartir ingresos.