Making a pH Indicator from Red Cabbage — Anthocyanin Chemistry
Instrucciones
Extract the Anthocyanin Pigment
Extract the Anthocyanin Pigment
Chop the red cabbage into small pieces to maximize surface area. Place the pieces in a large pot, cover with 500ml of distilled water, and bring to a boil. Simmer for 15-20 minutes until the water turns a deep blue-purple colour. Alternatively, pour boiling water over the chopped cabbage in a heat-resistant bowl and let it steep for 30 minutes. The hot water extracts anthocyanin pigments (specifically cyanidin-3-glucoside and its derivatives) from the cabbage cell vacuoles. Strain the liquid through a sieve, discarding the cabbage solids. The resulting deep purple solution is your pH indicator stock. It keeps for 1-2 weeks refrigerated, or can be frozen for longer storage.
Materiales para este paso:
 Red Cabbage300-400g g
 Water500ml ml
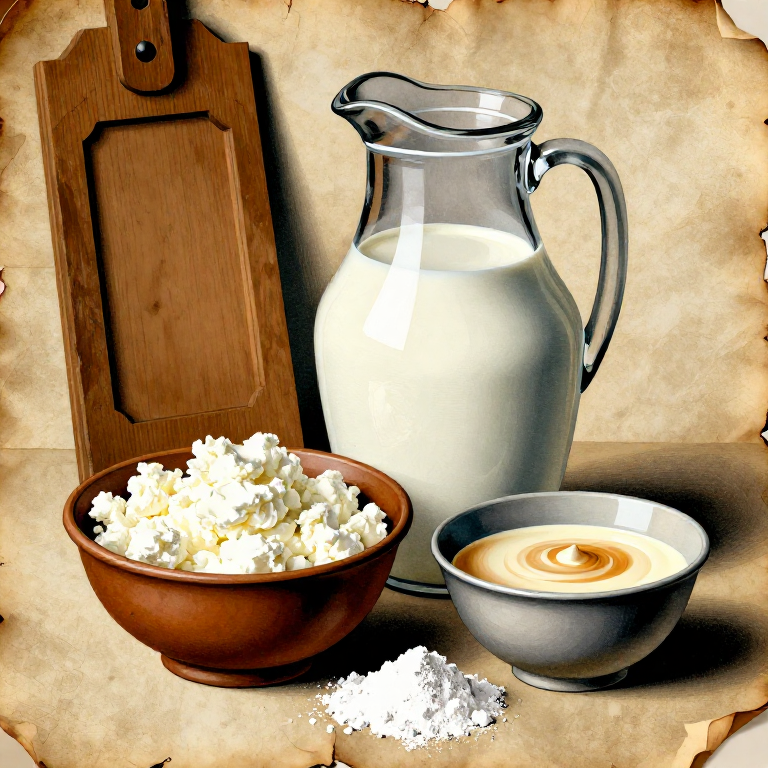
 Milk (Skimmed)small amounts of each pieza
Herramientas necesarias:
 Fine Mesh Tea Strainer
 Knife
KnifeSet Up the Testing Stations
Set Up the Testing Stations
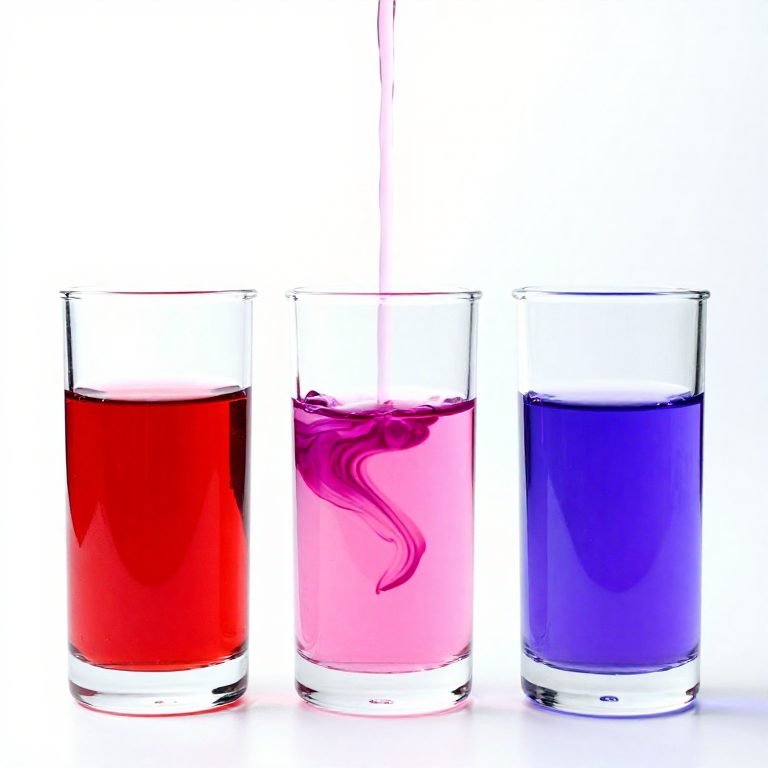
Pour approximately 30-50ml of the purple indicator solution into 6-10 clear glasses or test tubes. Line them up in a row. Gather test substances that span the pH scale: lemon juice (pH ~2), white vinegar (pH ~2.5), milk (pH ~6.5), distilled water (pH 7), baking soda dissolved in water (pH ~8.5), dilute ammonia or washing soda solution (pH ~11), and dilute bleach (pH ~12-13). Handle strong bases and bleach with care — they are caustic. The neutral indicator solution should be a rich blue-purple colour, which is the baseline at pH 7.
Test Acids and Observe Colour Changes
Test Acids and Observe Colour Changes
Add a few drops of lemon juice to the first glass of indicator and stir. The solution turns bright pink-red. The anthocyanin molecule gains a hydrogen ion (H+) from the acid, which shifts the flavylium cation structure into its red form. Add vinegar to the next glass — it also turns pink, but slightly less intense because vinegar is slightly less acidic than lemon juice. The colour intensity correlates with acid strength because more H+ ions means more complete conversion of the anthocyanin to its protonated (red) form. This demonstrates the quantitative nature of the indicator — it does not simply detect acid/base, it indicates how acidic or basic the solution is.
Test Bases and Complete the Spectrum
Test Bases and Complete the Spectrum
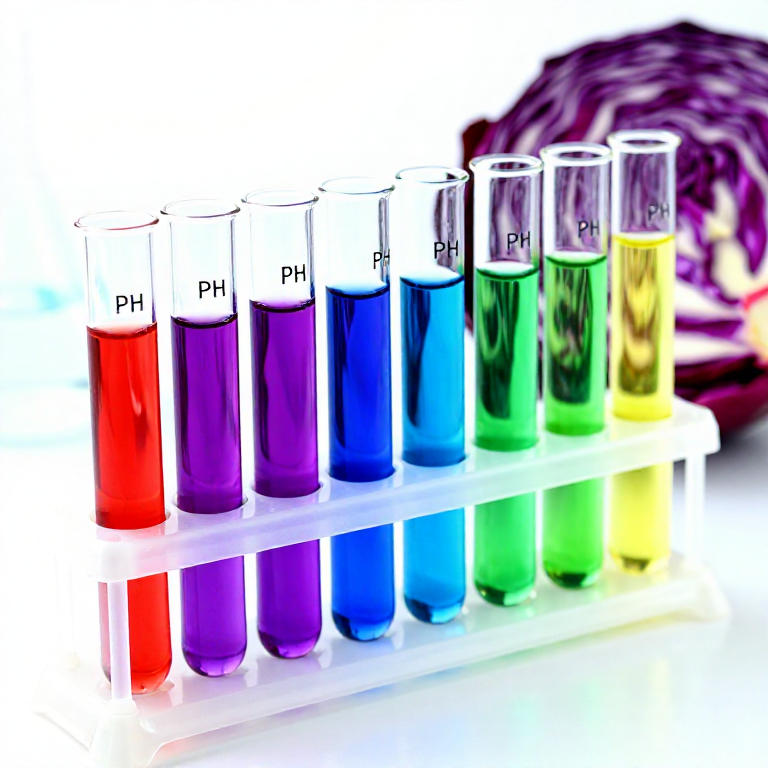
Add baking soda solution to another glass — the indicator turns blue-green. The anthocyanin loses hydrogen ions in the alkaline environment, shifting to its quinoidal base form. Add stronger bases: ammonia solution produces green, and dilute bleach produces yellow-green. At very high pH (above 12), the anthocyanin structure opens completely to its chalcone form, which absorbs blue light and appears yellow. You now have a complete colour spectrum from red (pH 1-3) through purple (pH 4-6) to blue (pH 7-8) to green (pH 9-11) to yellow (pH 12-14). This single natural pigment covers the entire pH range, making it as informative as synthetic universal indicator.
Make Indicator Paper Strips
Make Indicator Paper Strips
To create portable pH test strips, soak strips of white coffee filter paper or blotting paper in the concentrated cabbage indicator solution for 5 minutes. Remove and lay flat on a rack to dry. Once dry, the paper strips are a pale purple colour and function identically to commercial pH indicator paper — dip a strip in any liquid and the colour change indicates the pH. Store dried strips in a sealed zip-lock bag away from light (anthocyanin is photosensitive and degrades under UV exposure). These strips reliably distinguish strong acids, weak acids, neutral solutions, weak bases, and strong bases, making them a practical tool for testing soil pH, water quality, household chemicals, and fermentation progress.
Materiales
3- 1 piezaMarcador de posición
- 1 piezaMarcador de posición
Herramientas requeridas
9- Marcador de posición
- Marcador de posición
- Marcador de posición
- Marcador de posición
- Marcador de posición
- Marcador de posición
- Marcador de posición
Related blueprints
Other builds that share materials, tools, or techniques with this one.
CC0 Dominio público
Este Blueprint se publica bajo CC0. Eres libre de copiar, modificar, distribuir y usar este trabajo para cualquier propósito, sin pedir permiso.
Apoya al Maker comprando productos a través de su Blueprint, donde gana una Comisión del Maker establecida por los vendedores, o crea una nueva iteración de este Blueprint e inclúyela como conexión en tu propio Blueprint para compartir ingresos.