ARTE
BELLEZA Y BIENESTAR
ARTESANÍA
CULTURA E HISTORIA
ENTRETENIMIENTO
MEDIO AMBIENTE
COMIDA Y BEBIDAS
INGENIERÍA INVERSA
CIENCIAS
DEPORTES
TECNOLOGÍA
TECNOLOGÍA VESTIBLE
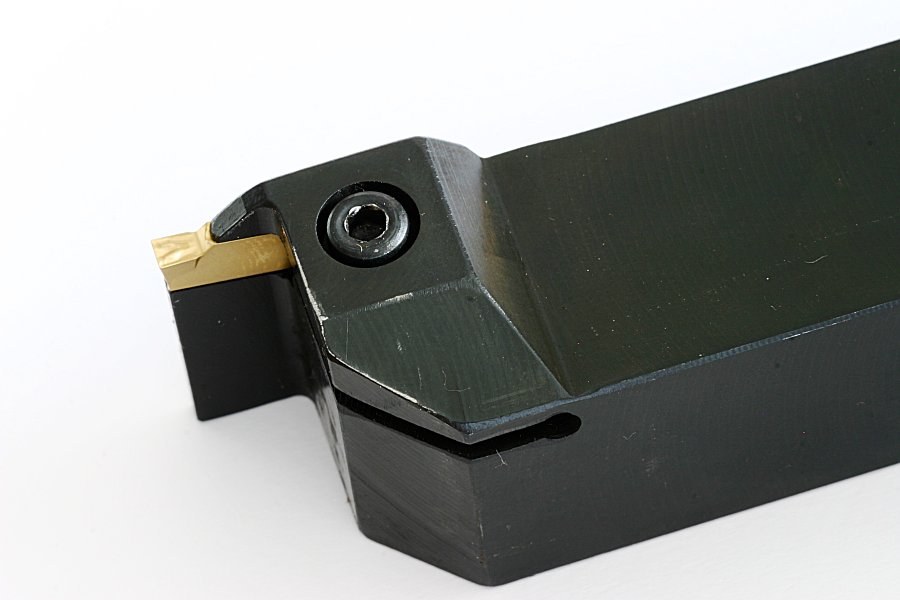


Parting Off: The Cut That Frightens Everyone, and Why It Need Not
Parting off cuts the finished part free from the bar. It is the one lathe operation that beginners avoid, saw by hand instead, and generally regard as a coin toss — because when it goes wrong it goes wrong loudly, jamming the blade and sometimes breaking it.
It has a reputation because almost everything about it is unforgiving. The blade is deep, narrow and unsupported; it works in a slot it cannot escape from; the chips have nowhere to go; and the cutting speed falls toward zero as the tool approaches the centre.
But it is not luck. Parting fails for four identifiable reasons, all of them setup rather than technique, and a setup that addresses those four parts off steel all day.
Intermedio
3 hours
Instrucciones
1
1
Centre height is not approximately anything
Centre height is not approximately anything
Set the parting blade EXACTLY on centre height and check it against a centre in the tailstock.
Too HIGH and the blade rubs its heel on the bottom of the groove, stops cutting, heats up and jams. Too LOW and, as the tool nears the middle, it leaves a pip that eventually snaps — and worse, the work can climb over the tool and drag it under, which is the spectacular failure everyone remembers.
This is the single biggest cause of parting trouble and it takes a minute to rule out. If you part successfully at one height and not another, you have already found your problem.
Herramientas necesarias:
 Torno de metal
 Gubia de tronzar
 Calibre vernier
2
2
Stick out as little blade as the job needs
Stick out as little blade as the job needs
Set the blade to project just past the centre of the bar — enough to reach the axis and a little more, never the full blade.
A parting blade is a cantilever of exactly the kind the between-centres rung measured, and the same cube law applies: double the overhang and you get roughly eight times the spring. A springing blade deflects into the groove wall, grabs, and then releases — which is the chatter and then the jam.
Square the blade to the work too. A blade set even slightly out of square cuts a groove narrower than itself and binds on both sides, and every pass makes it worse.
Herramientas necesarias:
Torno de metalGubia de tronzar Escuadra de ajustador
3
3
Slower, and then feed harder than feels right
Slower, and then feed harder than feels right
Run the spindle at roughly half the speed you would use for turning that diameter, and feed STEADILY and positively into the cut.
Timidity is what kills a parting cut. Back off the feed and the tool stops cutting and starts rubbing; rubbing work-hardens the steel ahead of the edge, and the tool now has to cut material it has just made harder. The cut sounds distressed, so the instinct is to feed even less, and that is the spiral.
The right feed produces a continuous chip coming steadily out of the groove. Flood the cut with oil, which cools the blade and — just as important — floats the swarf out of a slot it cannot otherwise escape.
Materiales para este paso:
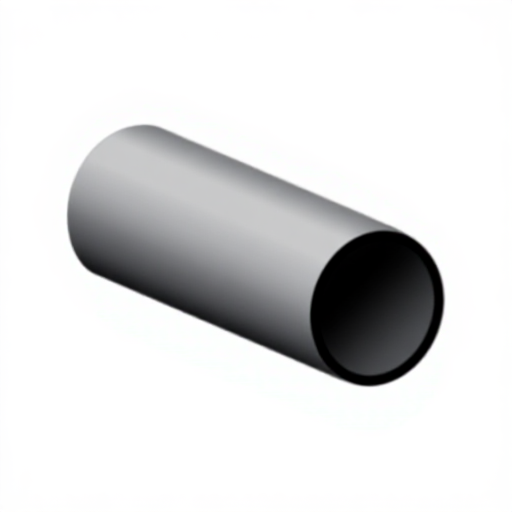 Barra redonda de acero dulce1 pieza
Herramientas necesarias:
Torno de metalGubia de tronzar Gafas de seguridad
 Aceite de corte
4
4
What it costs, and why you part rather than saw
What it costs, and why you part rather than saw
Cargando el cuaderno de Jupyter…
Materiales para este paso:
Barra redonda de acero dulce1 piezaHerramientas necesarias:
Gubia de tronzar Calculadora
5
5
Part close to the chuck, and never between centres
Part close to the chuck, and never between centres
Set the groove as close to the jaws as the tool will allow. The whole bar is a cantilever too, and parting well out from the chuck lets the work spring away from the blade and then snatch back.
NEVER part off work held between centres, or with the tailstock supporting the free end. As the last of the metal is cut the part is released while still trapped between the centre and the remaining stub — it jams, and something breaks. If the job needs tailstock support to be turned, it needs sawing off rather than parting.
Deburr the parted face and the bar end before the next operation. A parted end carries a sharp burr and often a small pip, and both will spoil the seat of the next setting.
Herramientas necesarias:
Torno de metalGubia de tronzar Desbarbador
 Juego de limas
Materiales
1- 1 piezaMarcador de posición
Herramientas requeridas
9- Marcador de posición
- Marcador de posición
- Marcador de posición
- Marcador de posición
- Marcador de posición
- Marcador de posición
- Marcador de posición
- Marcador de posición
- Marcador de posición
Blueprints relacionados
Estos blueprints comparten conocimiento — técnicas, materiales o principios




CC0 Dominio público
Este Blueprint se publica bajo CC0. Eres libre de copiar, modificar, distribuir y usar este trabajo para cualquier propósito, sin pedir permiso.
Apoya al Maker comprando productos a través de su Blueprint, donde gana una Comisión del Maker establecida por los vendedores, o crea una nueva iteración de este Blueprint e inclúyela como conexión en tu propio Blueprint para compartir ingresos.