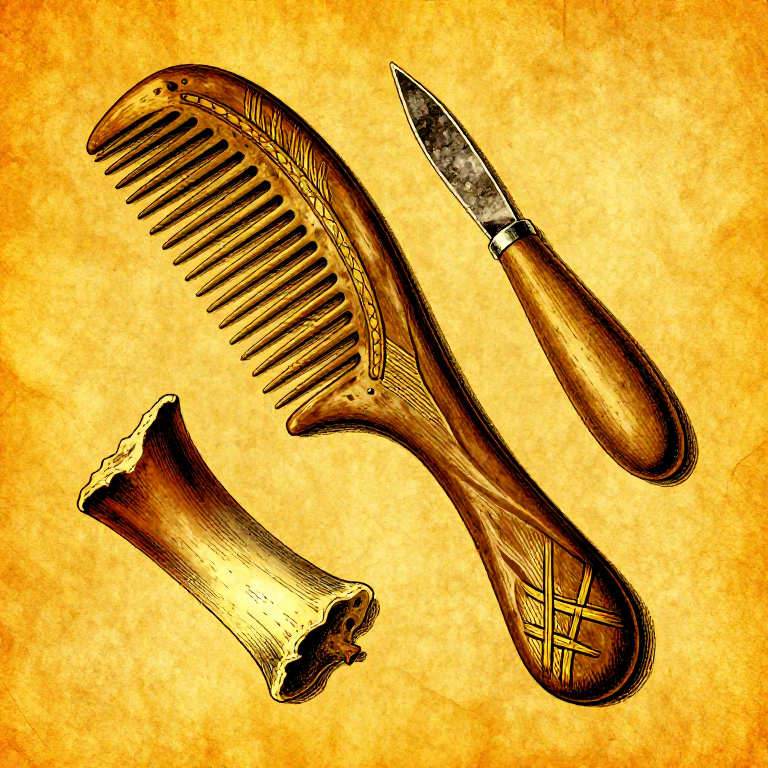
Carving an Antler Comb — Mesolithic Personal Grooming and Textile Tool
Instrucciones
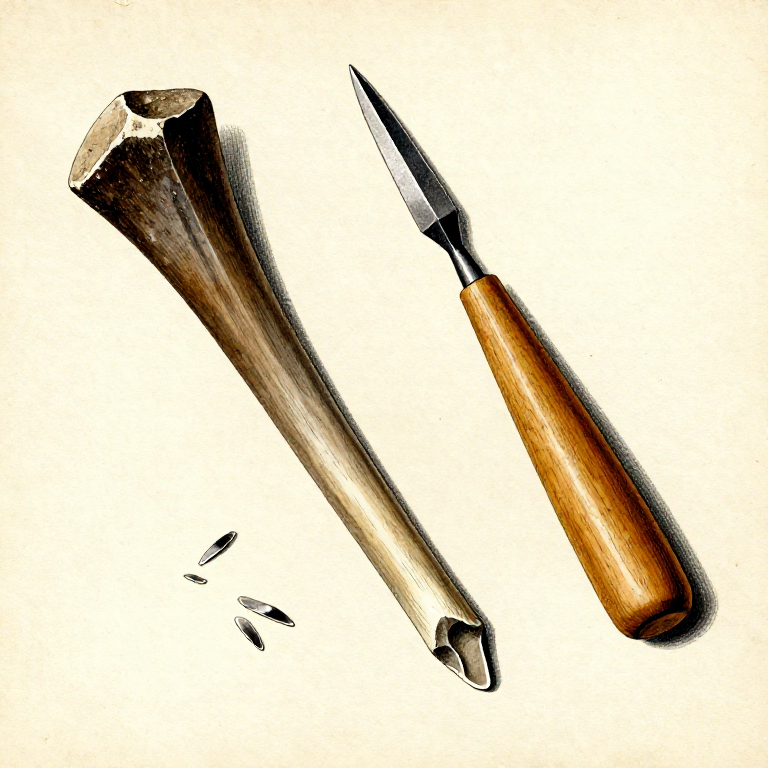
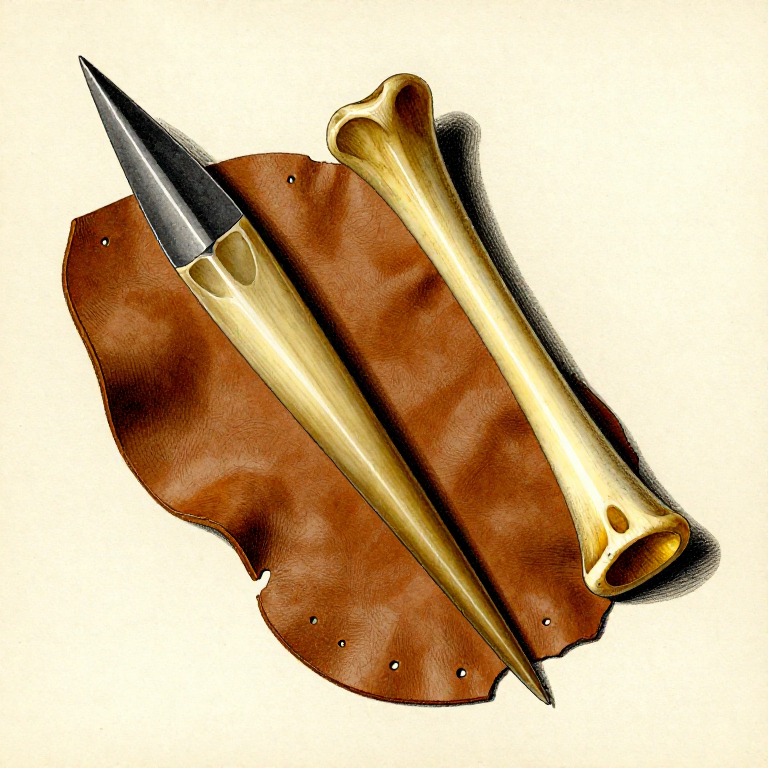
Select a Suitable Antler Section
Select a Suitable Antler Section
Materiales para este paso:
 Deer Antler Section1 pieza
Soak the Antler to Soften It
Soak the Antler to Soften It
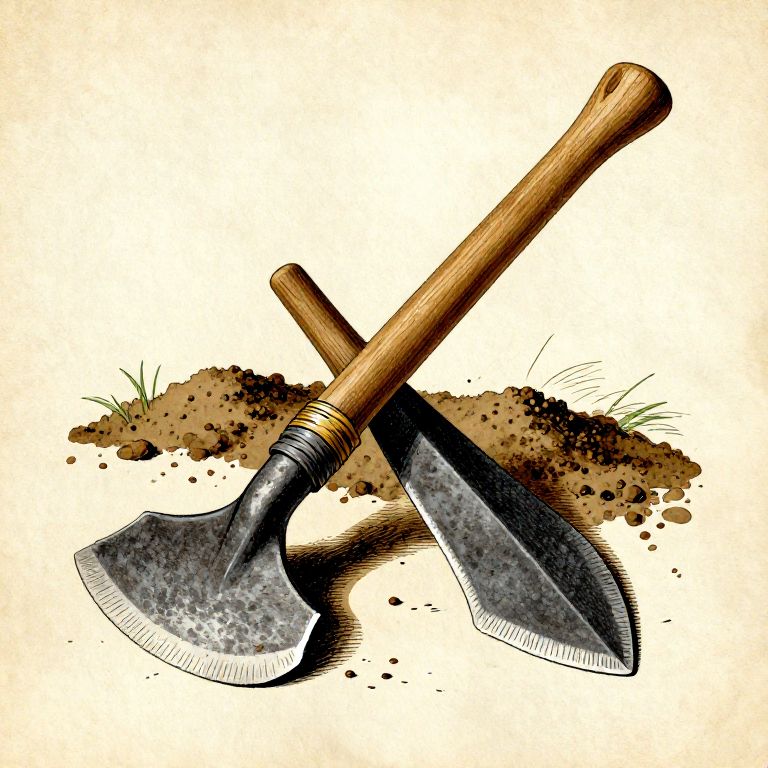
Flatten the Working Face
Flatten the Working Face
Herramientas necesarias:
 Sandstone
Shape the Comb Outline
Shape the Comb Outline
Herramientas necesarias:
 Stone Scraper
Mark the Tooth Spacing
Mark the Tooth Spacing
Herramientas necesarias:
 Bone Awl
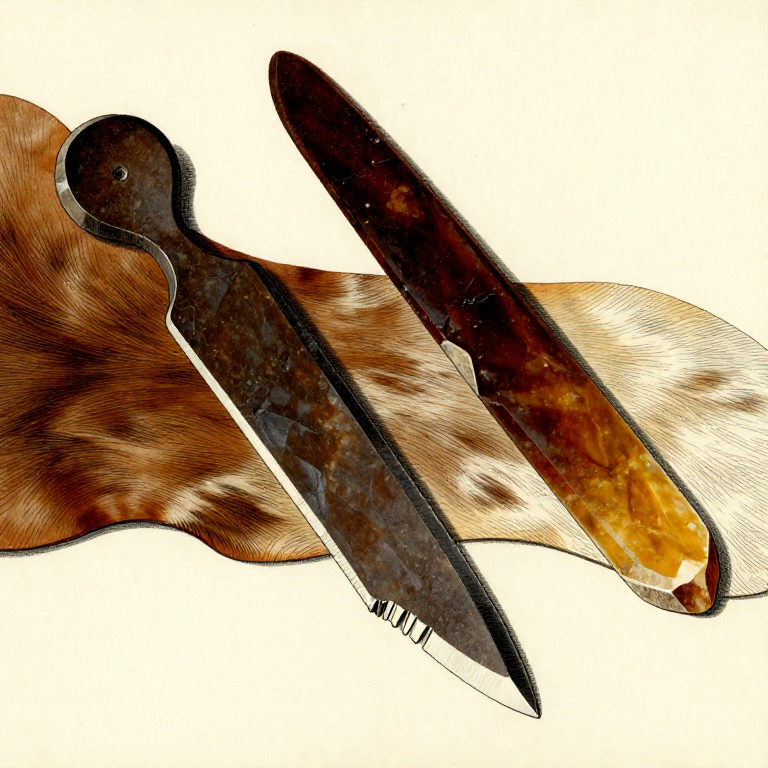
Score the Front Face Deeply
Score the Front Face Deeply
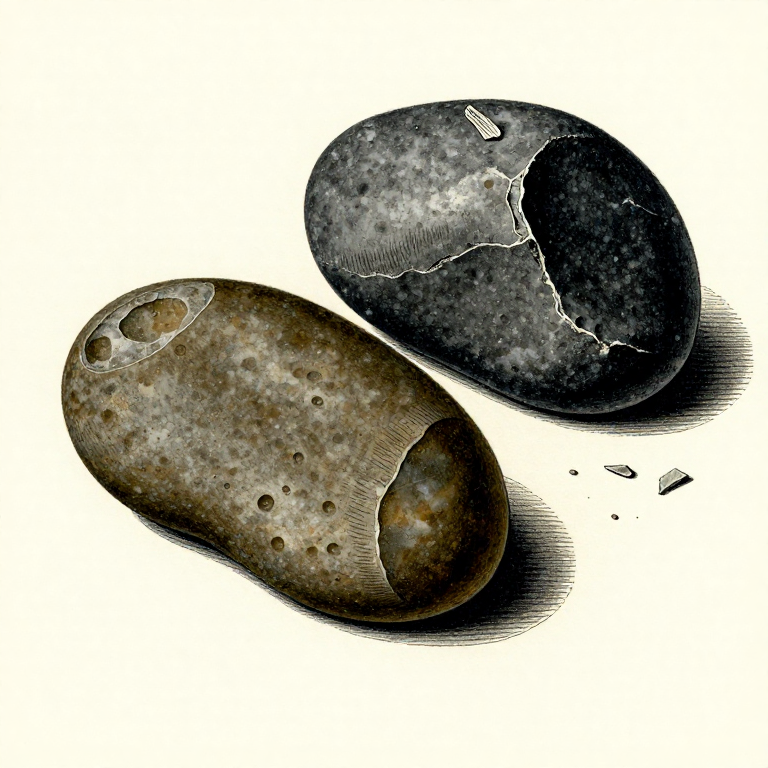
Herramientas necesarias:
 Flint Nodule
Score the Back Face to Match
Score the Back Face to Match
Herramientas necesarias:
Flint NoduleSnap Out the Waste Between Teeth
Snap Out the Waste Between Teeth
Herramientas necesarias:
Bone AwlClean the Tooth Gaps
Clean the Tooth Gaps
Herramientas necesarias:
Flint NoduleSmooth and Round the Tooth Tips
Smooth and Round the Tooth Tips
Herramientas necesarias:
SandstonePolish the Grip Area
Polish the Grip Area
Herramientas necesarias:
SandstoneTest the Finished Comb
Test the Finished Comb
Materiales
1- 1 piezaMarcador de posición
Materiales de Blueprints conectados
Blueprints relacionados
Estos blueprints comparten conocimiento — técnicas, materiales o principios
Related blueprints
Other builds that share materials, tools, or techniques with this one.

CC0 Dominio público
Este Blueprint se publica bajo CC0. Eres libre de copiar, modificar, distribuir y usar este trabajo para cualquier propósito, sin pedir permiso.
Apoya al Maker comprando productos a través de su Blueprint, donde gana una Comisión del Maker establecida por los vendedores, o crea una nueva iteración de este Blueprint e inclúyela como conexión en tu propio Blueprint para compartir ingresos.