ARTE
BELLEZA Y BIENESTAR
ARTESANÍA
CULTURA E HISTORIA
ENTRETENIMIENTO
MEDIO AMBIENTE
COMIDA Y BEBIDAS
FUTURO VERDE
INGENIERÍA INVERSA
CIENCIAS
DEPORTES
TECNOLOGÍA
TECNOLOGÍA VESTIBLE
Building and Cooking in an Earth Oven — Underground Pit Roasting
The earth oven (also called a cooking pit, hāngi, imu, or pachamanca depending on region) is one of humanity's oldest cooking technologies, with evidence dating back over 30,000 years. A hole is dug in the ground, lined with fire-heated stones, filled with food wrapped in leaves, and sealed with earth. The trapped heat from the stones slow-roasts the food over several hours at a stable temperature, producing tender, evenly cooked results without any pottery or metal vessels. Earth ovens can cook root vegetables, meat, fish, and grain simultaneously. The technique was independently developed on every inhabited continent and remains in active use in Polynesia, South America, and parts of Africa.
Intermedio
4-6 hours
Instrucciones
1
1
Select a Site with Well-Drained Soil
Select a Site with Well-Drained Soil
Choose a location with dry, well-drained soil away from tree roots, overhanging branches, and areas prone to flooding. Sandy or loamy soil is ideal — clay soil retains too much moisture and can crack when heated, while waterlogged ground will turn to steam and disrupt cooking. Avoid building near large root systems, which can smoulder underground for days after cooking is finished.
2
2
Dig the Pit
Dig the Pit
Dig a pit approximately 60 cm deep and 60 to 80 cm wide using a digging stick or flat stone. The sides should be roughly vertical with a flat bottom. Pile the excavated earth neatly beside the pit — you will need it later to seal the oven. The pit size determines the amount of food you can cook: a 60 cm pit comfortably cooks food for 4 to 6 people.
3
3
Collect Dense, Heat-Safe Stones
Collect Dense, Heat-Safe Stones
Gather 15 to 20 dense stones, each roughly fist-sized (10 to 15 cm). Basalt, granite, and other igneous rocks are ideal because they are non-porous and can withstand extreme heat without fracturing. NEVER use limestone, sandstone, or river cobbles — these contain trapped moisture or air pockets that expand explosively when heated, sending dangerous shrapnel in all directions. Tap stones together: safe stones ring with a clear tone; porous ones thud.
4
4
Build a Large Hardwood Fire in the Pit
Build a Large Hardwood Fire in the Pit
Fill the pit with a large stack of hardwood fuel — oak, ash, hickory, or similar dense wood that produces long-lasting coals. Arrange the stones on top of and among the wood so they will be fully surrounded by flame. Light the fire and let it burn freely. You need a substantial fire that will burn for 2 to 3 hours to heat the stones thoroughly to their core.
Materiales para este paso:
 Hardwood Firewood10 kg
5
5
Heat Stones for 2 to 3 Hours
Heat Stones for 2 to 3 Hours
Let the fire burn down over 2 to 3 hours until the stones are glowing white-hot and the wood has reduced to a deep bed of coals. The stones must be heated all the way through — a stone that is hot on the outside but cool in the centre will lose its heat too quickly and result in undercooked food. White-hot stones in bright daylight appear chalky grey; in dim light they glow a dull orange-red.
6
6
Remove Remaining Wood and Coals
Remove Remaining Wood and Coals
Using long green-wood sticks or tongs, rake out the remaining burning wood and loose coals from the pit, leaving only the heated stones in place. Spread the stones into an even layer covering the pit floor. A few small coals among the stones are acceptable, but large burning chunks should be removed — they can scorch food directly rather than cooking it evenly with radiant heat.
7
7
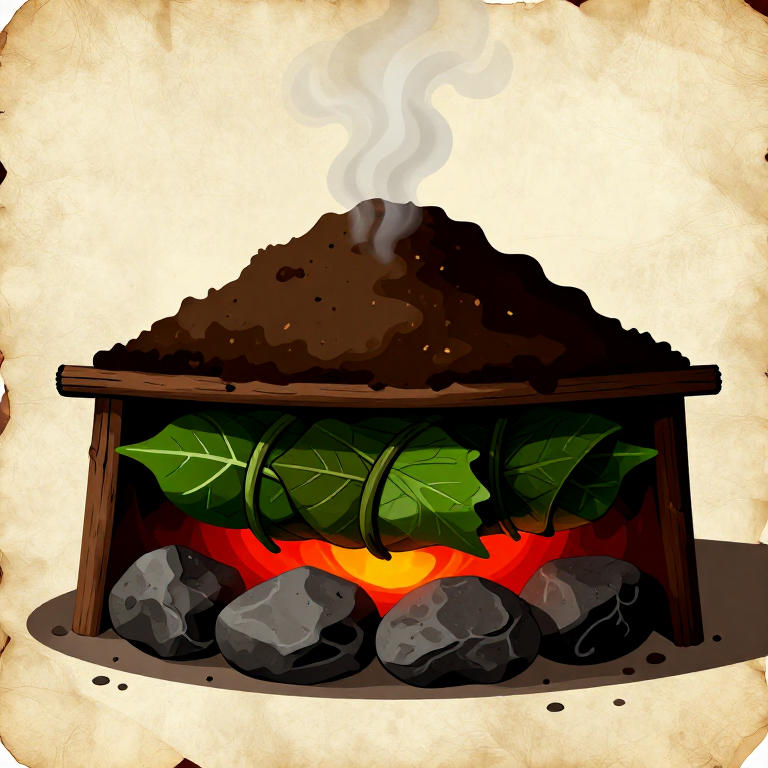
Line the Hot Stones with Green Leaves
Line the Hot Stones with Green Leaves
Quickly lay a thick layer of green leaves or wet grass directly over the hot stones. Large non-toxic leaves work best — banana leaves, cabbage leaves, dock leaves, burdock, grape leaves, or thick grass. This layer serves two purposes: it creates steam that helps cook the food evenly, and it prevents food from touching the stones directly and burning. The leaves will sizzle and steam when placed on the hot stones — this is expected.
8
8
Place Wrapped Food on the Leaf Layer
Place Wrapped Food on the Leaf Layer
Wrap each portion of food in large green leaves and place the bundles on the leaf-covered stones. Densest items that need the longest cooking (root vegetables, large cuts of meat) go closest to the stones at the bottom. Lighter, quicker-cooking items (fish, leafy greens) go on top. Leave small gaps between bundles so heat can circulate. Do not pack the pit so tightly that steam cannot move between items.
9
9
Add Another Layer of Green Leaves
Add Another Layer of Green Leaves
Cover the food bundles with another thick layer of green leaves or wet grass. This insulating layer traps steam around the food and prevents the earth seal from falling directly onto the food. The leaves should completely cover all food with no gaps — any exposed food will dry out rather than steam-roast.
10
10
Cover with Wet Cloth or Bark If Available
Cover with Wet Cloth or Bark If Available
If you have a piece of wet cloth, animal hide, or large bark sheets, lay this over the leaf layer before adding earth. This creates an additional barrier that prevents soil from sifting down into the food. It also makes uncovering the oven cleaner and easier. This layer is optional but recommended — traditional Polynesian hāngi often use wet burlap sacking for this purpose.
11
11
Seal the Pit with Earth
Seal the Pit with Earth
Mound the excavated earth back over the pit to a thickness of 15 to 20 cm. Pack the earth firmly, paying attention to the edges where the mound meets the ground — these are where steam is most likely to escape. No steam should be visible escaping from the mound. If you see wisps of steam, pack more earth over that spot. A proper seal traps all the heat and moisture inside the pit.
12
12
Cook for 3 to 6 Hours and Unearth Carefully
Cook for 3 to 6 Hours and Unearth Carefully
Leave the sealed earth oven undisturbed for 3 to 6 hours depending on contents. Root vegetables and small cuts of meat need 3 to 4 hours; large joints of meat or whole animals need 5 to 6 hours. To unearth, carefully scrape away the earth mound, remove the cloth or bark layer, then lift away the top leaves. The food should be tender, moist, and steaming. Meat will fall off the bone; root vegetables will be soft throughout. Serve immediately.
Materiales
1- Marcador de posición
Materiales de Blueprints conectados
Blueprints relacionados
Estos blueprints comparten conocimiento — técnicas, materiales o principios
Related blueprints
Other builds that share materials, tools, or techniques with this one.
Building a Food Drying Rack — Sun and Wind Preservation Framecooking
Drying and Smoking Meat over a Fire — Prehistoric Food Preservationcooking
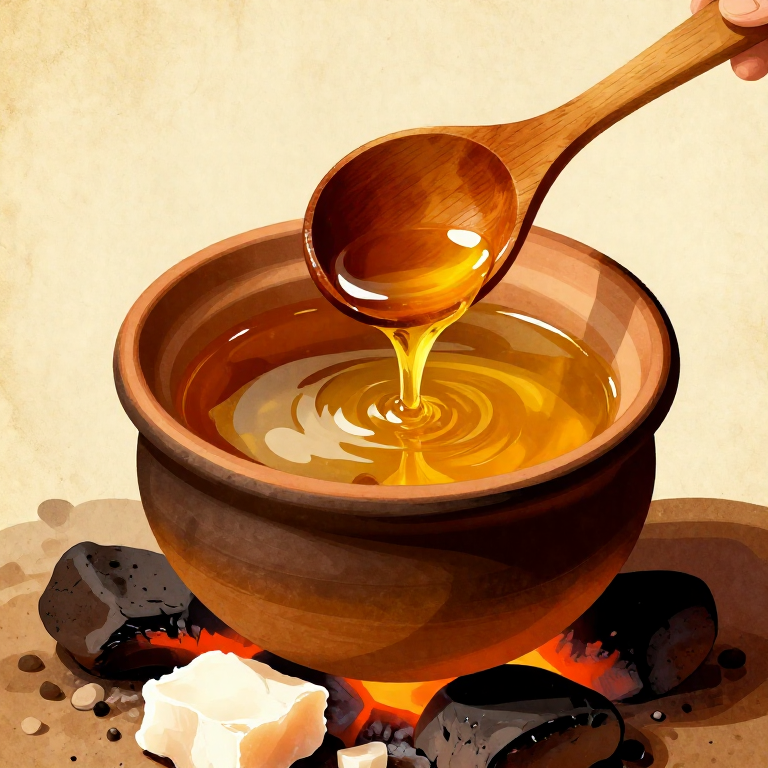
Rendering Animal Fat into Tallow by Hot-Stone Boiling — Prehistoric Fat Processingcooking
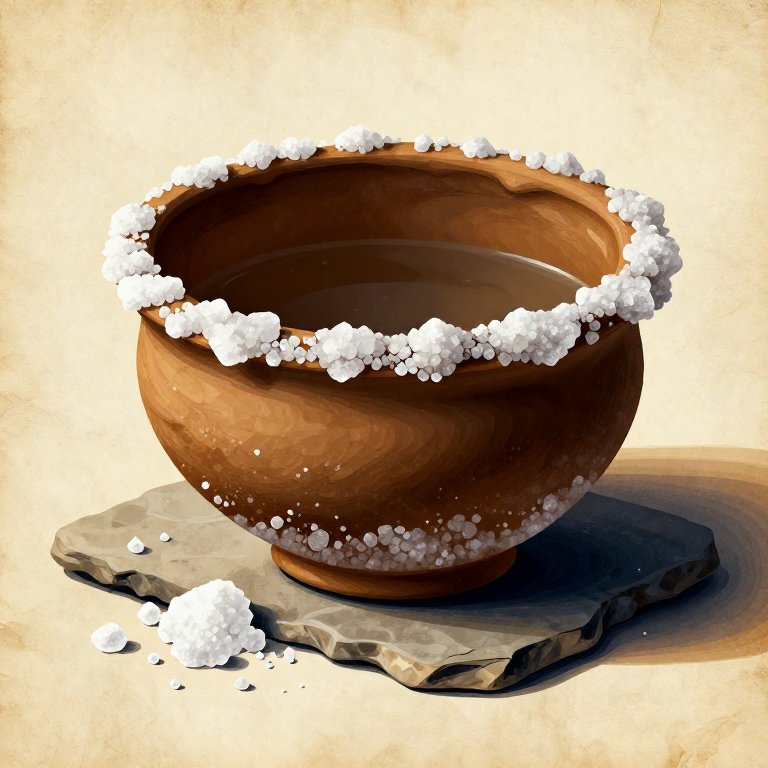
Extracting Salt from Seawater by Boiling — Prehistoric Salt Productioncooking
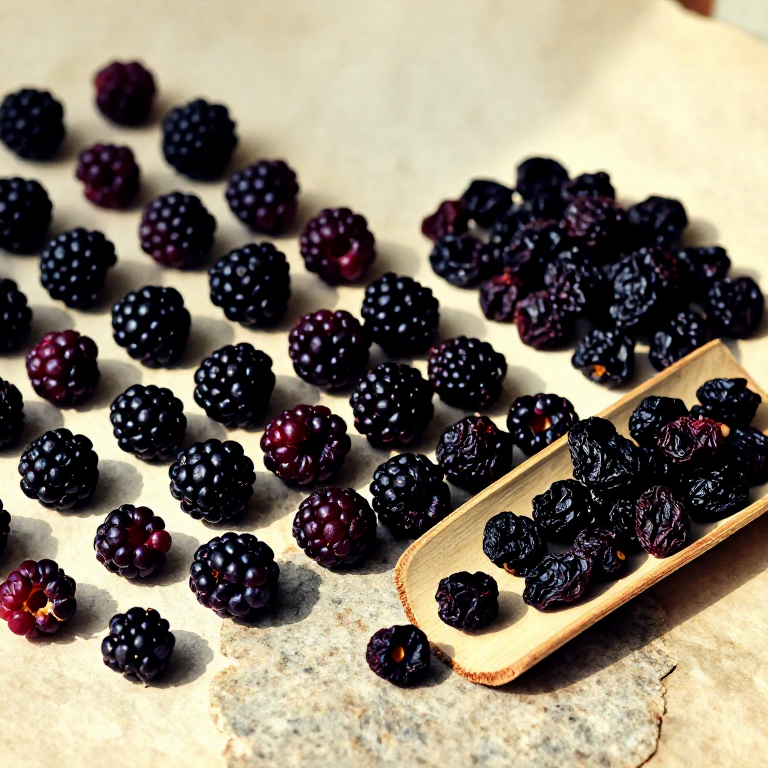
Drying Berries and Fruits in the Sun — Prehistoric Food Preservationcooking
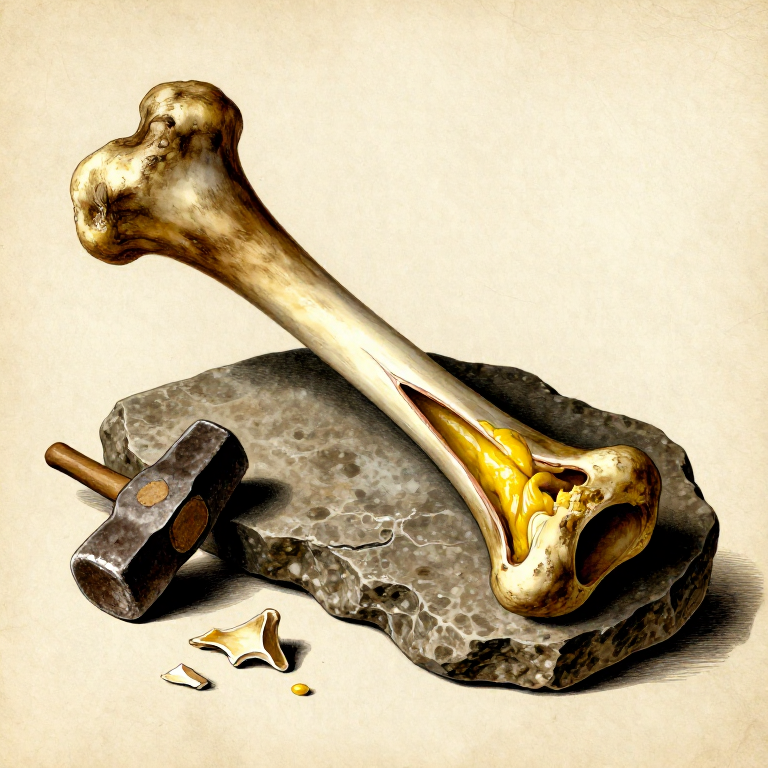
Extracting Bone Marrow by Percussion Splitting — Prehistoric Calorie-Dense Food Processingcooking
CC0 Dominio público
Este Blueprint se publica bajo CC0. Eres libre de copiar, modificar, distribuir y usar este trabajo para cualquier propósito, sin pedir permiso.
Apoya al Maker comprando productos a través de su Blueprint, donde gana una Comisión del Maker establecida por los vendedores, o crea una nueva iteración de este Blueprint e inclúyela como conexión en tu propio Blueprint para compartir ingresos.