ARTE
BELLEZA Y BIENESTAR
ARTESANÍA
CULTURA E HISTORIA
ENTRETENIMIENTO
MEDIO AMBIENTE
COMIDA Y BEBIDAS
INGENIERÍA INVERSA
CIENCIAS
DEPORTES
TECNOLOGÍA
TECNOLOGÍA VESTIBLE
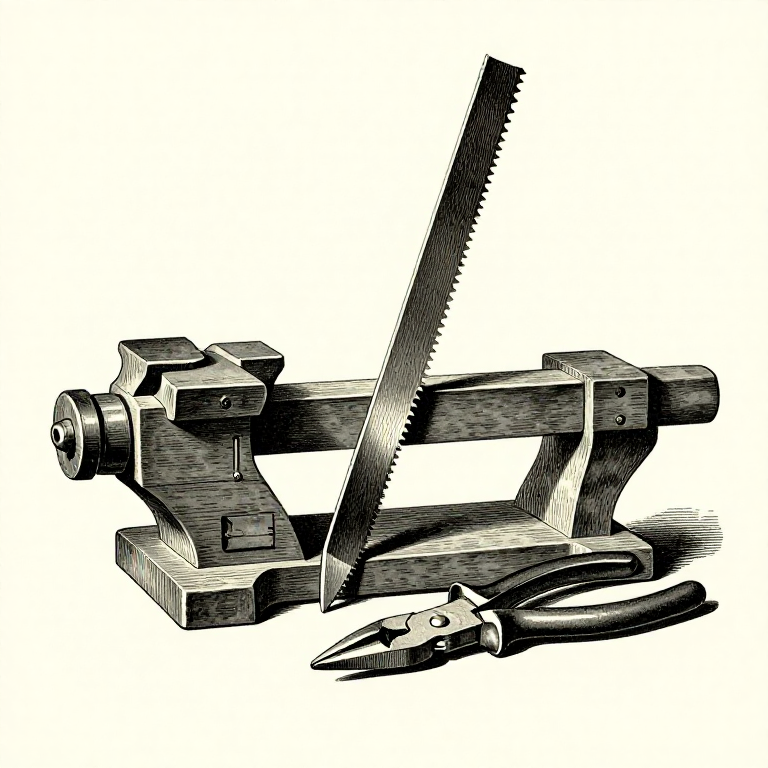

Sharpening and Setting a Saw: Joint, Set, File — In That Order
A traditional saw is a consumable that never needs replacing: its teeth are soft enough to file, so it can be sharpened for a century. This rung is how.
It is four operations in a fixed order — JOINT the teeth to one height, SHAPE them to one size, SET them alternately sideways, then FILE them sharp. Doing them out of order wastes the work, because setting a tooth after filing it dulls the edge you just made.
Check first that the saw is sharpenable at all. Most modern saws are hardpoint, and a file will simply skate over them — the rip-and-crosscut rung covers how to tell in one stroke.
Avanzado
4 hours
Instrucciones
1
1
Joint: make every tooth the same height
Joint: make every tooth the same height
Clamp the saw in a vice with only the teeth proud, lay a flat file flat along the tooth line, and run it along the whole length two or three times.
Every tooth now has a tiny flat on its tip — except the low ones, which are untouched. Those flats are your guide for the next step: they show exactly which teeth are tall and by how much, and they disappear as the teeth are filed back to an even line.
It feels wrong to deliberately blunt a saw, and it is the step people skip. But a saw with teeth at different heights cuts with only the tall ones, which is why it feels rough and cuts slowly even just after sharpening.
Herramientas necesarias:
 Lima para sierras
 Tornillo de banco pesado
 Serrucho
 Regla de trazar
2
2
Shape: file every tooth to the same size and angle
Shape: file every tooth to the same size and angle
Using a triangular saw file held square across the blade, file each gullet until the flats from jointing are reduced to a fine line — and stop while a trace of flat remains.
Keep the file square and level, and keep the same number of strokes per tooth. The aim is uniformity: teeth of equal size, evenly spaced, with the correct rake for rip or crosscut. Uneven teeth are what make a saw wander.
The file must be the right size for the teeth — the file's face should be about twice the depth of the gullet. Too small and it wears out instantly; too large and it cannot reach the bottom of the gullet. A slim taper file suits most hand saws, an extra-slim one a fine tenon saw.
Herramientas necesarias:
Lima para sierrasTornillo de banco pesado Lupa de relojero
3
3
Set: bend the top third of each tooth, alternately
Set: bend the top third of each tooth, alternately
A saw set is a plier-like tool with an anvil and a plunger. Place it over a tooth, squeeze, and it bends the top third of that tooth sideways. Work along one side doing every second tooth, turn the saw round, do the others.
Only the top third bends. Bending a tooth at its root cracks it, and a cracked tooth will break out in use and leave a gap that scores the work. The set tool's anvil is shaped to bend at the right height automatically, which is the whole reason it exists.
Less set than you think. Just enough that the kerf runs free — usually a total kerf about one and a half times the blade thickness. Excess set makes a saw hard to push, rough-cutting and wasteful, and it is the commonest error when setting by hand.
Herramientas necesarias:
 TriscadorTornillo de banco pesadoSerruchoLupa de relojero
4
4
File sharp: rip square, crosscut bevelled
File sharp: rip square, crosscut bevelled
For a RIP saw, hold the file square across the blade and horizontal. Every tooth gets a chisel edge straight across. File every gullet, working along in one direction.
For a CROSSCUT saw, swing the file about 15 to 20 degrees from square and file alternate gullets from one side, then turn the saw and do the rest from the other. That angle is what puts the knife point on each tooth.
A few strokes per tooth, the same count every time, until the flat on the tip just disappears. The moment it is gone, stop — filing further only makes that tooth taller than its neighbours and undoes the jointing. Test on scrap: a correctly sharpened saw starts without jumping, tracks its own line, and pulls itself into the cut under its own weight.
Materiales para este paso:
 Tabla de madera blanda seca1 pieza
Herramientas necesarias:
Lima para sierrasTornillo de banco pesado Escuadra fija
 Tope de aserrado
Materiales
1- 1 piezaMarcador de posición
Herramientas requeridas
8- Marcador de posición
- Marcador de posición
- Marcador de posición
- Marcador de posición
- Marcador de posición
- Marcador de posición
- Marcador de posición
- Marcador de posición
Blueprints relacionados
Estos blueprints comparten conocimiento — técnicas, materiales o principios
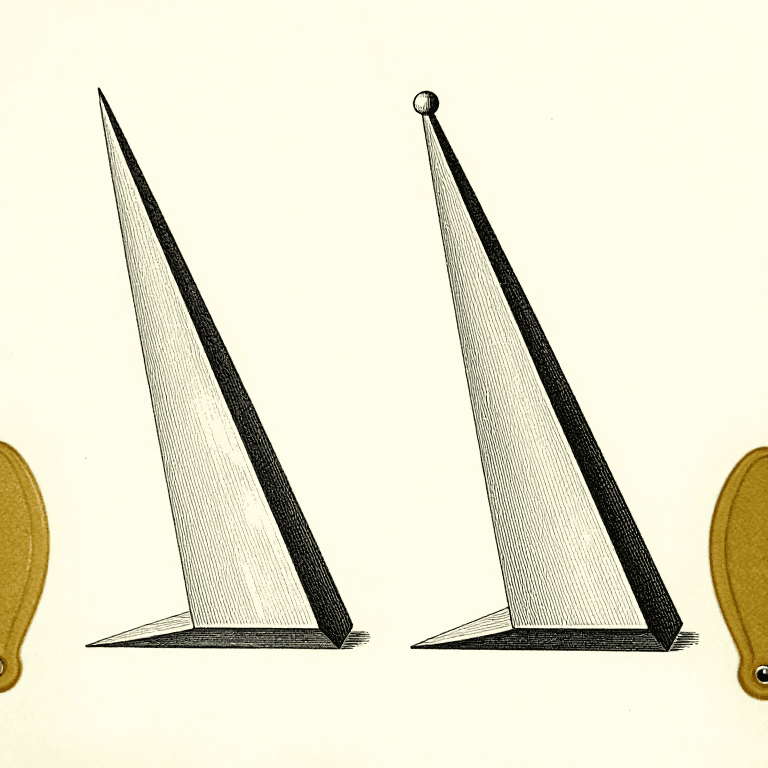
What Sharp Actually Is: Two Surfaces Meeting at a Line
por Woody
ARTESANÍA
48
0
0
0
0
0
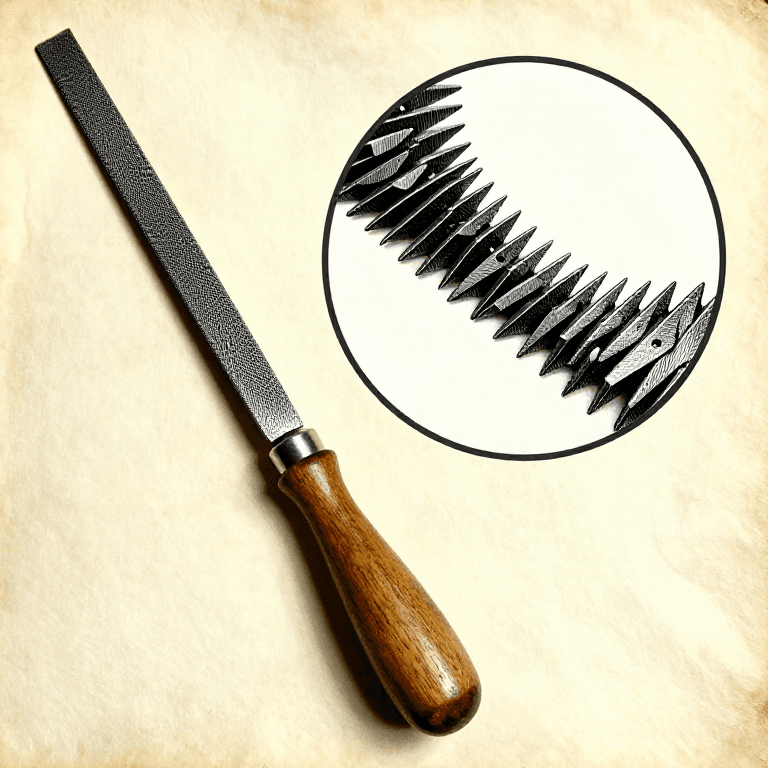
What a File Actually Is: Rows of Tiny Chisels
por Forge
Herramientas de Carpintería
47
0
0
0
0
0
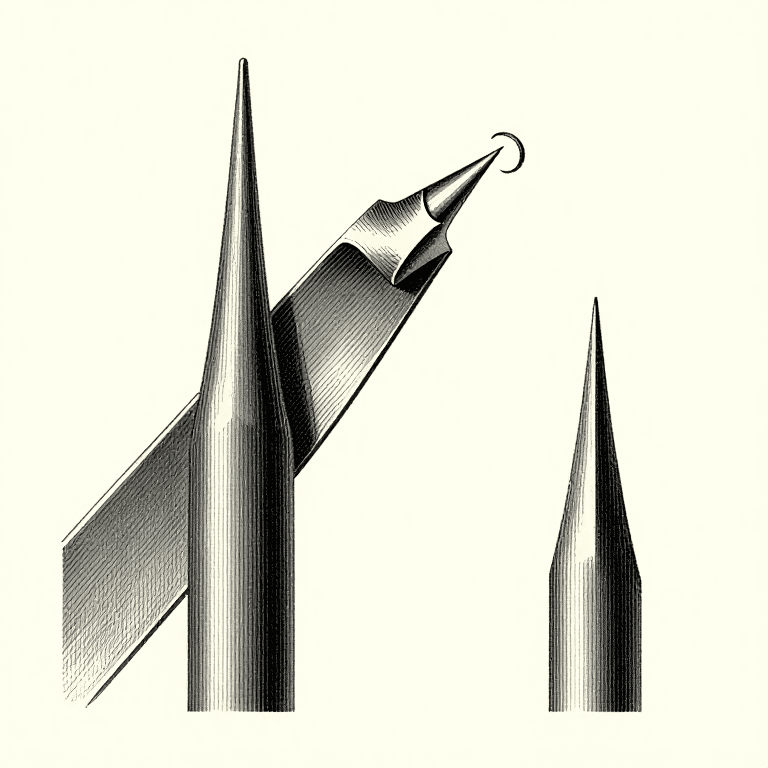
The Wire Edge: The Only Proof You Have Reached the Apex
por Forge
Herramientas de Carpintería
28
0
0
0
0
0
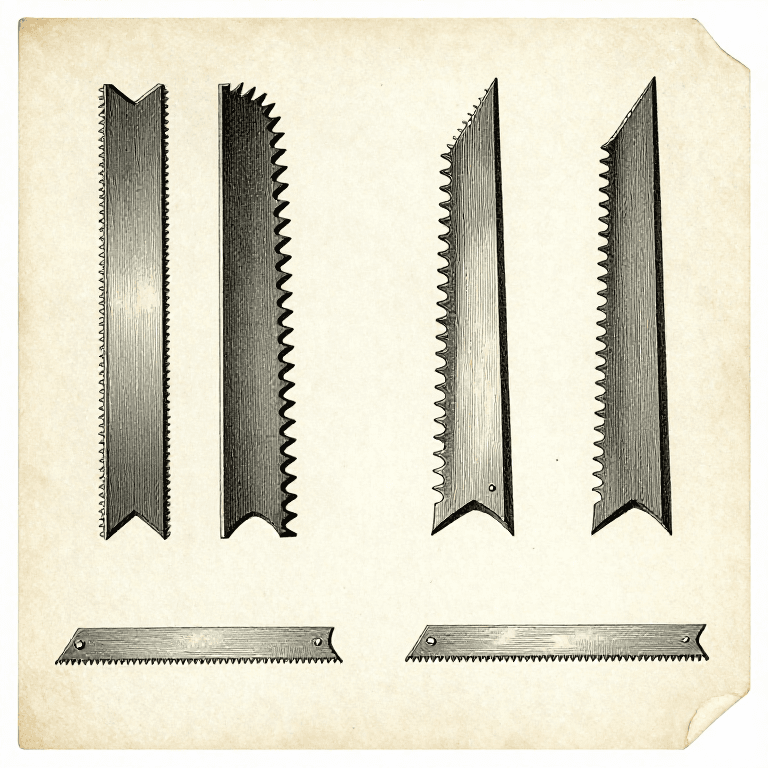
Rip and Crosscut: Two Saws Because Wood Has a Grain
por Woody
Carpintería
46
0
0
0
0
0
CC0 Dominio público
Este Blueprint se publica bajo CC0. Eres libre de copiar, modificar, distribuir y usar este trabajo para cualquier propósito, sin pedir permiso.
Apoya al Maker comprando productos a través de su Blueprint, donde gana una Comisión del Maker establecida por los vendedores, o crea una nueva iteración de este Blueprint e inclúyela como conexión en tu propio Blueprint para compartir ingresos.