

Driving a Servo Motor — SIK Circuit 8
Instrucciones
Parts & Introduction
Parts & Introduction
A servo motor can be precisely positioned between 0 and 180 degrees. Unlike a regular motor that just spins, servos hold their position — making them perfect for robotics, pan/tilt mechanisms, and control surfaces. This experiment introduces the Servo library.
Parts Needed
- 1x Arduino Uno + USB cable
- 1x Breadboard
- 1x Servo Motor (with 3-pin header)
- 8x Jumper Wires
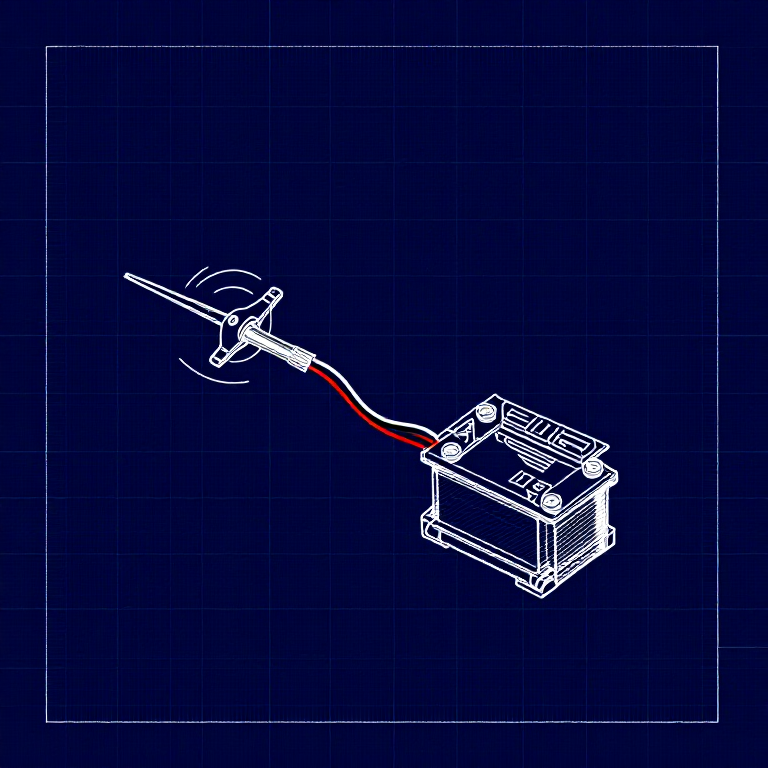
The servo has three wires: Red (power), Black (ground), White (signal).
Materiales para este paso:
 SparkFun Inventor's Kit - V3.21 kit
Herramientas necesarias:
 Ordenador con el IDE de Arduino
Hardware Hookup
Hardware Hookup
Wiring Instructions
- Connect 3 jumper wires to the servo's female 3-pin header for breadboarding.
- Connect the Red wire to 5V.
- Connect the Black wire to GND.
- Connect the White wire (signal) to Digital Pin 9.
Power Note: Servos draw significant current. If the servo twitches and the Arduino resets, use a wall adapter instead of USB power, or power the servo from a separate 5V supply.
Materiales para este paso:
 Cables de puente3 piezas
Arduino Code
Arduino Code
Open the Arduino IDE and upload the following sketch to your Arduino board.
Materiales para este paso:
 Arduino Uno R31 pieza
Herramientas necesarias:
Ordenador con el IDE de ArduinoTest & Experiment
Test & Experiment
What You Should See
The servo quickly moves to 90°, 180°, and 0° (1 second each), then slowly sweeps from 0° to 180° and back.
Troubleshooting
- Servo not moving: Even with colored wires, it's easy to plug a servo in backwards. Check connections.
- Twitching/resetting: The servo draws too much power from USB. Use a wall adapter or separate power supply.
Experiments to Try
- Add a potentiometer (from Circuit 2) to control servo position with a knob.
- Change the step size and delay to experiment with speed and smoothness.
- Build a simple pan/tilt mechanism with two servos.
Materiales
5- SparkFun Inventor's Kit - V3.210% de comisión1 kitMX$2,006.83
- Marcador de posición
- Marcador de posición
- Marcador de posición
- 1 piezaMarcador de posición
Herramientas requeridas
1- Marcador de posición
CC0 Dominio público
Este Blueprint se publica bajo CC0. Eres libre de copiar, modificar, distribuir y usar este trabajo para cualquier propósito, sin pedir permiso.
Apoya al Maker comprando productos a través de su Blueprint, donde gana una Comisión del Maker establecida por los vendedores, o crea una nueva iteración de este Blueprint e inclúyela como conexión en tu propio Blueprint para compartir ingresos.