Using a Piezo Buzzer — SIK Circuit 11
Instrucciones
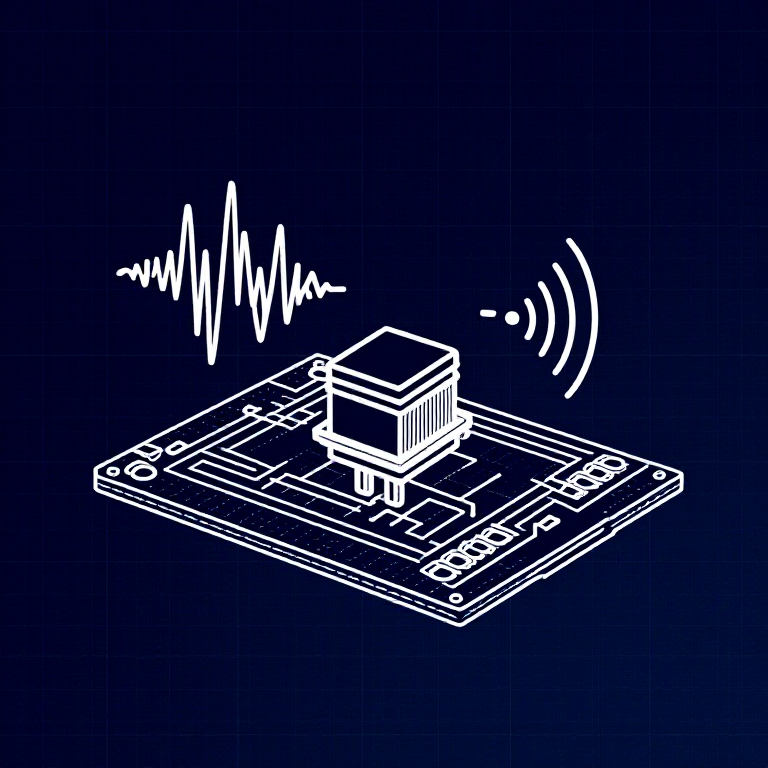
Parts & Introduction
Parts & Introduction
A piezo buzzer converts electrical signals into sound. Using Arduino's built-in tone() function, you can play specific musical frequencies. This sketch plays a simple melody using character arrays for notes and integer arrays for timing.
Parts Needed
- 1x Arduino Uno + USB cable
- 1x Breadboard
- 1x Piezo Buzzer
- 3x Jumper Wires
Note Frequency Reference
| Note | Freq |
|---|---|
| c | 262 Hz |
| d | 294 Hz |
| e | 330 Hz |
| f | 349 Hz |
| g | 392 Hz |
| a | 440 Hz |
| b | 494 Hz |
| C | 523 Hz |
Materiales para este paso:
 SparkFun Inventors Kit - V3.21 kit
 Jumper Wires2 piezas
Herramientas necesarias:
Hardware Hookup
Hardware Hookup
Wiring Instructions
- Place the piezo buzzer in the breadboard. It has two pins — one marked with "+".
- Connect the positive pin (+) to Arduino Digital Pin 9 (PWM).
- Connect the negative pin to GND.
Tip: If the buzzer doesn't fit easily, try rotating it slightly to align with diagonal breadboard holes.
Materiales para este paso:
Jumper Wires2 piezasArduino Code
Arduino Code
Open the Arduino IDE and upload the following sketch to your Arduino board.
Materiales para este paso:
Herramientas necesarias:
Test & Experiment
Test & Experiment
What You Should See
You won't see anything — but you'll hear a melody playing from the buzzer! The song plays once and stops.
Troubleshooting
- No sound: The buzzer pins are easy to misplace on the breadboard. Double-check placement and make sure both pins have good contact.
- Want it to stop: Pull the buzzer out while working on other things, plug it back in to test.
Experiments to Try
- Remove the
while(true){}line to make the song loop continuously. - Write your own melody by changing the
notes[]andbeats[]arrays. - Add more notes by expanding the
frequency()function with sharps and flats. - Use a button (from Circuit 5) to trigger the melody on demand.
Materiales
5- MX$1,826.00
- Piezo Buzzer1 pieza
- MX$72.00
CC0 Dominio público
Este Blueprint se publica bajo CC0. Eres libre de copiar, modificar, distribuir y usar este trabajo para cualquier propósito, sin pedir permiso.
Apoya al Maker comprando productos a través de su Blueprint, donde gana una Comisión del Maker establecida por los vendedores, o crea una nueva iteración de este Blueprint e inclúyela como conexión en tu propio Blueprint para compartir ingresos.