ARTE
BELLEZA Y BIENESTAR
ARTESANÍA
CULTURA E HISTORIA
ENTRETENIMIENTO
MEDIO AMBIENTE
COMIDA Y BEBIDAS
INGENIERÍA INVERSA
CIENCIAS
DEPORTES
TECNOLOGÍA
TECNOLOGÍA VESTIBLE
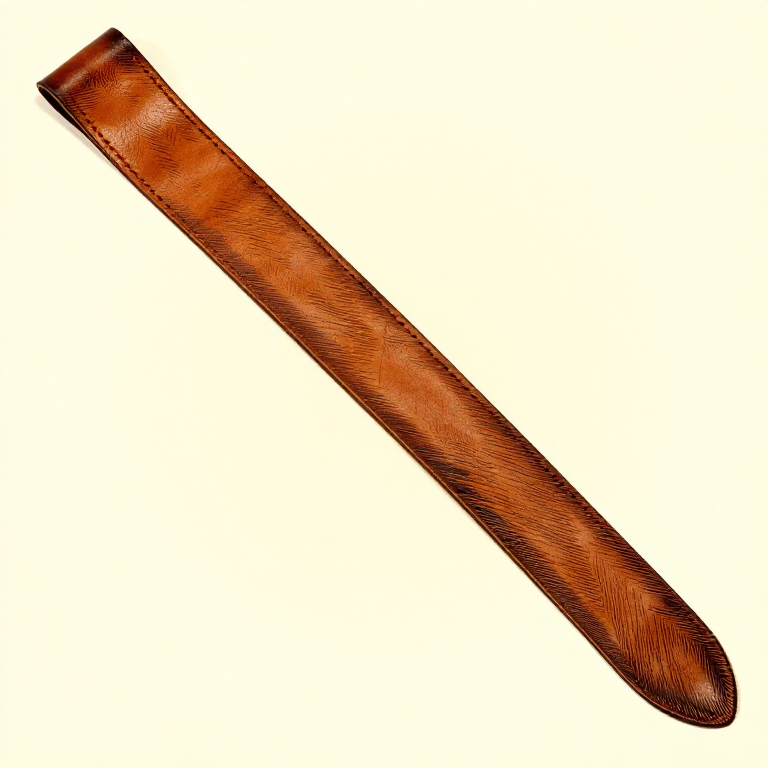


Skiving: Where Leather Has to Get Thinner to Work
Leather that is the right thickness for a bag body is too thick where it folds, too thick where two layers overlap, and far too thick where four layers meet at a corner.
Skiving is shaving it thinner in exactly those places — a long shallow taper, usually on the flesh side, that lets a fold lie flat or two edges meet without a step.
It is the operation that separates work that looks homemade from work that does not, and it is entirely a matter of a sharp blade held at a low angle. There is no jig that does it well.
Intermedio
3 hours
Instrucciones
1
1
The four places it is needed
The four places it is needed
**A fold.** Leather folded at full thickness makes a fat rounded bend that cracks the grain on the outside. Skiving the flesh side along the fold line, to about half thickness over a band twice the leather's thickness, lets it turn sharply and lie flat.
**An overlap or a lap joint.** Two pieces glued face to face double the thickness and leave a visible step. Skive both mating edges to a long taper and the joint finishes at the same thickness as the rest, with no step at all. This is how a belt loop, a bag gusset and a shoe upper are all made.
**A turned edge.** Where leather is folded over on itself to give a finished edge — a bag mouth, a strap end, a bookbinding turn-in — the turned part is skived thin so the doubled edge is no thicker than the single one.
**A corner where several layers meet.** Skive each layer progressively so the stack never exceeds what the needle and the thread can handle.
The general rule: skive wherever the finished piece would otherwise be thicker than it looks like it should be.
Materiales para este paso:
 Cuero curtido al vegetal2 piezas
Herramientas necesarias:
 Cuchillo de guarnicionero
 Calibre digital de 6 pulgadas
 Base de corte autocicatrizante
2
2
Doing it by hand
Doing it by hand
**Work on a hard smooth surface** — a marble offcut, a glass slab, a poly board. A soft cutting mat lets the leather sink and the blade digs in.
**Blade almost flat.** The angle between the blade and the leather is what sets the taper: a few degrees for a long gentle skive, more for a short one. A blade held steeply does not skive, it cuts a hole.
**Push away from you in shallow strokes**, taking a thin shaving each time. Half a dozen light passes beat one heavy one, because a heavy pass wanders and goes through.
**Stretch the leather flat with the other hand**, fingers well back from the blade and never in front of it. This is the operation that cuts people, because the blade is travelling away at a low angle and there is nothing to stop it.
**Check by feel and by light.** Run a thumb across the skive: it should be a smooth ramp with no ridges. Hold it up to a light and a properly skived edge glows evenly through.
**A sharp blade is not optional.** A dull edge tears the fibres rather than severing them and leaves a furry surface that will not glue. Strop between pieces.
Materiales para este paso:
Cuero curtido al vegetal2 piezas Cuero de cabra1 pieza
Herramientas necesarias:
Cuchillo de guarnicionero MicrómetroCalibre digital de 6 pulgadas
3
3
How thin, and how far back
How thin, and how far back
The two numbers that define a skive are its **depth** at the edge and its **length** back from the edge. The ratio between them is the taper.
**For a lap joint**, skive each piece to zero at the edge over a length of about **ten times the leather's thickness**. Two 2 mm pieces therefore each get a 20 mm taper, and the finished overlap is 2 mm thick rather than 4 mm.
**For a fold**, take it to about **half thickness** over a band about **twice the thickness** wide, centred on the fold line. It should bend easily and still have body.
**For a turned edge**, skive to about **a third of thickness** over the width of the turn-in plus a little.
**Never skive to nothing where it will be stitched.** A feather edge has no fibres left to hold a thread and tears out. Stop at about a third of the original thickness anywhere a stitch line will run.
Measure with a caliper on a test piece before committing. The eye is poor at judging half a millimetre and the difference between 1 mm and 0.5 mm is the difference between a joint that lies flat and one that does not.
Materiales para este paso:
Cuero curtido al vegetal2 piezasHerramientas necesarias:
Calibre digital de 6 pulgadasMicrómetro Regla
Regla4
4
When not to skive, and what to do instead
When not to skive, and what to do instead
Skiving removes material, and material is strength. Three cases where it is the wrong answer:
**Where the piece carries load.** A strap near a buckle, the shoulder of a bag handle, anything that takes weight. Thinning it there is exactly where it will break. Design the fold somewhere else instead.
**Where a stitch line will run.** As above: leave fibres for the thread to hold onto.
**Where the leather is already thin.** Below about 2 oz there is nothing to take away. Choose a thinner piece for the part that needs to be thin, or line it instead.
The alternatives, in order of how often they are the better answer:
**Use a thinner piece there.** Obvious, usually right, and the reason a well-made bag is made of several weights of leather rather than one.
**Split the whole piece.** A splitting machine takes a sheet down evenly across its whole area. Leather merchants will split to order, and the result is far more even than hand skiving.
**Change the joint.** A butted joint backed with a strip needs no skive at all. A gusset avoids the four-layer corner entirely.
Materiales para este paso:
Cuero curtido al vegetal1 piezaCuero de cabra1 piezaHerramientas necesarias:
Calibre digital de 6 pulgadasMateriales
2- 2 piezasMarcador de posición
- 2 piezasMarcador de posición
Blueprints relacionados
Estos blueprints comparten conocimiento — técnicas, materiales o principios

CC0 Dominio público
Este Blueprint se publica bajo CC0. Eres libre de copiar, modificar, distribuir y usar este trabajo para cualquier propósito, sin pedir permiso.
Apoya al Maker comprando productos a través de su Blueprint, donde gana una Comisión del Maker establecida por los vendedores, o crea una nueva iteración de este Blueprint e inclúyela como conexión en tu propio Blueprint para compartir ingresos.