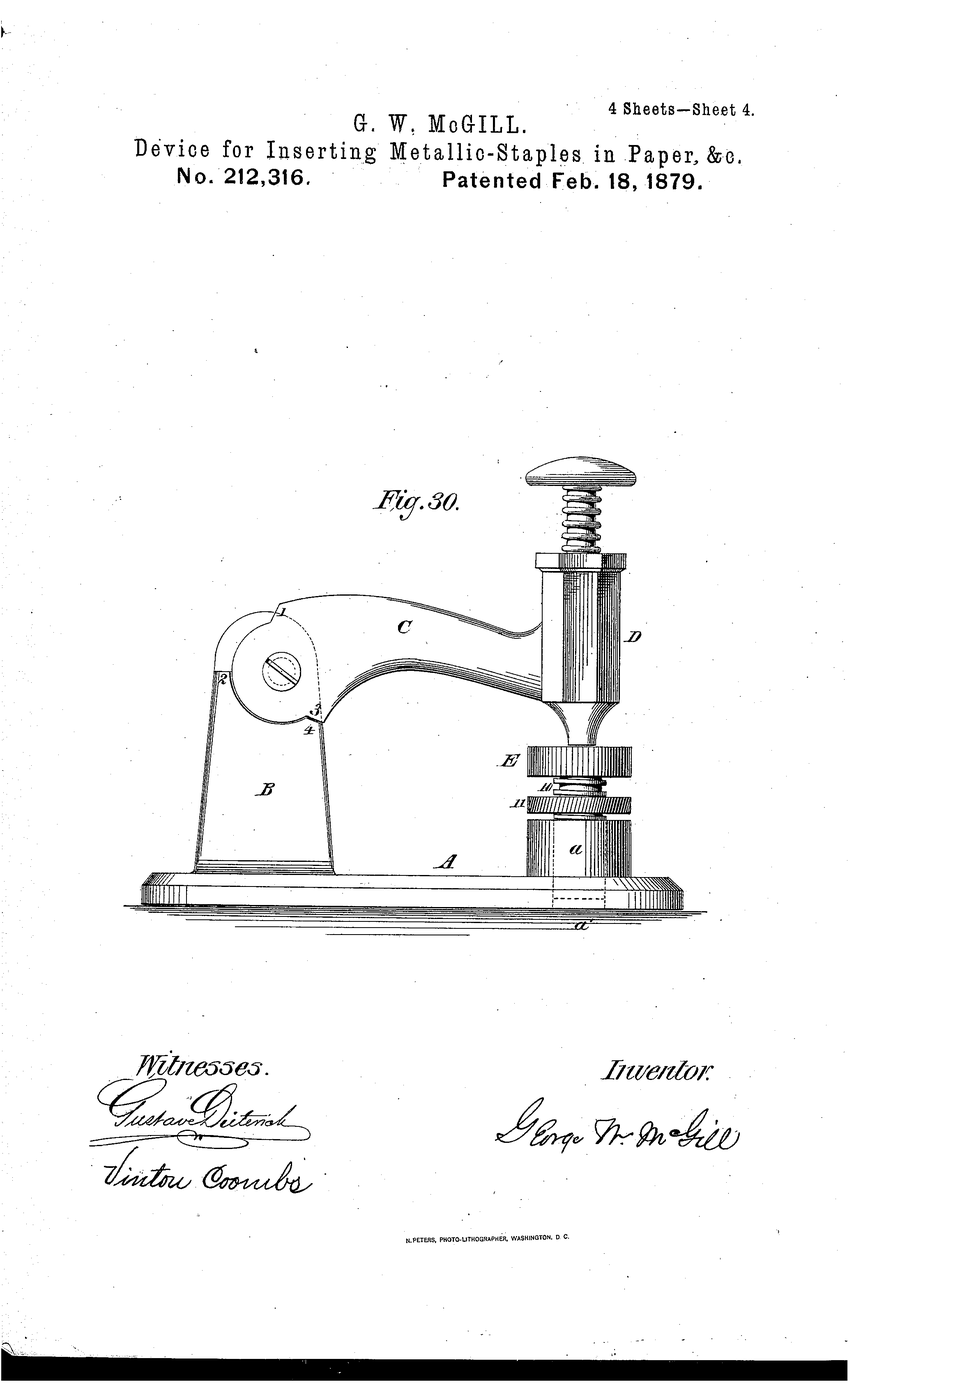


Stapler
George W. McGill spent twenty-five years on the problem of fastening paper. He patented a bendable brass paper fastener in 1866, a press to insert it in 1867, and by the 1890s held over fifty patents, all on fasteners.
US 212,316, “Improvement in devices for inserting metallic staples in papers”, granted 18 February 1879 (filed 9 January 1879) is the one usually taken as the birth of the stapler. Its claim is a single-stroke machine: a vibrating lever on a pillar, a grooved vertical chamber guiding the staple, a plunger driven down by the lever, a spiral spring returning it, and — the part that matters — a clinching anvil whose channels bend the two staple legs inward underneath the paper.
Driving and clinching happen in “one continuous and instantaneous operation”. That phrase is the invention: the anvil does its work on the same stroke, using the same energy, without a second mechanism.
Instrucciones
Take a modern stapler apart in your head
Take a modern stapler apart in your head
Open a stapler and find the four parts McGill claims: lever, guided chamber, spring-returned plunger, clinching anvil. Sketch them.
Look at the anvil grooves
Look at the anvil grooves
Examine the metal plate the staple closes against. The two shallow curved channels are the clinching anvil. Draw their shape with the magnifying glass.
Herramientas necesarias:
 Lupa
LupaBend a staple by hand
Bend a staple by hand
Cut a 40 mm length of wire and bend it into a U with 10 mm legs. This is your staple.
Materiales para este paso:
 Alambre de acero galvanizado0.5 metro
Herramientas necesarias:
 Tijeras
Push it through paper with no anvil
Push it through paper with no anvil
Push the staple through five sheets against a soft cardboard backing. The legs splay randomly. Record what happens.
Materiales para este paso:
 Papel5 hojas
 Láminas de cartón corrugado1 hoja
Cut an anvil from cardboard
Cut an anvil from cardboard
Cut a 40 × 20 mm card and score two shallow curved channels 12 mm apart, curving inward.
Materiales para este paso:
Láminas de cartón corrugado1 hojaHerramientas necesarias:
 Cúter de precisión
 Regla
ReglaRepeat the push with the anvil underneath
Repeat the push with the anvil underneath
Now the legs follow the channels and fold inward. Compare with step 4.
Materiales para este paso:
Papel5 hojasBuild the pillar and lever
Build the pillar and lever
Glue a dowel upright on the board as the pillar. Hinge a 150 mm card lever at its top.
Materiales para este paso:
 Cola de carpintero5 mlLáminas de cartón corrugado1 hoja
Herramientas necesarias:
 Tabla de madera plana
 Varilla de madera (tarugo)
Make the guided chamber
Make the guided chamber
Roll a card tube just wider than your staple and glue it vertically under the lever's free end. The staple must slide without tipping.
Materiales para este paso:
Láminas de cartón corrugado1 hojaCola de carpintero3 mlFit the plunger
Fit the plunger
Cut a stiff card strip that slides inside the chamber and contacts the staple crown.
Materiales para este paso:
Láminas de cartón corrugado1 hojaHerramientas necesarias:
Cúter de precisiónAdd the return spring
Add the return spring
Fit a light compression spring between the lever and the base so the plunger lifts itself after each stroke. McGill claims a spiral spring for exactly this.
Materiales para este paso:
 Juego de muelles de compresión1 pieza
Align the anvil under the chamber
Align the anvil under the chamber
Glue the card anvil directly beneath the chamber. Alignment is everything — a 2 mm offset makes it fail.
Materiales para este paso:
Cola de carpintero3 mlHerramientas necesarias:
ReglaFire one full stroke
Fire one full stroke
Load a staple, place five sheets, press the lever once. Drive and clinch should happen together.
Materiales para este paso:
Papel5 hojasTest the thickness limit
Test the thickness limit
Staple 5, 10, 20 and 40 sheets. Record where the clinch fails. McGill's patent includes an adjustable anvil height for precisely this reason.
Materiales para este paso:
Papel40 hojasHerramientas necesarias:
ReglaHistory & Context
History & Context
US 212,316, George W. McGill, granted 18 February 1879, filed 9 January 1879. The granted title is “Improvement in devices for inserting metallic staples in papers”.
McGill's earlier patents matter to the story: US 56,587 (24 July 1866) for a small bendable brass paper fastener, and US 67,665 (13 August 1867) for a press to insert them. He exhibited at the 1876 Centennial Exhibition in Philadelphia and took a first prize medal. The 1879 patent is the point where fastener and press become one single-stroke machine.
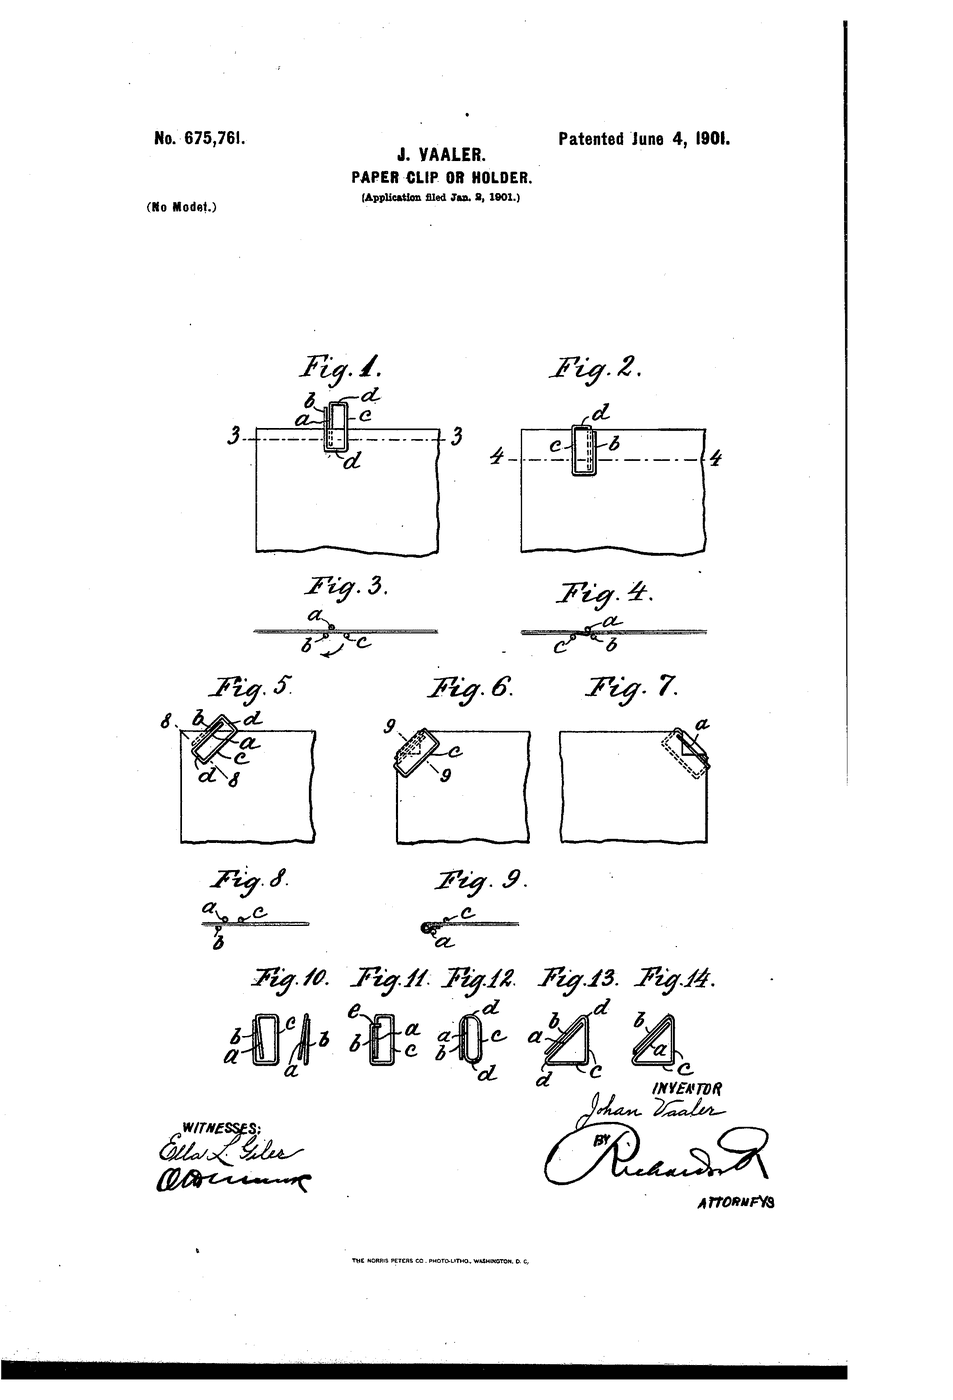
What it competed with. The paper clip (see the linked blueprint) solves the same problem reversibly and without deforming the paper; the staple solves it permanently and far more securely. Neither replaced the other, which is why both are on your desk today.
One honest limit on the popular story: “the first stapler” is a contested title. Devices for driving fasteners into paper existed earlier in Europe, and an ornate machine reputedly made for King Louis XV is often cited, though its documentation is thin. What US 212,316 can be said to be, precisely, is the first commercially successful single-stroke staple press — insert and clinch in one motion.
Materiales
5- 0.5 metroMarcador de posición
- 55 hojasMarcador de posición
- Marcador de posición
- 11 mlMarcador de posición
- Marcador de posición
Materiales de Blueprints conectados

CC0 Dominio público
Este Blueprint se publica bajo CC0. Eres libre de copiar, modificar, distribuir y usar este trabajo para cualquier propósito, sin pedir permiso.
Apoya al Maker comprando productos a través de su Blueprint, donde gana una Comisión del Maker establecida por los vendedores, o crea una nueva iteración de este Blueprint e inclúyela como conexión en tu propio Blueprint para compartir ingresos.