ARTE
BELLEZA Y BIENESTAR
ARTESANÍA
CULTURA E HISTORIA
ENTRETENIMIENTO
MEDIO AMBIENTE
COMIDA Y BEBIDAS
INGENIERÍA INVERSA
CIENCIAS
DEPORTES
TECNOLOGÍA
TECNOLOGÍA VESTIBLE
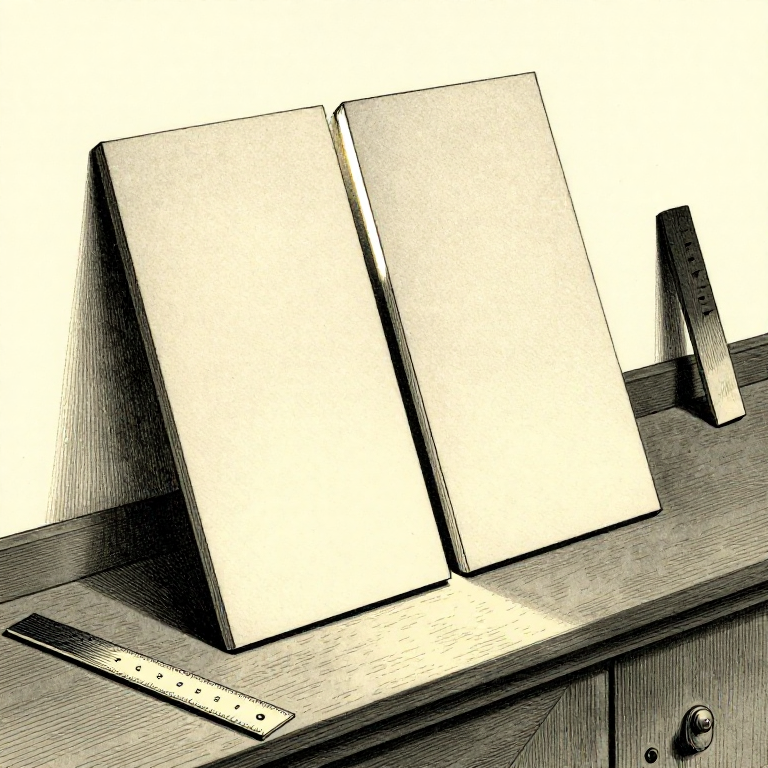


Surface Preparation: The Part That Decides Whether It Holds
Almost every glue failure is a preparation failure. The adhesive is usually fine; what it was asked to stick to was not.
Three things matter and they are all invisible: the surfaces must actually TOUCH along their whole area, they must be CLEAN, and on non-porous materials they usually need to be ROUGHENED. Get those right and most adhesives work; get them wrong and no adhesive does.
It is also where the time goes. A joint that fits takes preparation; a joint that is forced together by clamps is a spring under tension, and it will eventually win.
Principiante
2 hours
Instrucciones
1
1
Fit first: the clamps must not be closing a gap
Fit first: the clamps must not be closing a gap
Hold the two parts together dry and look at the joint against a light. Any gap you can see light through is a gap the glue cannot fill.
If clamping pressure is needed to close a visible gap, the parts are fighting each other. Tighten them down and the joint is permanently stressed: the wood wants to spring back and the glue line is under constant load for the rest of its life. That is why such joints open years later for no apparent reason.
Correct the fit instead — plane, file or sand the mating faces until they meet by themselves. The clamps' job is to hold the parts still and squeeze the film thin, not to bend them into shape.
Materiales para este paso:
 Tabla de madera dura2 piezas
Herramientas necesarias:
 Regla de trazar
 Escuadra fija
 Surtido de papel de lija
2
2
Clean means free of dust, oil and old finish
Clean means free of dust, oil and old finish
Sanding dust left on a surface is a layer of loose particles; the glue sticks to the dust and the dust falls off the wood. Brush or blow it off.
Oil is worse and harder to see. Skin oil from handling, silicone from a polish, release agent on a casting, or the natural oils in teak and rosewood all stop adhesion completely. Wipe oily timbers with denatured alcohol or acetone immediately before gluing and do not touch the faces afterwards.
Old finish must come off entirely. Glue sticks to varnish, varnish lets go of wood, and the joint fails at a layer you did not know was there. This is the commonest failure when repairing something that was previously finished.
Herramientas necesarias:
 Tela de algodónSurtido de papel de lija
 Gafas de seguridad transparentes
 Alcohol desnaturalizado
 Acetona
3
3
Fresh surfaces, and why very smooth can be too smooth
Fresh surfaces, and why very smooth can be too smooth
Wood surfaces oxidise and collect airborne contamination. A face machined a month ago glues less well than one machined an hour ago — freshening it with a plane or a light sanding immediately before gluing is worth doing.
But do not polish it. Sanding wood past about 150 to 180 grit burnishes the surface: the fibres are flattened over rather than left open, and the glue has less to key into. For a glue face, medium grit is better than fine, which is the reverse of finishing.
On non-porous materials — metal, glass, most plastics — roughening is not optional. Abrade them to a uniform matt, clean off the debris, and glue while the surface is fresh. A shiny metal surface offers an adhesive almost nothing.
Materiales para este paso:
Tabla de madera dura1 piezaHerramientas necesarias:
 Lupa de relojeroTela de algodónSurtido de papel de lija
4
4
Mask the parts you do not want glue on
Mask the parts you do not want glue on
Squeeze-out on a surface that will be finished is a real problem: glue seals the wood, stain will not penetrate it, and the patch shows up pale and obvious only after finishing, when it is far too late.
Tape along both sides of the joint line before assembly and peel it off while the squeeze-out is still soft. The glue comes away with the tape and the surface underneath is untouched.
Do the same inside a corner you will never be able to reach with a chisel, and on any face that must stay glue-free for a later joint. Two minutes of tape saves an hour of scraping and a finish that never looks right.
Materiales para este paso:
Tabla de madera dura2 piezasHerramientas necesarias:
 Brocha para colaTela de algodón
 Cinta de carrocero
Herramientas requeridas
10- Marcador de posición
- Marcador de posición
- Marcador de posición
- Marcador de posición
- Marcador de posición
- Marcador de posición
- Marcador de posición
- Marcador de posición
- Marcador de posición
- Marcador de posición
Blueprints relacionados
Estos blueprints comparten conocimiento — técnicas, materiales o principios

CC0 Dominio público
Este Blueprint se publica bajo CC0. Eres libre de copiar, modificar, distribuir y usar este trabajo para cualquier propósito, sin pedir permiso.
Apoya al Maker comprando productos a través de su Blueprint, donde gana una Comisión del Maker establecida por los vendedores, o crea una nueva iteración de este Blueprint e inclúyela como conexión en tu propio Blueprint para compartir ingresos.