ARTE
BELLEZA Y BIENESTAR
ARTESANÍA
CULTURA E HISTORIA
ENTRETENIMIENTO
MEDIO AMBIENTE
COMIDA Y BEBIDAS
INGENIERÍA INVERSA
CIENCIAS
DEPORTES
TECNOLOGÍA
TECNOLOGÍA VESTIBLE
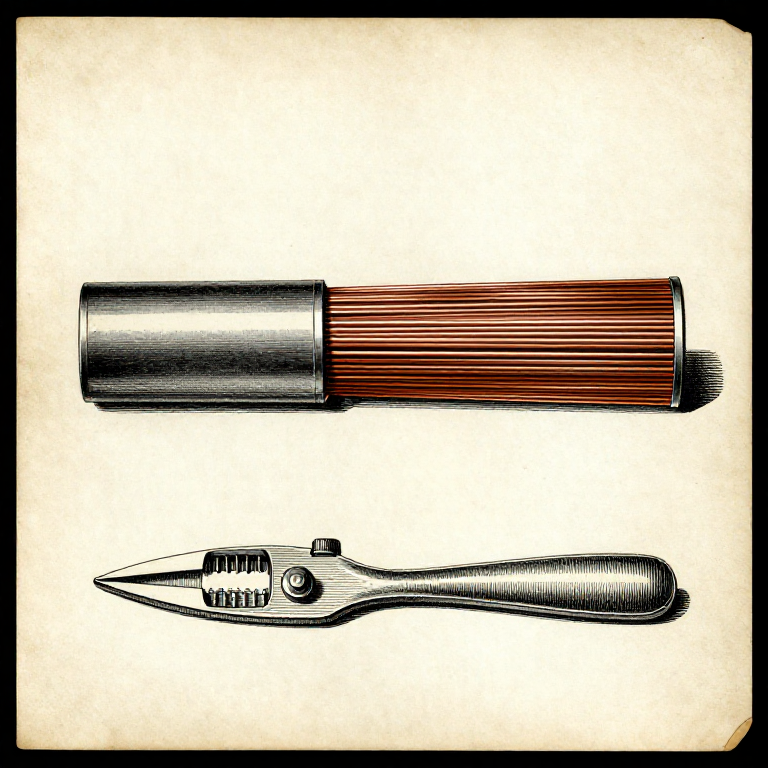


The Crimp: A Good One Is a Cold Weld, Not a Squeeze
A proper crimp deforms the terminal and the wire together so hard that the metals flow into each other and the boundary between them effectively disappears. There is no air left in the joint, so there is nothing for corrosion to attack.
Done properly it outlasts solder and survives vibration that would crack a soldered joint. Done with pliers it is two pieces of metal touching, and it will work perfectly on the bench and fail in the field.
The difference is entirely the tool. A real crimper closes to a fixed profile and will not release until it has, and that ratchet is what makes the joint repeatable.
Intermedio
3 hours
Instrucciones
1
1
Why gas-tight matters
Why gas-tight matters
In a correct crimp the pressure is high enough that the copper and the terminal metal cold-weld: the oxide layers break up, clean metal meets clean metal, and no gap remains.
That is what GAS-TIGHT means, and it is the whole reason a crimp is a permanent electrical connection rather than a mechanical one. Air in the joint means oxygen and moisture, which means a growing oxide layer, which means rising resistance, heat, and eventually failure.
A joint squeezed with pliers has metal touching in a few places and air everywhere else. It reads as a good connection on a meter for months — which is exactly why people believe it is fine.
Materiales para este paso:
 Terminal de anillo1 pieza
 Cable de conexión1 pieza
Herramientas necesarias:
 Alicate de crimpar
 Multímetro
 Lupa de relojero
2
2
Match the terminal to the wire, and the die to both
Match the terminal to the wire, and the die to both
Crimp terminals are colour-coded by the wire range they accept: red for the smallest, blue for the middle, yellow for the largest. The crimper's dies carry the same colours.
Use the matching die. A yellow terminal in a red die is crushed and cracked; a red terminal in a yellow die is barely compressed and pulls straight off. Both look approximately right afterwards, which is the problem.
Check the wire is inside the RANGE printed on the terminal packet, not merely that it fits in the hole. A thin wire rattling inside a large barrel cannot be cold-welded however hard it is squeezed, and the usual bodge — doubling the wire back on itself to fill the barrel — is a legitimate fix for exactly one gauge step, not three.
Materiales para este paso:
Terminal de anillo1 pieza Terminal de horquilla1 pieza
Herramientas necesarias:
Alicate de crimpar Alicate de engastar terminalesLupa de relojero
3
3
Insulation in the back grip, conductor in the front
Insulation in the back grip, conductor in the front
An insulated crimp terminal has one barrel doing two jobs: the front part grips the bare conductor and makes the electrical connection, the back part grips the INSULATION and takes all the mechanical strain.
Position the wire so the insulation ends just inside the back of the barrel and the conductor fills the front. Too far in and the insulation is under the electrical crimp, which makes no connection at all. Too far out and the bare conductor takes the strain and fatigues.
You should be able to see a whisker of bare conductor at the front of the barrel after crimping, and no bare conductor at all behind it. That is the inspection, and it takes a second.
Materiales para este paso:
Terminal de anillo1 piezaTerminal de horquilla1 piezaCable de conexión1 piezaHerramientas necesarias:
Alicate de crimparLupa de relojero Pelacables
4
4
Pull-test every crimp, and never solder one
Pull-test every crimp, and never solder one
Pull the wire firmly. A good crimp will not move; a bad one slides off and has just saved you a fault that would have appeared in service. Test every crimp on anything that matters — it costs two seconds each.
Do not solder a crimp 'to be sure'. Solder wicks up the wire past the crimp and turns the flexible stranded conductor rigid at exactly the point where it leaves the terminal, which is the point of maximum flexing. The wire then breaks there, and it breaks sooner than it would have without the solder.
Finish with heat shrink over the joint if it needs insulating or strain relief. Slide it on BEFORE crimping — everyone forgets this once, and there is no way to fit it afterwards.
Materiales para este paso:
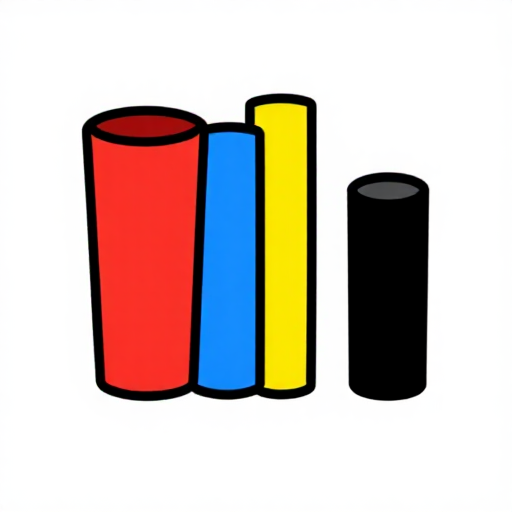 Tubo termorretráctil1 piezaTerminal de anillo1 pieza
Herramientas necesarias:
Alicate de crimparMultímetroMateriales
4- 1 piezaMarcador de posición
- 2 piezasMarcador de posición
- 1 piezaMarcador de posición
- 1 piezaMarcador de posición
Este plano hace
Blueprints relacionados
Estos blueprints comparten conocimiento — técnicas, materiales o principios


CC0 Dominio público
Este Blueprint se publica bajo CC0. Eres libre de copiar, modificar, distribuir y usar este trabajo para cualquier propósito, sin pedir permiso.
Apoya al Maker comprando productos a través de su Blueprint, donde gana una Comisión del Maker establecida por los vendedores, o crea una nueva iteración de este Blueprint e inclúyela como conexión en tu propio Blueprint para compartir ingresos.