ARTE
BELLEZA Y BIENESTAR
ARTESANÍA
CULTURA E HISTORIA
ENTRETENIMIENTO
MEDIO AMBIENTE
COMIDA Y BEBIDAS
INGENIERÍA INVERSA
CIENCIAS
DEPORTES
TECNOLOGÍA
TECNOLOGÍA VESTIBLE
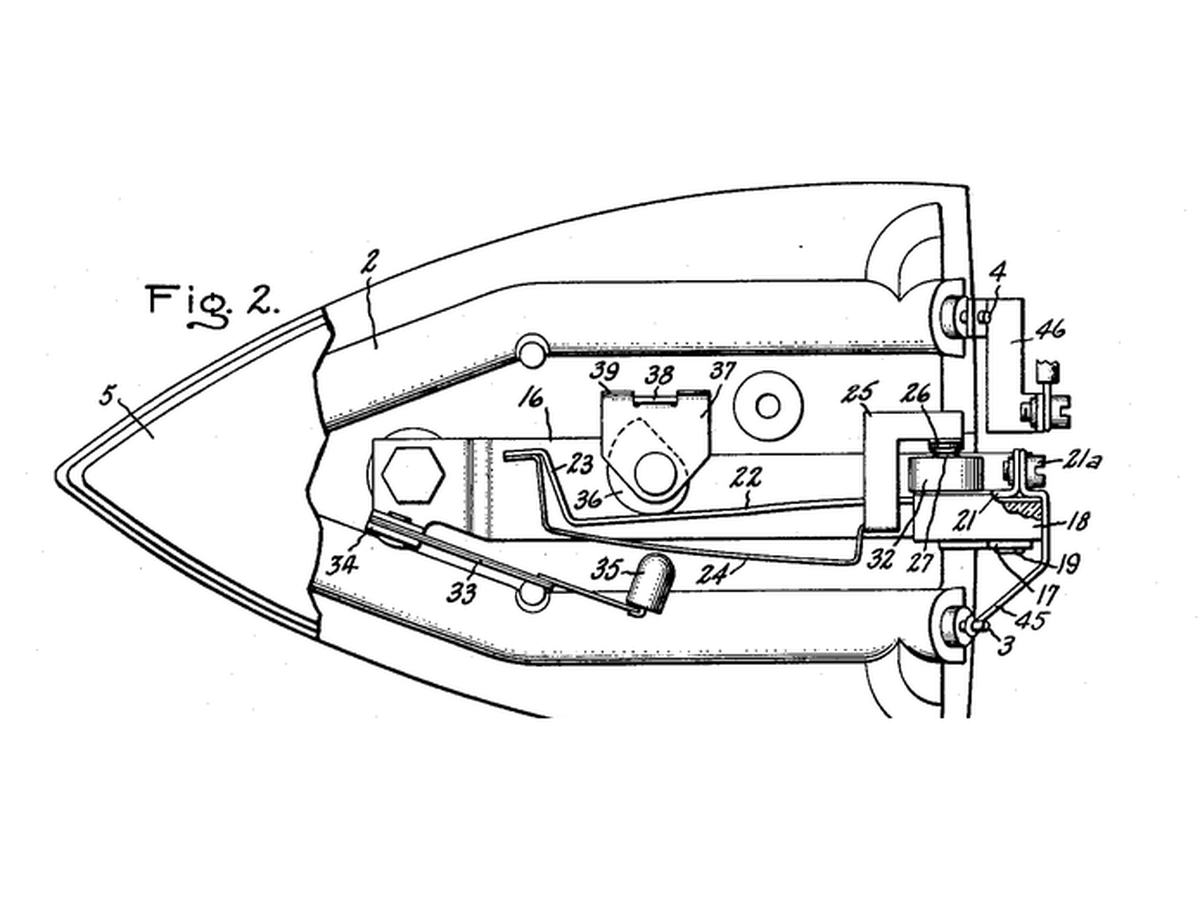


Thermostatic Electric Iron
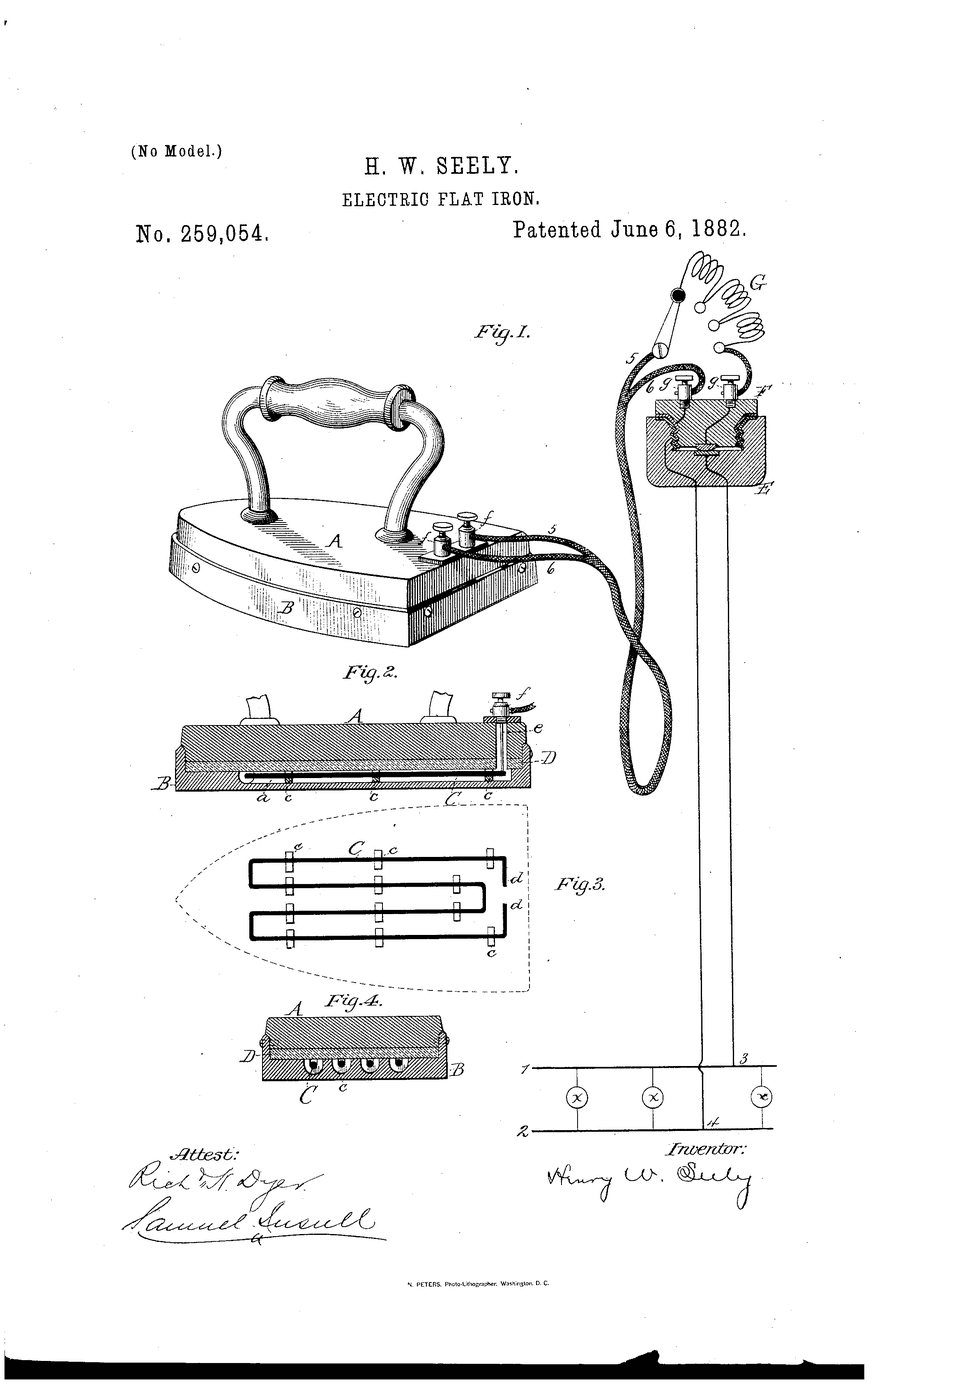
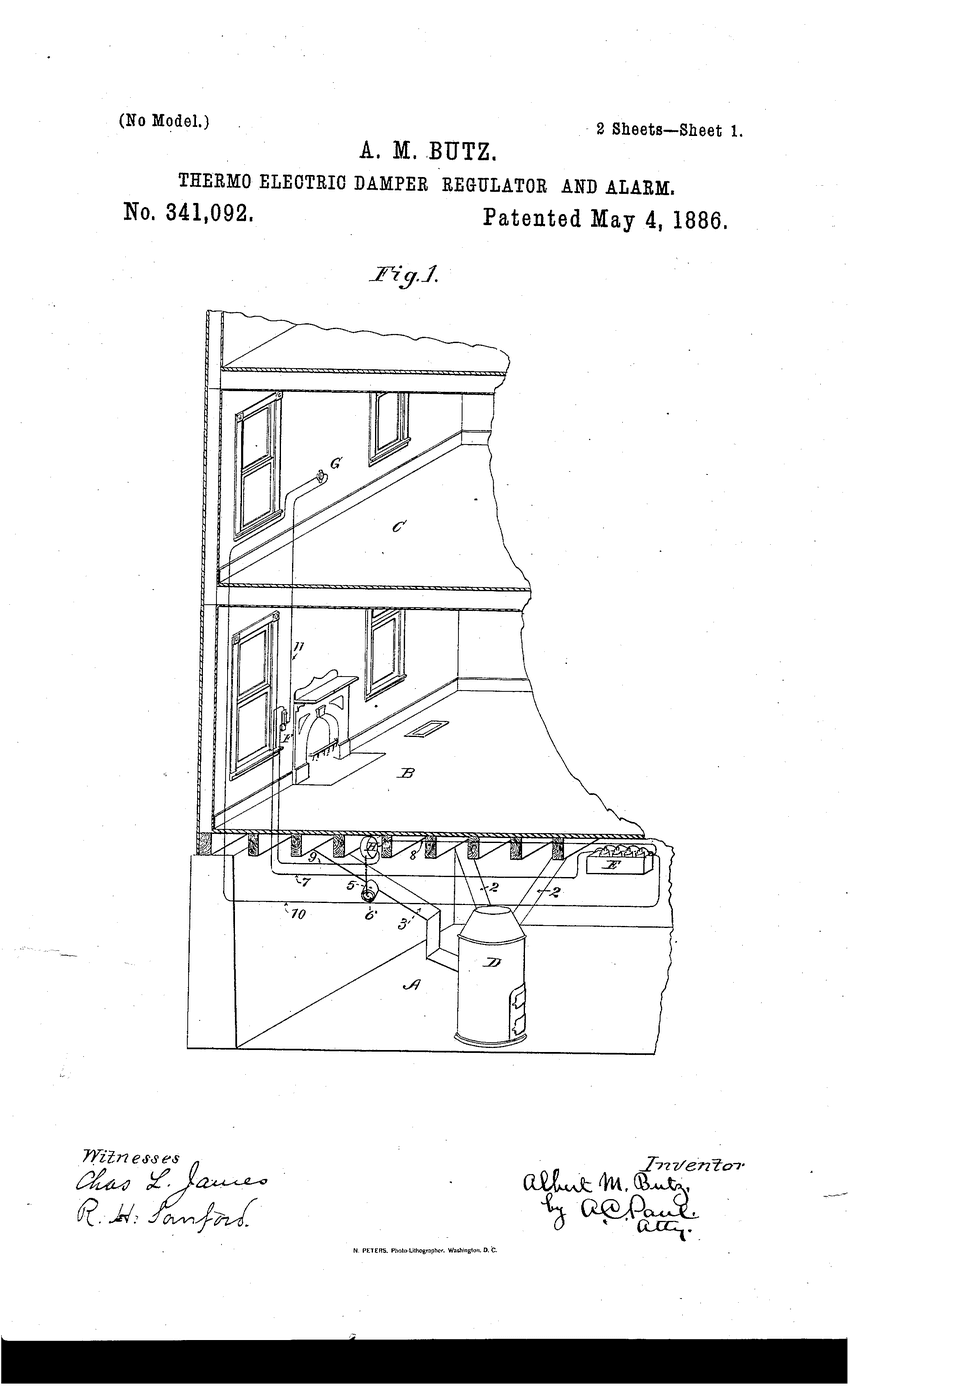
The electric flat-iron already published has one state: on. Leave it plugged in and it keeps getting hotter until something scorches - the user is the thermostat. The rung above it puts the Butz idea, a bimetallic strip, inside the iron: the iron holds whatever temperature the dial asks for, and silk and linen each get their own.
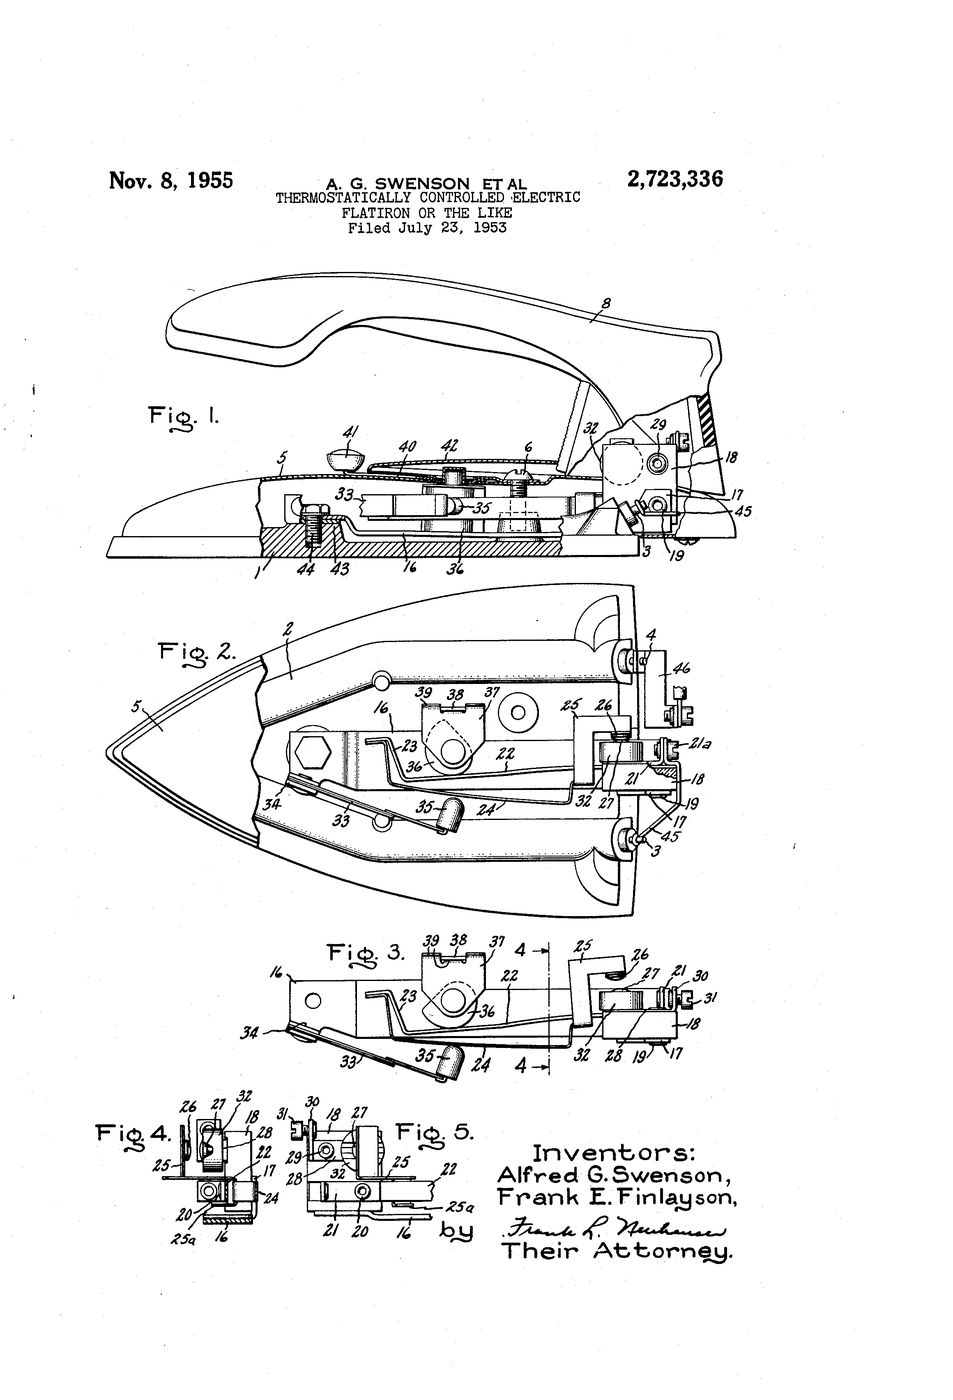
**US 2,723,336**, "Thermostatically controlled electric flatiron or the like", Swenson and Finlayson, assigned to General Electric, filed 23. July 1953, granted 8. November 1955.
**You build the thermostat, not the mains appliance**: a bimetallic strip switching a battery-powered lamp, measured on a hotplate - then you measure a real iron's cycling from the outside.
Principiante
2 hours
Instrucciones
1
1
A switch from a strip
A switch from a strip
Clamp one end of the bimetallic strip. Set a screw or a stiff wire as the contact so the free end presses it at room temperature. Wire strip and contact in series with the LED, its resistor and the battery holder: the lamp is on while they touch.
Materiales para este paso:
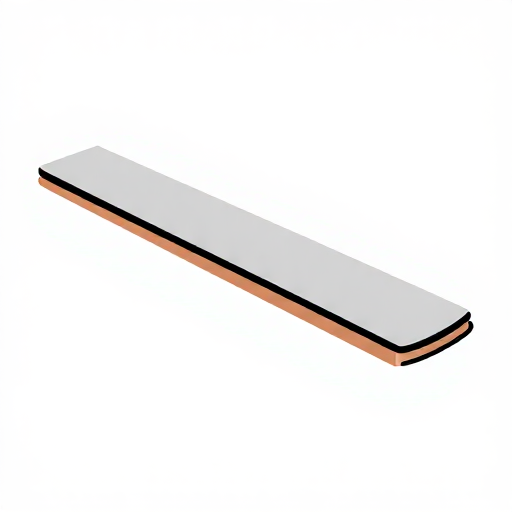 Lámina bimetálica1 pieza
 LED de 5 mm1 pieza
 Juego de resistencias1 kit
 Juego de cables Dupont (macho-hembra)1 juego
Herramientas necesarias:
 Portapilas AA (4 pilas)
 Pinza de resorte
2
2
Heat it and watch
Heat it and watch
Tape the thermocouple to the strip. Warm it gently on the hotplate and note the temperature when the lamp goes out; let it cool and note when it lights again. Three runs.
Herramientas necesarias:
 Placa calefactora
 Termopar con indicador
 Gafas de seguridad transparentes
3
3
Move the contact
Move the contact
Turn the contact screw in by half a turn so the strip must bend further, and repeat. That screw is the iron's fabric dial.
Herramientas necesarias:
Termopar con indicador4
4
Measure a real iron
Measure a real iron
Stand a steam iron on its heel on a heatproof surface at a mid setting. With the infrared thermometer on the soleplate and a stopwatch, time how long its indicator lamp stays on and off over several cycles, and note the highest and lowest readings.
Herramientas necesarias:
 Plancha de vapor
 Termómetro infrarrojo
 Cronómetro
5
5
Bend, hysteresis, duty cycle
Bend, hysteresis, duty cycle
Cargando el cuaderno de Jupyter…
6
6
History & Context
History & Context
**What the patent specifies:** a flatiron whose heating element is switched by a thermostat set from a fabric dial, holding the soleplate at the chosen temperature. **Modern build (derived):** the bimetal switch alone, on safe low voltage, plus outside measurements of a working iron.
The same bimetal switch went into kettles, ovens, toasters and motor overload protectors. Its limits: the strip switches over a few degrees of swing, it ages with cycling, and it senses its own temperature - not the cloth's.
Materiales
4- 1 piezaMarcador de posición
- Marcador de posición
- Marcador de posición
- Marcador de posición
Herramientas requeridas
8- Marcador de posición
- Marcador de posición
- Marcador de posición
- Marcador de posición
- Marcador de posición
- Marcador de posición
- Marcador de posición
- Marcador de posición
Blueprints relacionados
Estos blueprints comparten conocimiento — técnicas, materiales o principios

CC0 Dominio público
Este Blueprint se publica bajo CC0. Eres libre de copiar, modificar, distribuir y usar este trabajo para cualquier propósito, sin pedir permiso.
Apoya al Maker comprando productos a través de su Blueprint, donde gana una Comisión del Maker establecida por los vendedores, o crea una nueva iteración de este Blueprint e inclúyela como conexión en tu propio Blueprint para compartir ingresos.