ARTE
BELLEZA Y BIENESTAR
ARTESANÍA
CULTURA E HISTORIA
ENTRETENIMIENTO
MEDIO AMBIENTE
COMIDA Y BEBIDAS
INGENIERÍA INVERSA
CIENCIAS
DEPORTES
TECNOLOGÍA
TECNOLOGÍA VESTIBLE
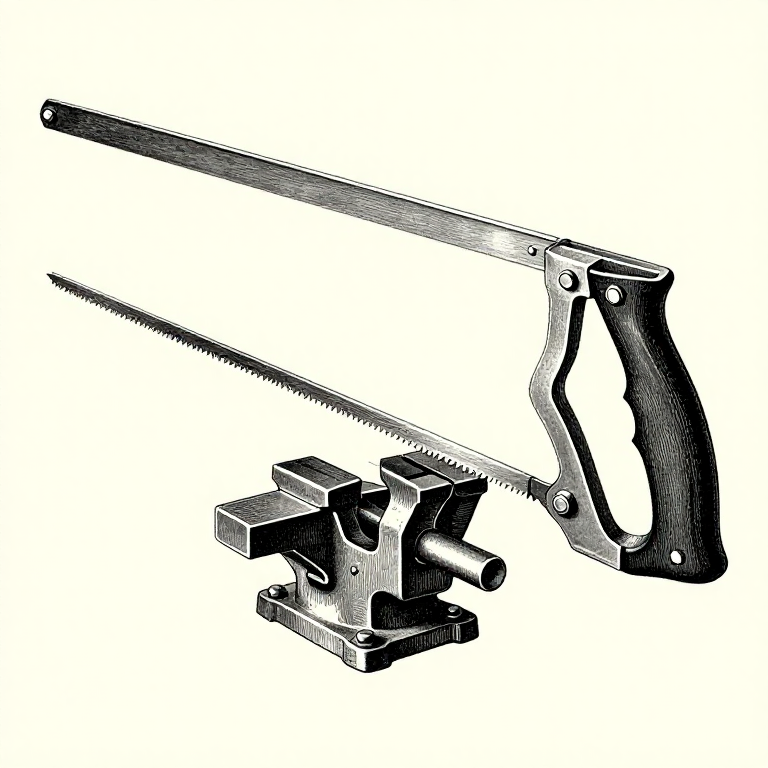


The Hacksaw: Blade Tension, TPI, and the Three-Tooth Rule
A hacksaw blade is a thin flexible strip that only works because the frame pulls it tight. Slack, it wanders and snaps; properly tensioned, it cuts straight and lasts.
The second thing that decides everything is the tooth pitch against the thickness of what you are cutting. At least three teeth must be in contact at all times, or the material drops between them, catches on one tooth, and strips it off. A coarse blade on thin tube destroys itself in seconds and it is not obvious why.
Those two rules cover almost every hacksaw failure, and both take five seconds to check.
Principiante
2 hours
Instrucciones
1
1
Fit the blade teeth-FORWARD, and tension it hard
Fit the blade teeth-FORWARD, and tension it hard
A hacksaw cuts on the PUSH stroke, so the teeth point away from the handle. Fitted backwards it will rub, heat up and cut almost nothing, and it is a surprisingly common mistake because the blade goes in just as easily either way.
Tighten the wing nut until the blade rings when you pluck it — genuinely tight, far tighter than feels reasonable. A hacksaw blade is designed to be tensioned to a high load and the frame is built for it.
A slack blade twists in the cut, so the kerf wanders, and the twisting is what snaps blades. If your cuts come out curved or your blades keep breaking, tension is the first thing to check and it is usually the answer.
Herramientas necesarias:
 Arco de sierra para metales con hojas
 Sierra para metales
 Gafas de seguridad transparentes
2
2
The three-tooth rule
The three-tooth rule
Cargando el cuaderno de Jupyter…
Herramientas necesarias:
Arco de sierra para metales con hojas Calculadora
 Calibre vernier
3
3
Long slow strokes, and the whole blade
Long slow strokes, and the whole blade
Aim for around fifty strokes a minute — slower than feels natural. A hacksaw blade is hardened and it loses its temper if it gets hot, so speed is genuinely counterproductive.
Use the full length of the blade. Working in the middle third wears out those teeth while the ends stay sharp, and once the middle is blunt the blade is useless even though most of it has never cut anything.
Press on the push stroke and lift slightly on the return, as with a file and for the same reason: the teeth cut one way only and dragging them back under load wears them for nothing. A little cutting oil on steel helps; aluminium prefers paraffin; do not oil a blade cutting cast iron.
Materiales para este paso:
 Barra de acero dulce1 pieza
Herramientas necesarias:
Arco de sierra para metales con hojas Tornillo de banco pesadoGafas de seguridad transparentes
 Aceite de corte
4
4
Hold it close to the cut
Hold it close to the cut
Clamp the work in the vice so the cut line is within a centimetre or two of the jaws. Anything standing further out chatters, and chatter breaks teeth and wanders the cut.
For tube, use a piece of wood with a V cut in it, or wrap the tube in a scrap of sheet, so the vice does not crush it. A crushed tube is out of round permanently and often will not take its fitting.
Never finish a cut with the offcut unsupported. The last few strokes it hangs by a thread, snaps, and the ragged tear it leaves has to be filed off — and on a heavy piece it lands on your foot. Support it with your free hand or a block.
Materiales para este paso:
 Tabla de madera dura1 pieza
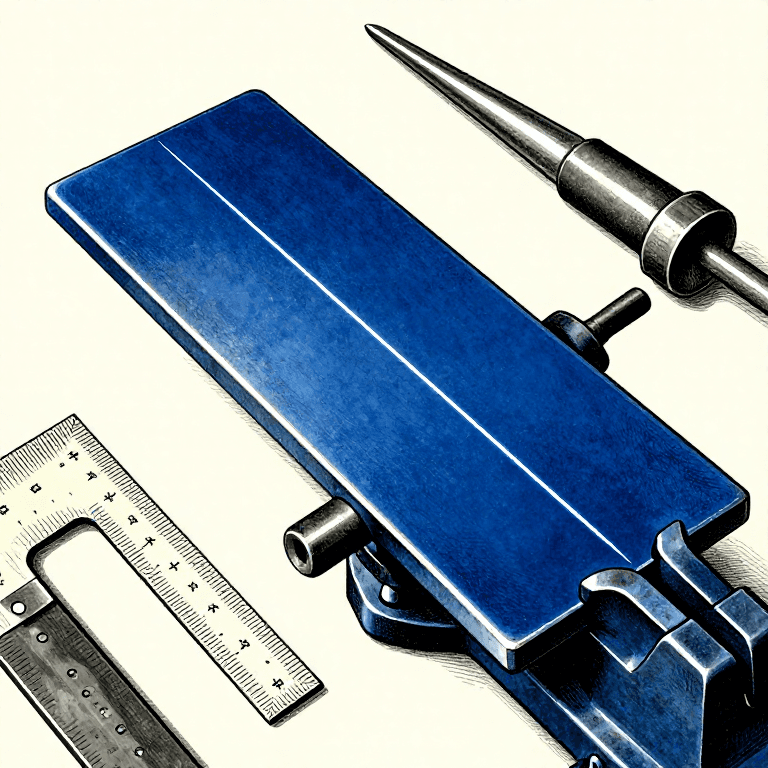
 Placa de acero dulce1 pieza
Herramientas necesarias:
Tornillo de banco pesadoArco de sierra para metales con hojasGafas de seguridad transparentesMateriales
3- 1 piezaMarcador de posición
- 1 piezaMarcador de posición
- 1 piezaMarcador de posición
Herramientas requeridas
7- Marcador de posición
- Marcador de posición
- Marcador de posición
- Marcador de posición
- Marcador de posición
- Marcador de posición
- Marcador de posición
Blueprints relacionados
Estos blueprints comparten conocimiento — técnicas, materiales o principios

CC0 Dominio público
Este Blueprint se publica bajo CC0. Eres libre de copiar, modificar, distribuir y usar este trabajo para cualquier propósito, sin pedir permiso.
Apoya al Maker comprando productos a través de su Blueprint, donde gana una Comisión del Maker establecida por los vendedores, o crea una nueva iteración de este Blueprint e inclúyela como conexión en tu propio Blueprint para compartir ingresos.