SENI
KECANTIKAN & KESEJAHTERAAN
KRAFTANGAN
BUDAYA & SEJARAH
HIBURAN
ALAM SEKITAR
MAKANAN & MINUMAN
KEJURUTERAAN TERBALIK
SAINS
SUKAN
TEKNOLOGI
BOLEH PAKAI
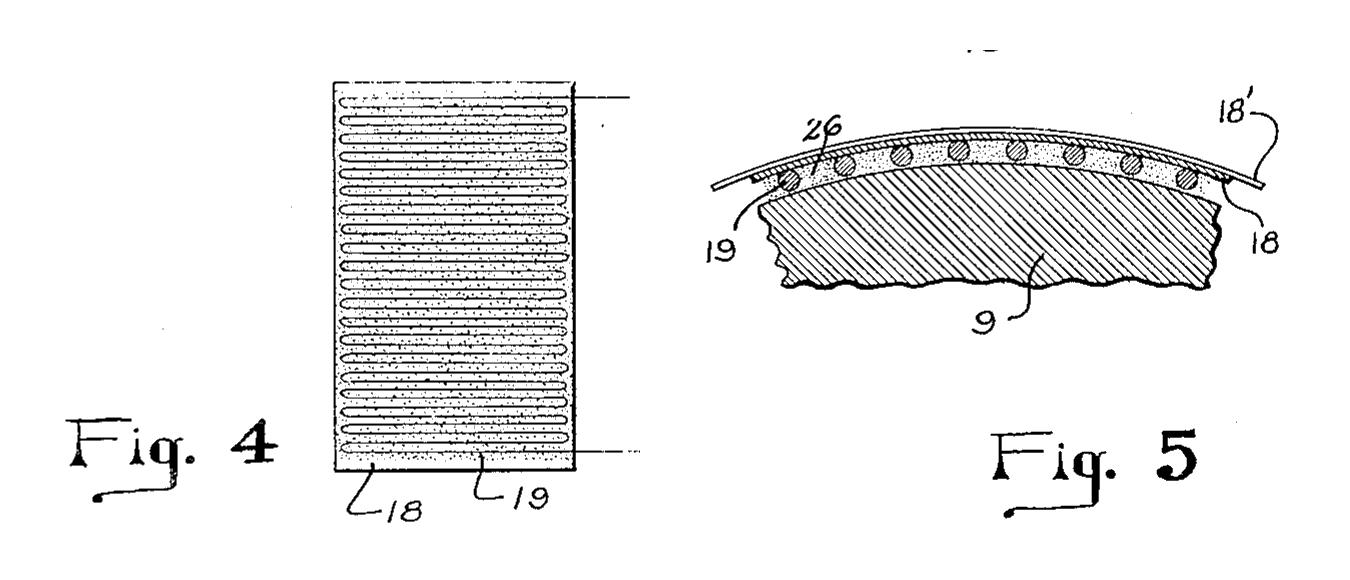


Bonded Wire Strain Gauge on Paper: Simmons, 1942
Edward E. Simmons, Jr. of Pasadena patented the bonded wire strain gauge in 1942, US 2,292,549 (filed 1940). A very fine resistance wire is cemented to a member along its entire length, so it stretches and shortens exactly with the surface and its electrical resistance follows the strain. His preferred form: Constantan or Advance wire, about 0.003 inch, wound back and forth on a thin paper, set in Glyptal, then cemented to the member and calibrated.
Lanjutan
Workshop process
Arahan
1
1
Wind the filament on thin paper
Wind the filament on thin paper
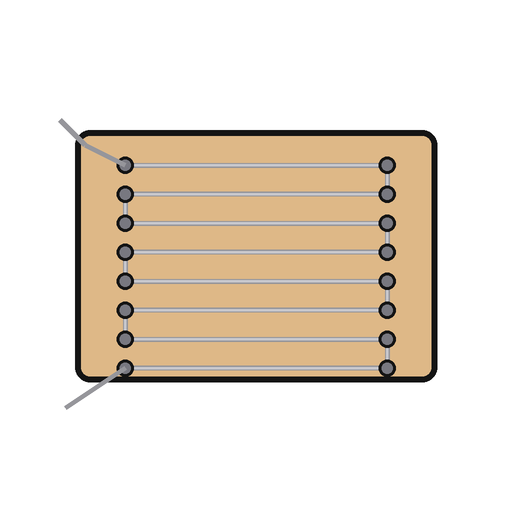
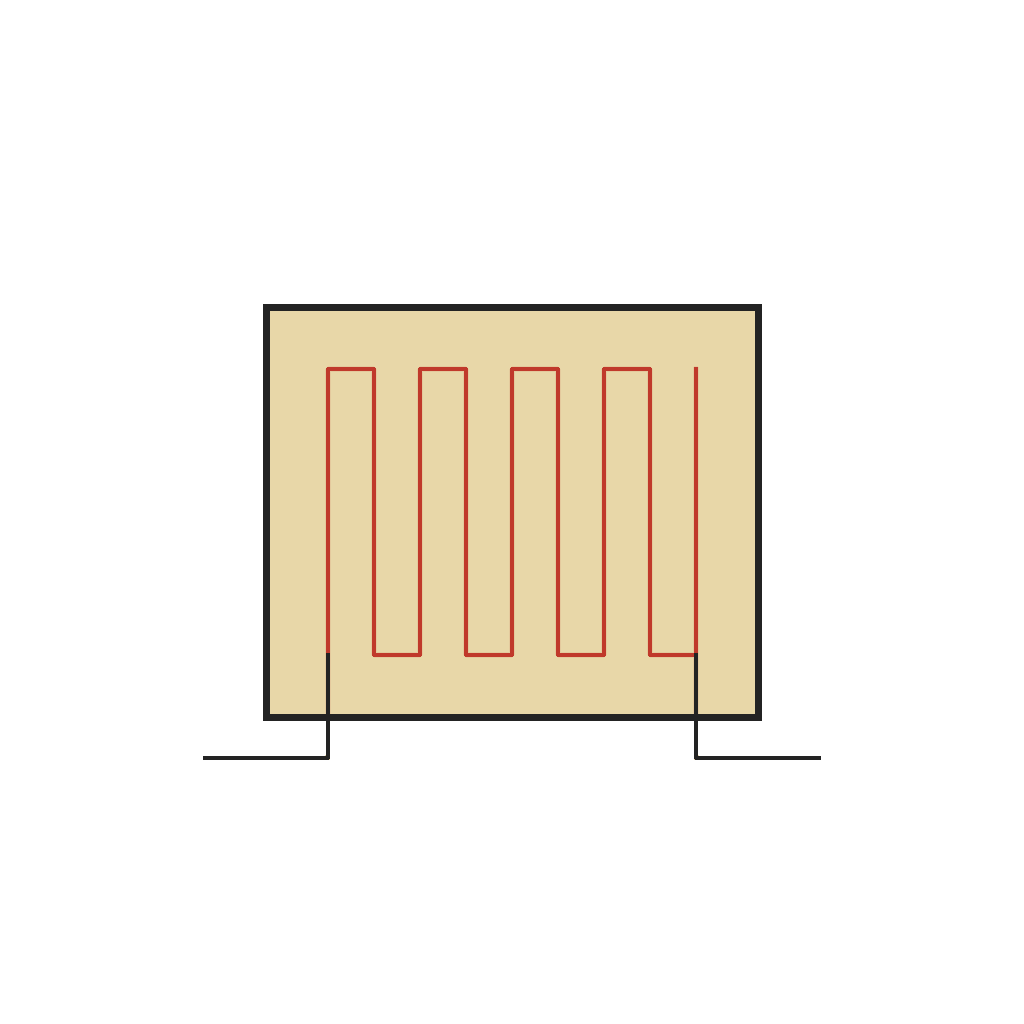
Use a fine resistance wire such as Constantan or Advance (a copper-nickel alloy, about 45 % nickel and 55 % copper); Simmons used No. 40 gauge, about 0.0031 inch. Wind it back and forth across a thin paper in parallel lengths whose alternate ends are joined, the strands very close together but not touching. A winding jig keeps the filament slightly taut.
Bahan untuk langkah ini:
 Wayar konstantan1 as required
 Kertas1 helaian
Alatan diperlukan:
 Jig penggulung
 Gunting
2
2
Set it in Glyptal
Set it in Glyptal
Cover the wound filament with Glyptal and let it dry and harden thoroughly. Filament and paper now form one gauge unit, the filament lying in the plane of the paper surface.
Bahan untuk langkah ini:
 Resin alkid Glyptal1 as required
Alatan diperlukan:
 Berus halus
 Ketuhar pengeringan
3
3
Cement it to the member
Cement it to the member
Put Glyptal on the surface of the member and wrap the gauge unit on with the strands running in the direction of the strain to be measured, the paper outside. The small amount of Glyptal on the surface insulates the filament from the member. Hold filament and paper in place by wrapping them with thread, then dry and harden the Glyptal thoroughly.
Bahan untuk langkah ini:
Resin alkid Glyptal1 as required Benang Kapas1 as required
Alatan diperlukan:
Berus halusKetuhar pengeringanGunting4
4
Calibrate it
Calibrate it
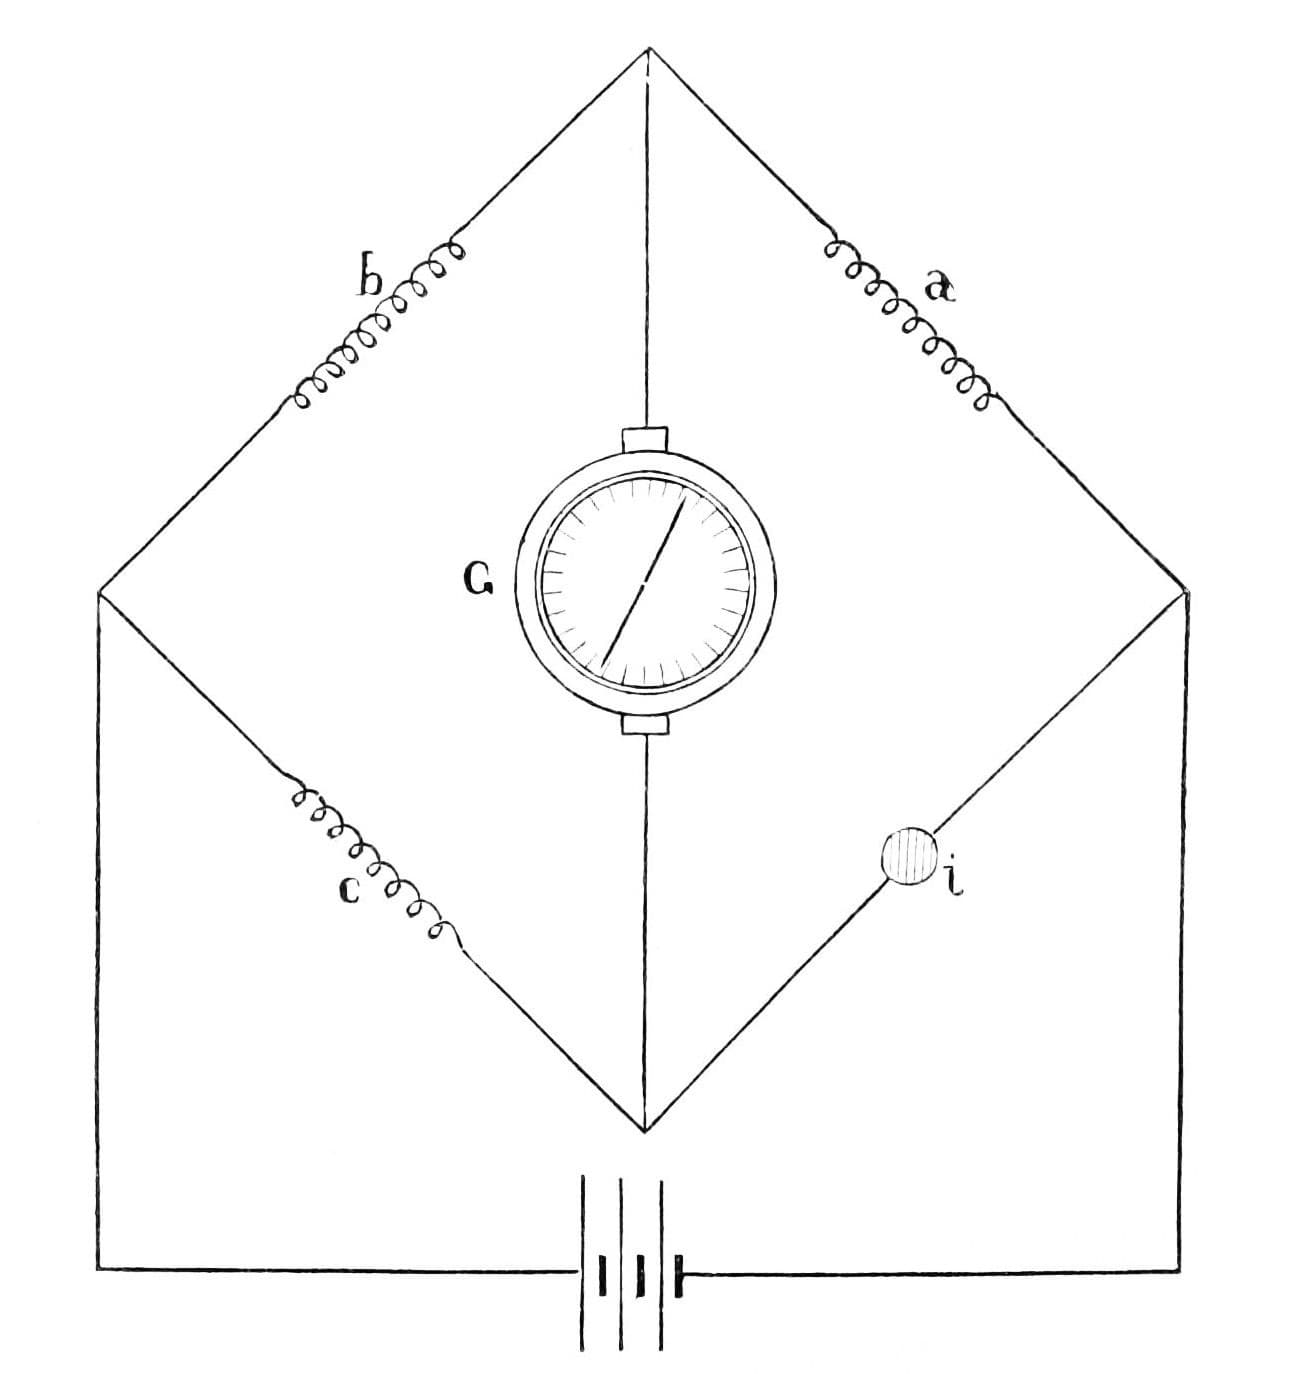
Load the member progressively in a materials testing machine and note the change in the filament's resistance at each load, measured on a Wheatstone bridge in which the filament is one arm. For very fast loads, as in impact tests, an oscillograph takes the place of the galvanometer.
Alatan diperlukan:
 Mesin ujian bahan
 Titi Wheatstone
 Galvanometer analog
5
5
Bonding area and signal size
Bonding area and signal size
Memuatkan buku nota Jupyter…
Bahan
4- 1 as requiredPemegang Tempat
- 1 helaianPemegang Tempat
- 1 as requiredPemegang Tempat
- 1 as requiredPemegang Tempat
Alatan Diperlukan
7- Pemegang Tempat
- Pemegang Tempat
- Pemegang Tempat
- Pemegang Tempat
- Pemegang Tempat
- Pemegang Tempat
- Pemegang Tempat
Blueprint ini membuat
Blueprint berkaitan
Blueprint ini berkongsi pengetahuan — teknik, bahan atau prinsip

CC0 Domain Awam
Blueprint ini dikeluarkan di bawah CC0. Anda bebas menyalin, mengubah, mengedar, dan menggunakan karya ini untuk sebarang tujuan, tanpa meminta kebenaran.
Sokong Pembuat dengan membeli produk melalui Blueprint mereka di mana mereka memperoleh Komisen Pembuat ditetapkan oleh Penjual, atau cipta iterasi baru Blueprint ini dan sertakan ia sebagai sambungan dalam Blueprint anda sendiri untuk berkongsi hasil.