SENI
KECANTIKAN & KESEJAHTERAAN
KRAFTANGAN
BUDAYA & SEJARAH
HIBURAN
ALAM SEKITAR
MAKANAN & MINUMAN
KEJURUTERAAN TERBALIK
SAINS
SUKAN
TEKNOLOGI
BOLEH PAKAI
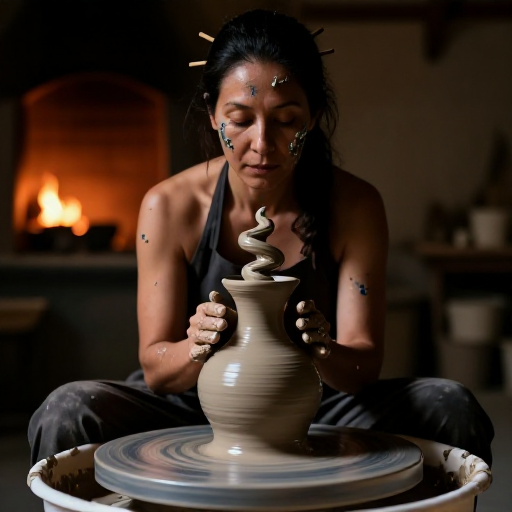

Centring: The One Skill Everything Else on the Wheel Depends On
Clay that is not centred wobbles, and a wobbling wall cannot be pulled evenly — it will be thin on one side and thick on the other before it is halfway up. Nothing later in the process corrects that.
Centring is also the step that is learned by feel rather than by instruction, which makes it the one people give up on. What can be taught is the SETUP: the things that make centring possible, most of which have nothing to do with the hands.
A braced body, a fixed wrist, a wheel turning fast enough, and steady pressure held for long enough. Beginners almost always fail on the last two — they push hard briefly, in changing directions, on a wheel that is turning too slowly.
Pertengahan
4 hours
Arahan
1
1
Brace everything against something that cannot move
Brace everything against something that cannot move
Elbows locked into your hips or onto your thighs, forearms resting on the wheel tray, wrists rigid. The force to centre clay comes from your body leaning, not from your arms pushing.
That is why bracing matters more than strength. Muscles tire and tremble within seconds; a skeleton braced against the wheel holds the same position for as long as you like, and STEADINESS is what centring needs.
Sit close and slightly above the wheel head so you can lean in over the clay. Reaching out to a wheel that is too far away or too high makes bracing impossible and is the commonest reason a beginner cannot centre.
Bahan untuk langkah ini:
 Tanah Liat2 kg
Alatan diperlukan:
 Roda tukang tembikar
 Roda tukang periuk kayuhan kaki
 Span
Span2
2
Fast wheel, wet clay, and pressure that does not waver
Fast wheel, wet clay, and pressure that does not waver
Centre at a FAST wheel speed — faster than feels comfortable. Each revolution takes a little off the high side, so a fast wheel gives more corrections per second, and the lump converges quickly rather than wandering.
Keep the clay lubricated but not sodden. Dry clay grabs and tears the skin of the lump; too much water makes it slippery and weakens the clay so it collapses later.
Then apply pressure and HOLD IT. The lump must stop moving under your hands entirely before you ease off. Pushing, checking, pushing again in a slightly different place is what keeps a lump off centre for ten minutes — it never gets the same treatment twice in a row.
Bahan untuk langkah ini:
Tanah Liat2 kg Air1 liter
Alatan diperlukan:
Roda tukang tembikarSpan3
3
Coning up and down, and knowing when it is centred
Coning up and down, and knowing when it is centred
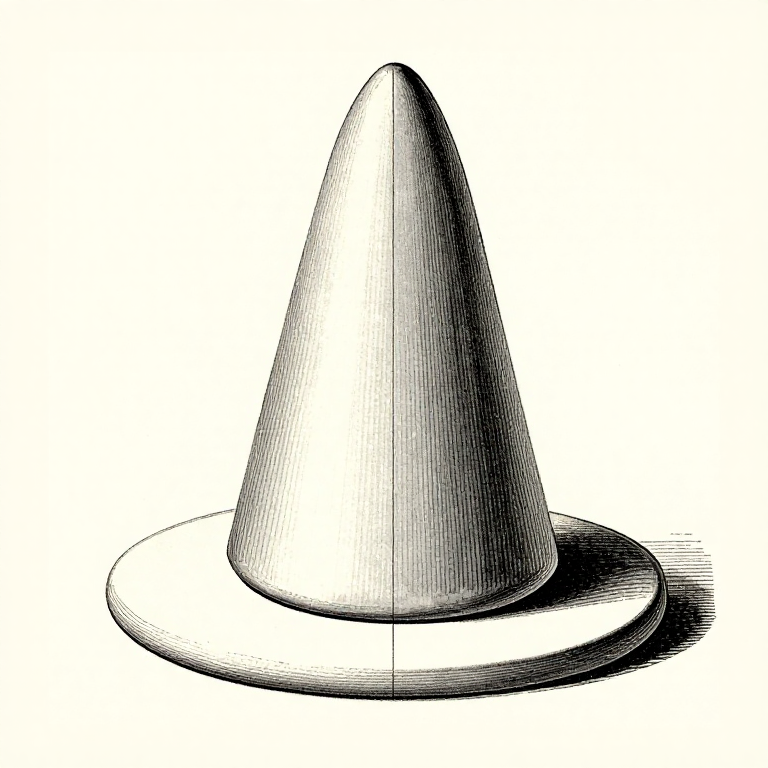
Squeeze the lump inwards and upwards into a tall cone, then press it back down into a dome, and repeat two or three times. Coning finishes the wedging — it aligns the particles spirally — and it brings any remaining hard or soft patches into the middle where they can be evened out.
The test is not visual. Rest a knuckle or the side of a hand lightly against the spinning lump and CLOSE YOUR EYES. If you feel no bump at all, it is centred; if there is a rhythmic tap once per revolution, it is not.
Eyes lie here, because a lump can look symmetrical and still be off. Touch does not, which is why experienced potters always seem to be feeling rather than looking.
Bahan untuk langkah ini:
Tanah Liat2 kgAlatan diperlukan:
Roda tukang tembikar Rib kayu tukang periukSpan
4
4
Practise with the same lump, all session
Practise with the same lump, all session
Centre a lump, cone it up and down, and centre it again. Do that for twenty minutes without trying to make anything. Nothing is wasted, the clay is unaffected, and it is the fastest way to learn the feel.
Use the SAME weight of clay every time while learning. A 1 kg lump and a 3 kg lump need different amounts of force, and changing both the technique and the quantity at once means you cannot tell which is responsible for a bad day — which is the one-thing-at-a-time rung on a wheel.
Write down what worked: the seat height, the speed, where your elbows were. The setup that suits your body is worth more than any general advice, and it is easily forgotten between sessions.
Bahan untuk langkah ini:
Tanah Liat2 kgAlatan diperlukan:
Roda tukang tembikar Penimbang Jitu
Blueprint berkaitan
Blueprint ini berkongsi pengetahuan — teknik, bahan atau prinsip
CC0 Domain Awam
Blueprint ini dikeluarkan di bawah CC0. Anda bebas menyalin, mengubah, mengedar, dan menggunakan karya ini untuk sebarang tujuan, tanpa meminta kebenaran.
Sokong Pembuat dengan membeli produk melalui Blueprint mereka di mana mereka memperoleh Komisen Pembuat ditetapkan oleh Penjual, atau cipta iterasi baru Blueprint ini dan sertakan ia sebagai sambungan dalam Blueprint anda sendiri untuk berkongsi hasil.