Kerjasama
SENI
KECANTIKAN & KESEJAHTERAAN
KRAFTANGAN
BUDAYA & SEJARAH
HIBURAN
ALAM SEKITAR
MAKANAN & MINUMAN
KEJURUTERAAN TERBALIK
SAINS
SUKAN
TEKNOLOGI
BOLEH PAKAI
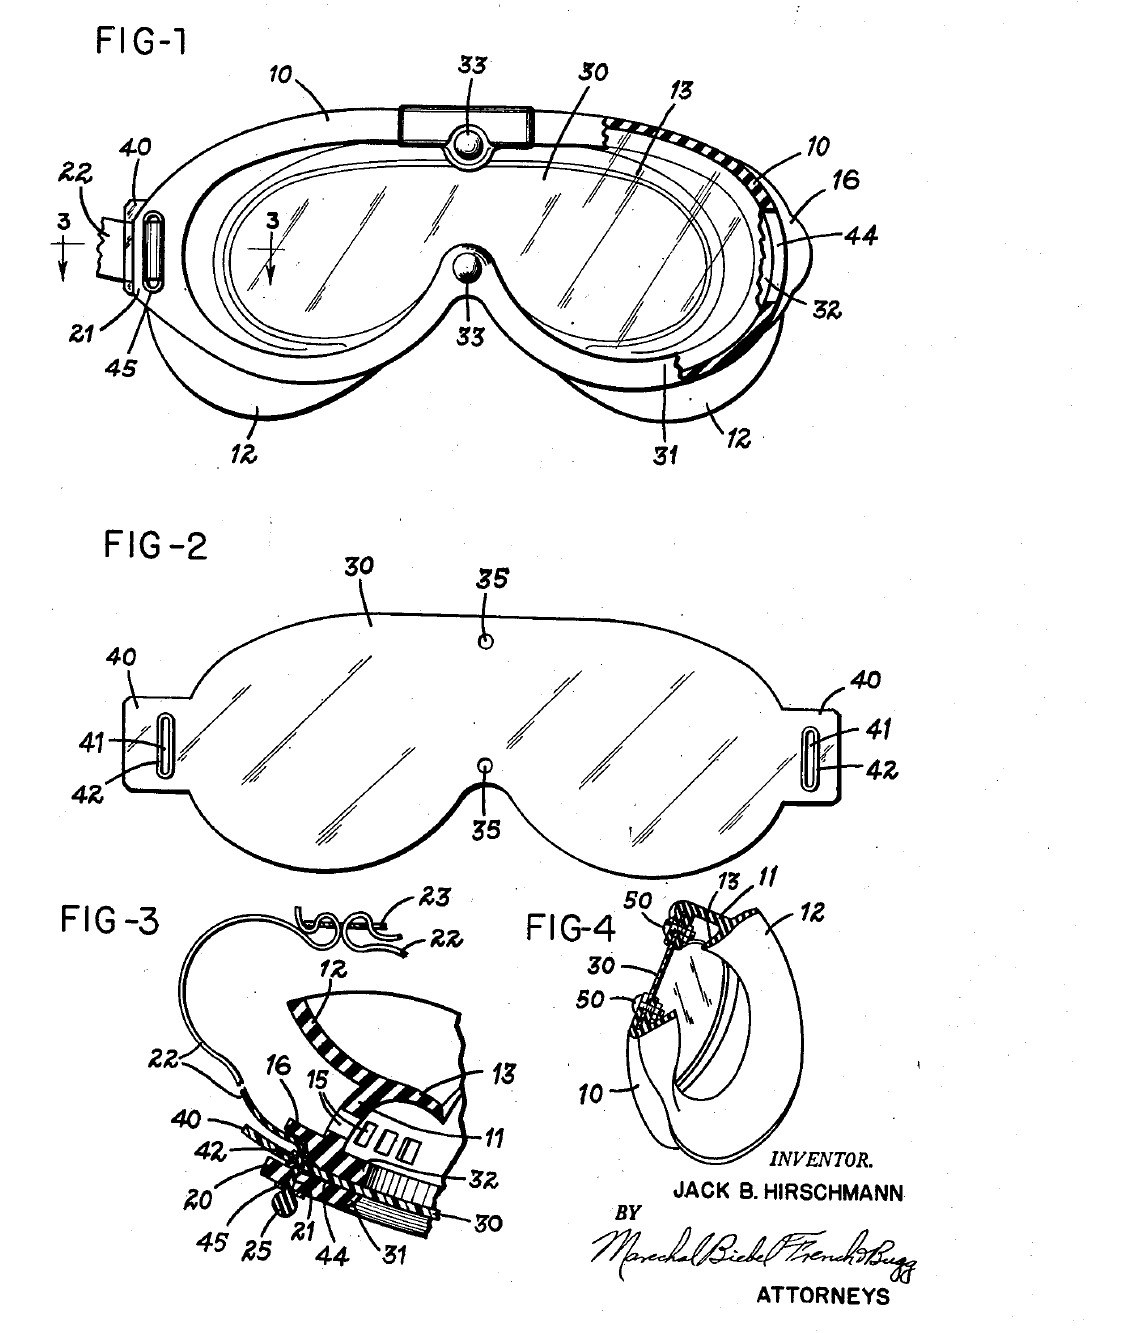


Chemical Splash Goggles: One Sealed Lens in a Moulded Rubber Frame (Hirschmann, 1954)
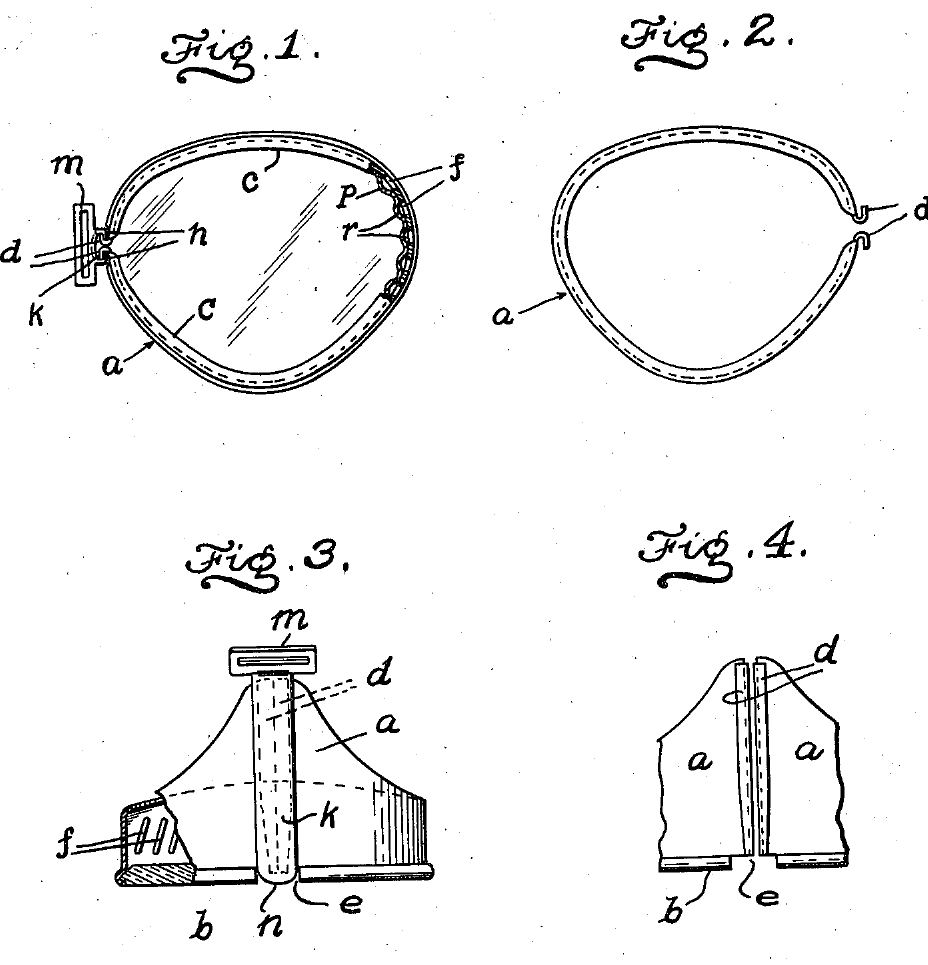
Goggles for work with corrosive liquids. One clear plastic lens covers both eyes and sits sealed all round in a soft moulded rubber frame that seals against the face. The version for gas and corrosive liquids has no vent holes at all, and the strap passes through tabs outside the lens, so nothing can leak through or around the part you look through.
Result: chemical splash goggles with a lens you can pull out and replace, and a strap pull shared evenly between lens and frame, so neither warps.
Source: J. B. Hirschmann, US Patent 2,680,846 (1954), Fig. 4 version. Unknown: sizes, the rubber compound, the strap material and how the frame is moulded. Ours: the mould; the patent tested a cellulose acetate lens. Picture: patent drawing.
Pertengahan
2 days
Arahan
1
1
Mould the rubber frame
Mould the rubber frame
Mould the frame in one piece from rubber. The front rim has one opening shaped for both eyes, narrower above the nose. Behind it, a wall forms the eye chamber and ends in a double flange that seals against the face. Inside the rim, form a channel between an outer and an inner flange to hold the lens edge. At each end, mould a lug with a strap slot and a slit through the channel for the lens tab. For corrosive liquids, leave out all vent holes. Ours: a compression mould.
Bahan untuk langkah ini:
 Sebatian getah1 frame
Alatan diperlukan:
 Acuan mampatan
 Dimensi tidak diketahui
2
2
Cut the lens
Cut the lens
Cut one lens from flexible clear plastic, shaped to match the rim. The patent tested cellulose acetate. Leave a tab at each end, outside the area you look through. Cut a closed slot in each tab and line it with a grommet. Make two holes at the centre for the bolts. Leave no other holes in the viewing area.
Bahan untuk langkah ini:
 Kepingan plastik jernih1 lens
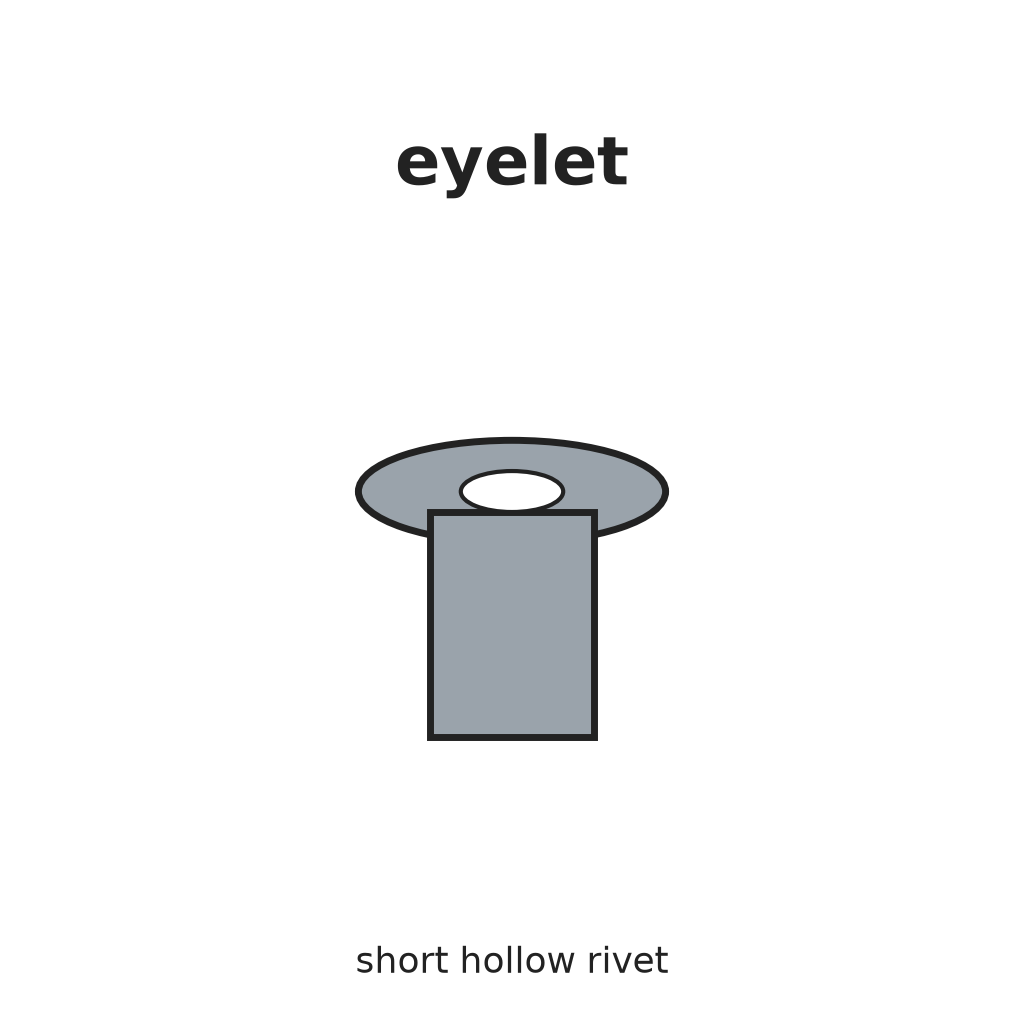 Eyelet2 tab grommets
Alatan diperlukan:
 Gunting kepingan logam
 Penebuk Pusat
3
3
Seal the lens in the frame
Seal the lens in the frame
Spring the lens edge into the channel all the way round, pushing each tab out through its slit so it lies under the lug, slot over slot. Fasten the centre with two stainless-steel bolts and nuts. (The vented version uses snap fasteners here.)
Bahan untuk langkah ini:
 Skru mesin2 stainless steel
 Nat Heksagon2 stainless steel
Alatan diperlukan:
 Set pemutar skru
4
4
Fit the head strap
Fit the head strap
Use a strap in two halves, joined at the back by a buckle, each half with a thickened end. Slide a slotted plate of metal or plastic onto each half, then thread it from the front through the lug slot and the lens-tab slot. The thick end stops against the plate and lug. The pull of the strap now goes into both lens and frame, holds the lens in, and stays outside the field of view.
Bahan untuk langkah ini:
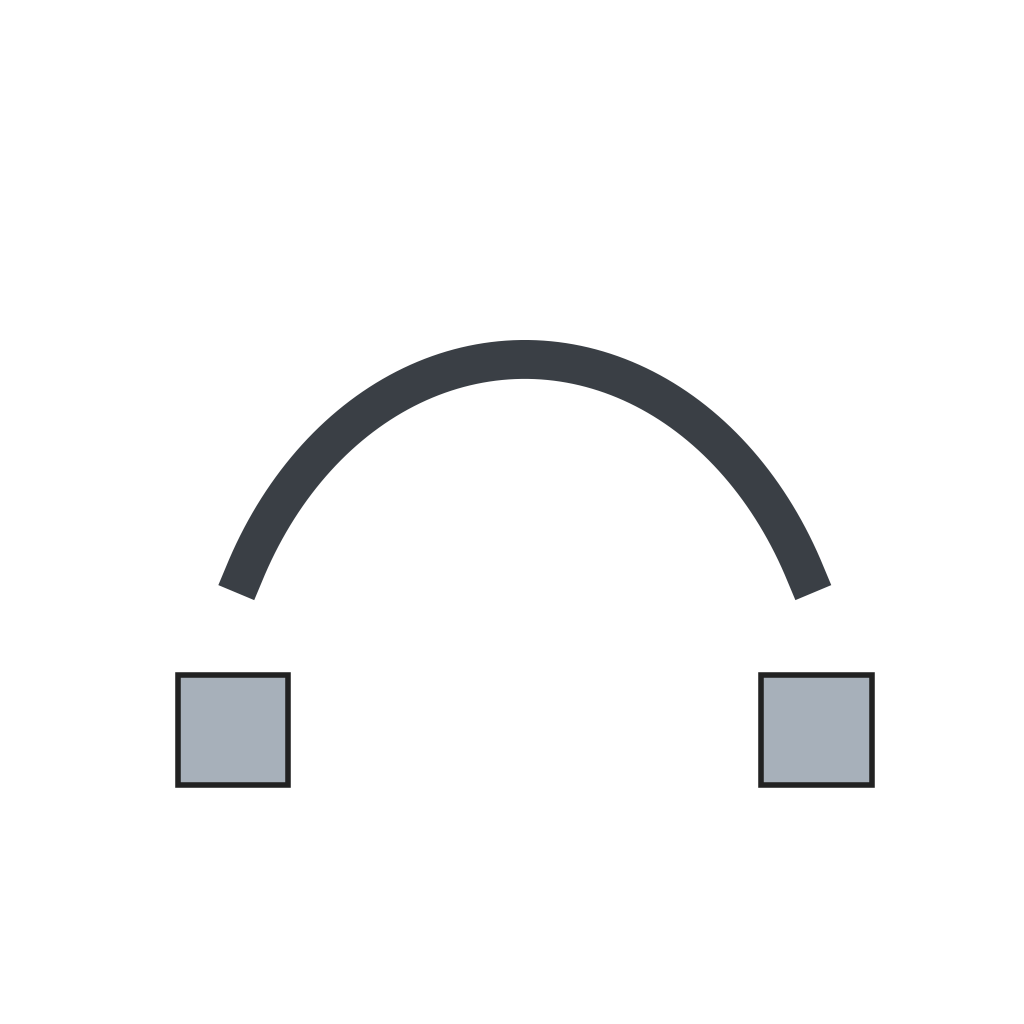 Tali kepala gogal1 two halves
 Kepala tali pinggang loyang berjarum1 keping
 Bahan tidak diketahui1 two slotted plates
Alatan diperlukan:
Dimensi tidak diketahuiBahan
8- 1 framePemegang Tempat
- 1 lensPemegang Tempat
- 2 tab grommetsPemegang Tempat
- 2 stainless steelPemegang Tempat
- 2 stainless steelPemegang Tempat
- 1 two halvesPemegang Tempat
- Pemegang Tempat
- 1 two slotted platesPemegang Tempat
Alatan Diperlukan
5- Pemegang Tempat
- Pemegang Tempat
- Pemegang Tempat
- Pemegang Tempat
- Pemegang Tempat
Bahan Blueprint Bersambung
Blueprint ini membuat

Blueprint berkaitan
Blueprint ini berkongsi pengetahuan — teknik, bahan atau prinsip

CC0 Domain Awam
Blueprint ini dikeluarkan di bawah CC0. Anda bebas menyalin, mengubah, mengedar, dan menggunakan karya ini untuk sebarang tujuan, tanpa meminta kebenaran.
Sokong Pembuat dengan membeli produk melalui Blueprint mereka di mana mereka memperoleh Komisen Pembuat ditetapkan oleh Penjual, atau cipta iterasi baru Blueprint ini dan sertakan ia sebagai sambungan dalam Blueprint anda sendiri untuk berkongsi hasil.