Building a Coil Pot by Hand — Ancient Pottery Without a Wheel
Arahan
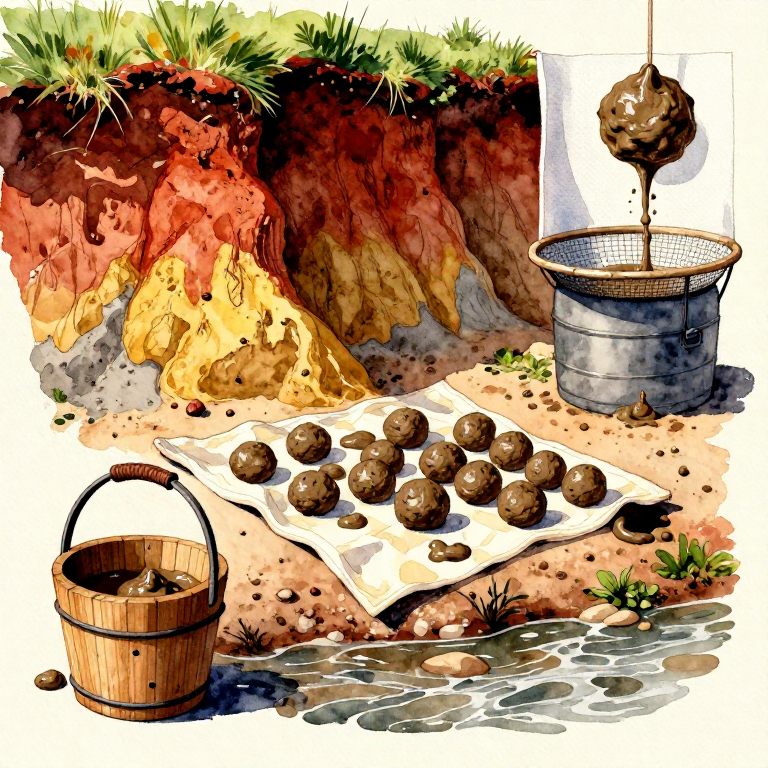
Harvest or Prepare the Clay
Harvest or Prepare the Clay
Collect natural clay from a riverbank or use prepared potter's clay body. If using wild clay, remove stones, roots, and debris by hand. The clay should feel smooth and plastic when squeezed — no grit larger than a grain of sand.
Bahan untuk langkah ini:
 Potter's Clay Body2 kg
Wedge the Clay to Remove Air Bubbles
Wedge the Clay to Remove Air Bubbles
Place the clay on a canvas work surface. Push the clay forward with the heel of your palm, fold it back over itself, rotate a quarter turn, and repeat. Continue for 3 to 5 minutes until the clay has a uniform consistency with no visible air pockets. Air bubbles trapped inside will expand during firing and crack the pot.
Alatan diperlukan:
 Canvas Work Surface for Pottery
Form the Base Disc
Form the Base Disc
Pinch off a ball of clay roughly the size of a fist. Flatten it between your palms into a disc approximately 10 centimetres in diameter and 1 centimetre thick. Place it on the canvas surface. This disc forms the bottom of the pot and must be even in thickness to prevent cracking.
Roll the First Coils
Roll the First Coils
Take a lump of clay and roll it on the work surface using both palms, applying even pressure from the centre outward. Roll until the coil is approximately 1.5 centimetres in diameter and 30 centimetres long. Roll 4 to 6 coils to start. Keep unused coils covered with a damp cloth to prevent drying.
Score the Base Edge
Score the Base Edge
Using a scoring tool or a pointed stick, scratch a crosshatch pattern around the top edge of the base disc. This roughened surface helps the first coil bond securely. Apply a thin layer of slip (liquid clay) over the scored area with your finger.
Bahan untuk langkah ini:
 Pottery Slip (Liquid Clay)50 ml
Alatan diperlukan:
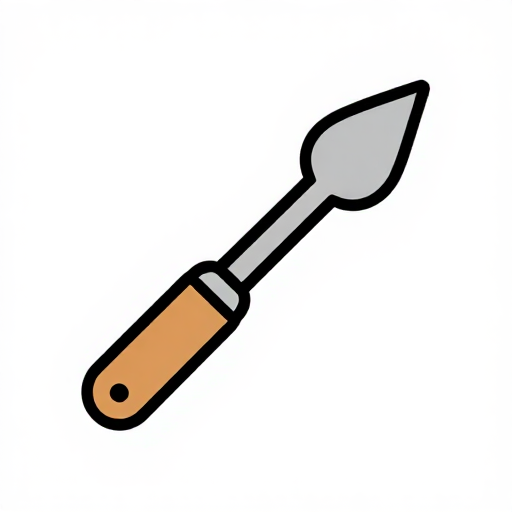 Clay Scoring Tool
Lay the First Coil Ring
Lay the First Coil Ring
Place the first coil along the scored edge of the base, pressing it gently into the slip. When the coil meets itself, cut both ends at an angle with a knife and press them together. Blend the inner seam downward into the base using your thumb, working all the way around.
Alatan diperlukan:
 Knife
KnifeScore and Slip the Top of Each Coil
Score and Slip the Top of Each Coil
Before placing each new coil, score the top of the previous coil and apply a thin smear of slip. This step is critical — skipping it produces weak joints that separate during drying or firing.
Bahan untuk langkah ini:
Pottery Slip (Liquid Clay)50 mlAlatan diperlukan:
Clay Scoring ToolStack Coils to Build the Walls
Stack Coils to Build the Walls
Place each new coil directly above the previous one, keeping the diameter consistent for straight walls. Press each coil down firmly and blend the inner seam with your thumb. Continue stacking until the walls reach approximately 15 centimetres high — roughly 8 to 10 coils.
Shape the Belly of the Pot
Shape the Belly of the Pot
To widen the pot and create a rounded belly, place each coil slightly outward from the one below. Support the outside wall with one hand while blending the inside seam with the other. Increase the offset gradually — no more than half the coil width per layer.
Narrow the Neck
Narrow the Neck
To bring the walls back inward for a narrower opening, place each coil slightly inside the one below. Support the inside wall with your fingers while pressing the outer seam smooth. Three to four inward coils typically produce a pleasing neck.
Smooth the Outer Surface
Smooth the Outer Surface
Dip a pottery sponge in water and gently smooth the entire outer wall, blending the coil lines into a continuous surface. Work from the base upward. The sponge removes fingerprints and small irregularities. A smooth surface fires more evenly and resists cracking.
Alatan diperlukan:
 Pottery Sponge Set
Smooth the Inner Surface
Smooth the Inner Surface
Reach inside the pot with a damp sponge or a smooth wooden rib and blend the inner coil seams. For narrow-necked pots where your hand cannot reach, use a long wooden stick wrapped in damp cloth.
Alatan diperlukan:
Pottery Sponge SetForm and Attach the Rim
Form and Attach the Rim
Roll one final thin coil and place it on top of the last wall coil. Blend it inward and outward to create a slightly thickened, rounded rim. A reinforced rim prevents chipping during use and gives the pot a finished appearance.
Add Decorative Texture (Optional)
Add Decorative Texture (Optional)
While the clay is still soft, press patterns into the surface using a stick, twisted cord, carved stamp, or your fingernail. Prehistoric potters used cord-wrapped paddles, shell edges, and carved bone tools. Press firmly enough to leave a clear impression without distorting the wall.
Alatan diperlukan:
 Clay Tool Set
Dry the Pot Slowly to Leather-Hard
Dry the Pot Slowly to Leather-Hard
Place the pot in a shaded area with good air circulation. Cover it loosely with a damp cloth for the first 24 hours to slow the drying. After that, remove the cloth and let it dry for 2 to 3 more days. The pot is leather-hard when it feels cool to the touch, holds its shape firmly, and has lightened in colour.
Trim the Base Flat
Trim the Base Flat
Turn the leather-hard pot upside down. Use a knife or wire tool to trim any unevenness from the base. The bottom must sit flat without wobbling. Bevel the base edge slightly to reduce stress during firing.
Alatan diperlukan:
 Wire Clay Cutter
Dry Completely to Bone-Dry
Dry Completely to Bone-Dry
Continue drying in a warm, dry place for 1 to 2 more days until the pot is completely bone-dry. It should feel room temperature (not cool) and be uniformly pale. Any remaining moisture will turn to steam during firing and shatter the pot.
Dig the Firing Pit
Dig the Firing Pit
Dig a shallow pit approximately 60 centimetres deep and 80 centimetres across. Line the bottom with a 5-centimetre layer of dry sand or ash to insulate the pot from direct ground contact. Choose a windless day for firing.
Bahan untuk langkah ini:
 Coarse Sand (Construction/Pottery)5 kg
Alatan diperlukan:
 Shovel
Preheat the Pot
Preheat the Pot
Place the pot upside down on a metal grate or flat stones above a small fire. Keep the flames low and let the pot warm gradually over 30 minutes. Thermal shock from rapid heating is the most common cause of cracking. The pot should be too hot to touch before it goes into the pit.
Bahan untuk langkah ini:
 Firewood10 kg
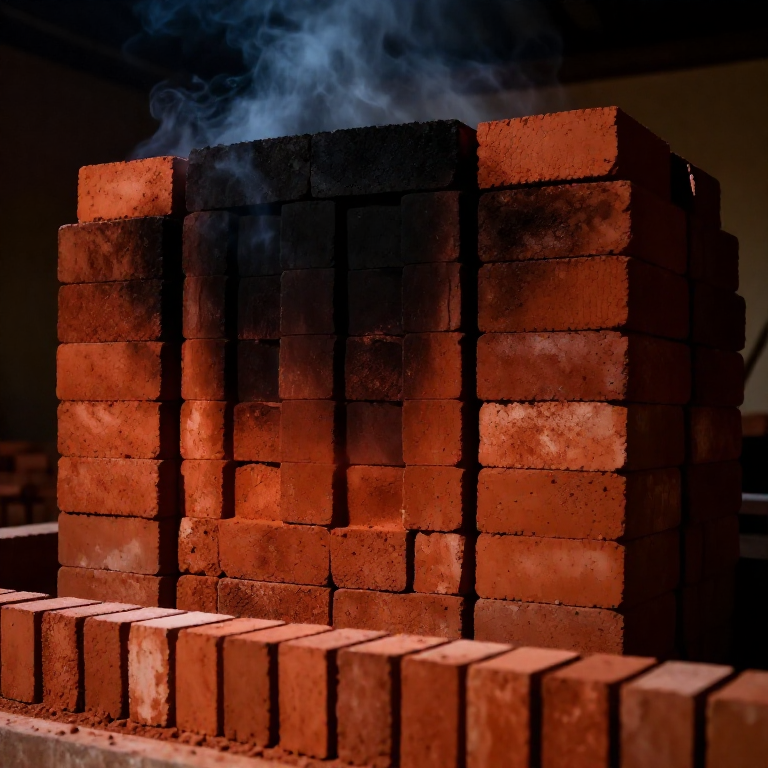
Fire the Pot in the Pit
Fire the Pot in the Pit
Place the preheated pot upside down in the centre of the pit on a bed of hot coals. Stack dry hardwood around and over the pot, building up to a full bonfire. Maintain a strong fire for 1 to 2 hours, keeping the temperature above 700°C. The pot will glow a dull red when it reaches firing temperature.
Bahan untuk langkah ini:
Firewood20 kgCool and Retrieve the Pot
Cool and Retrieve the Pot
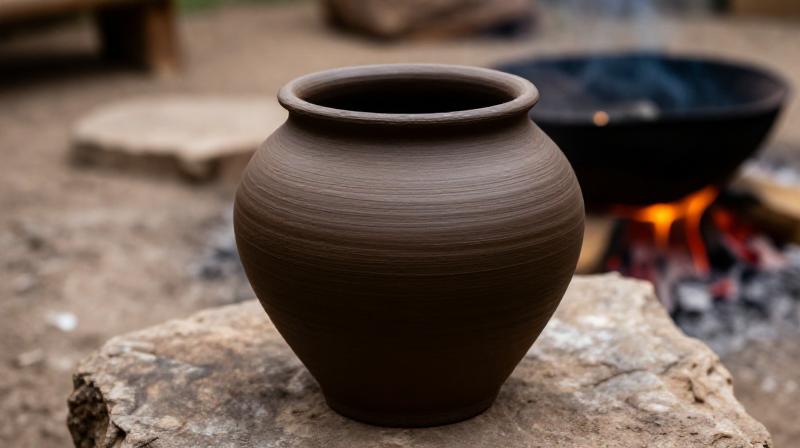
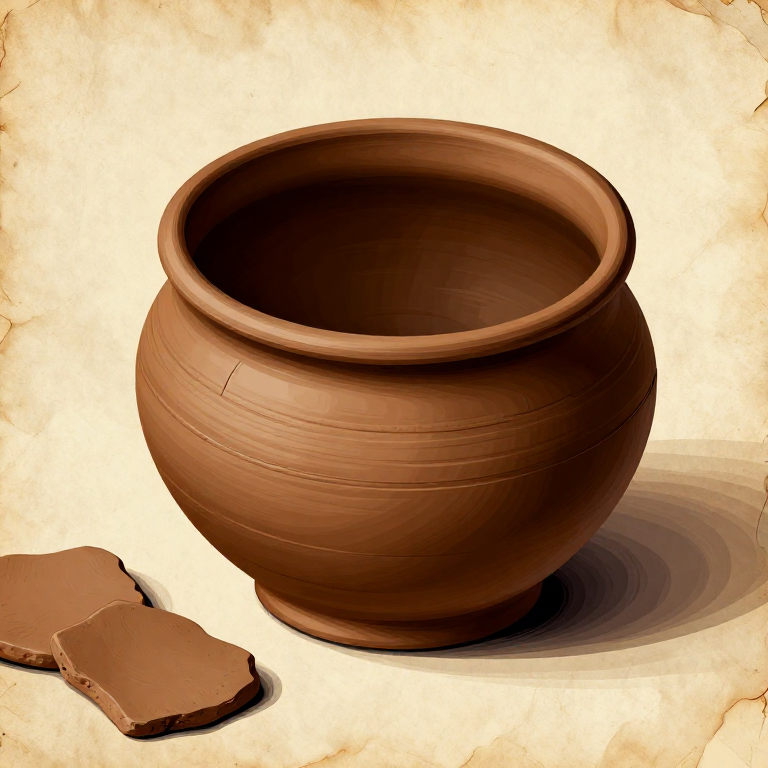
Let the fire burn down completely and the coals cool overnight. Never remove a hot pot from the pit — thermal shock will crack it. The next morning, brush away the ash and lift the pot out. It should ring when tapped with a knuckle, indicating a successful firing. The surface will show natural fire marks in shades of orange, black, and grey.
Bahan
4- Pemegang Tempat
- Pemegang Tempat
- Pemegang Tempat
Related blueprints
Other builds that share materials, tools, or techniques with this one.
CC0 Domain Awam
Blueprint ini dikeluarkan di bawah CC0. Anda bebas menyalin, mengubah, mengedar, dan menggunakan karya ini untuk sebarang tujuan, tanpa meminta kebenaran.
Sokong Pembuat dengan membeli produk melalui Blueprint mereka di mana mereka memperoleh Komisen Pembuat ditetapkan oleh Penjual, atau cipta iterasi baru Blueprint ini dan sertakan ia sebagai sambungan dalam Blueprint anda sendiri untuk berkongsi hasil.