
Kerjasama
SENI
KECANTIKAN & KESEJAHTERAAN
KRAFTANGAN
BUDAYA & SEJARAH
HIBURAN
ALAM SEKITAR
MAKANAN & MINUMAN
KEJURUTERAAN TERBALIK
SAINS
SUKAN
TEKNOLOGI
BOLEH PAKAI
Craft Knife: Doniger's Hinged Handle and Reversible Blade
Forge

Dicipta oleh

Forge

26. Oktober 2026NO
19
0
0
0
0

Craft Knife: Doniger's Hinged Handle and Reversible Blade

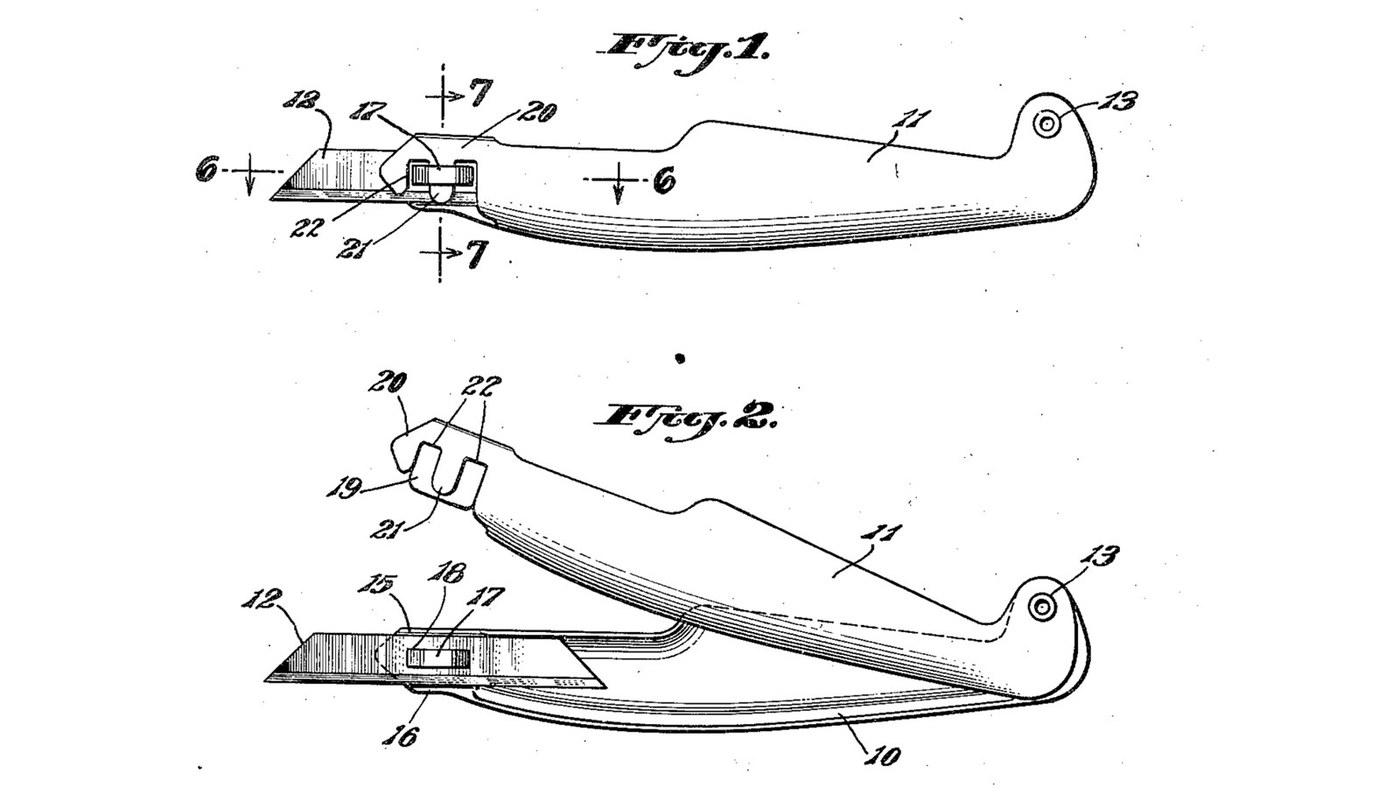
A knife for model carving and fine cutting, by Sundel Doniger of New York, founder of X-Acto (US 2,463,682, filed 1945, granted 1949). The handle is two shell-like metal halves pivoted at the rear. A thin blade with a slot in its middle drops over a small 'staple' pressed out of one half; closing the other half pushes a tongue into the staple and locks the blade solid. Swing it open to change the blade or turn it end for end: the spare end rests inside the handle. The patent gives no sizes or metals. Mild steel sheet, the rivet, the spring steel blade and the sizes are ours. The picture: Figs. 1 and 2 of the patent.
Pertengahan
1 day

Arahan

1

Mark out the two handle halves

Scribe two mirror-image halves, about 130 mm long, on mild steel sheet about 0.8 mm thick (ours). Give each a flat rear ear for the pivot and a nose at the blade end.

Bahan untuk langkah ini:

Kepingan Keluli LembutKepingan Keluli Lembut1 keping

Alatan diperlukan:

PenyuratPenyurat
PembarisPembaris
2

Cut and file the halves

Cut both halves out with tin snips and file the edges smooth.

Alatan diperlukan:

Gunting kepingan logamGunting kepingan logam

Kikir LogamKikir Logam
Ragum BangkuRagum Bangku
3

Dome the grip, keep the ends flat

Hammer the middle of each half into a shallow bulge over a hollow in a hardwood block. Leave the pivot ends flat, so the pivot cannot wobble, and leave the noses flat.

Alatan diperlukan:

Tukul kepala bulatTukul kepala bulat
Blok Kayu KerasBlok Kayu Keras
4

Form the blade wall and its shoulders

On the mounting half (10), the nose is a flat wall (14) in the plane where the halves meet. Turn its top and bottom edges inward into shoulders (15, 16) just as far apart as the blade is wide.

Alatan diperlukan:

Playar Muncung RataPlayar Muncung Rata
Tukul kepala bulatTukul kepala bulat
Ragum BangkuRagum Bangku
5

Press out the staple

Slit the middle of the wall along two short parallel lines, lengthwise. Press the strip between the slits outward to form the staple (17).

Alatan diperlukan:

Pahat besi sejukPahat besi sejuk
Penebuk PusatPenebuk Pusat
Tukul kepala bulatTukul kepala bulat
AndasAndas
6

Bend the locking channel

Bend the nose of the locking half (11) into a springy channel: a broad rear flange (19) about the size of the wall, and a front flange (20) with a tongue (21) and a cut-out (22) each side of it to clear the staple's legs.

Alatan diperlukan:

Gunting kepingan logamGunting kepingan logam
Set Kikir JarumSet Kikir Jarum
Playar Muncung RataPlayar Muncung Rata
7

Drill the pivot

Clamp the halves together, punch the centre of the rear ear and drill through both.

Alatan diperlukan:

Penebuk PusatPenebuk Pusat
Gerimit tanganGerimit tangan
Ragum BangkuRagum Bangku
8

Rivet the pivot

Rivet the flat ends together (Doniger used an eyelet; ours: a steel rivet). Close it firmly: the friction of the flat ends must hold the halves wherever you swing them.

Bahan untuk langkah ini:

Rivet keluliRivet keluli1 keping

Alatan diperlukan:

Tukul rivetTukul rivet
AndasAndas
9

Anneal and cut the blade blank

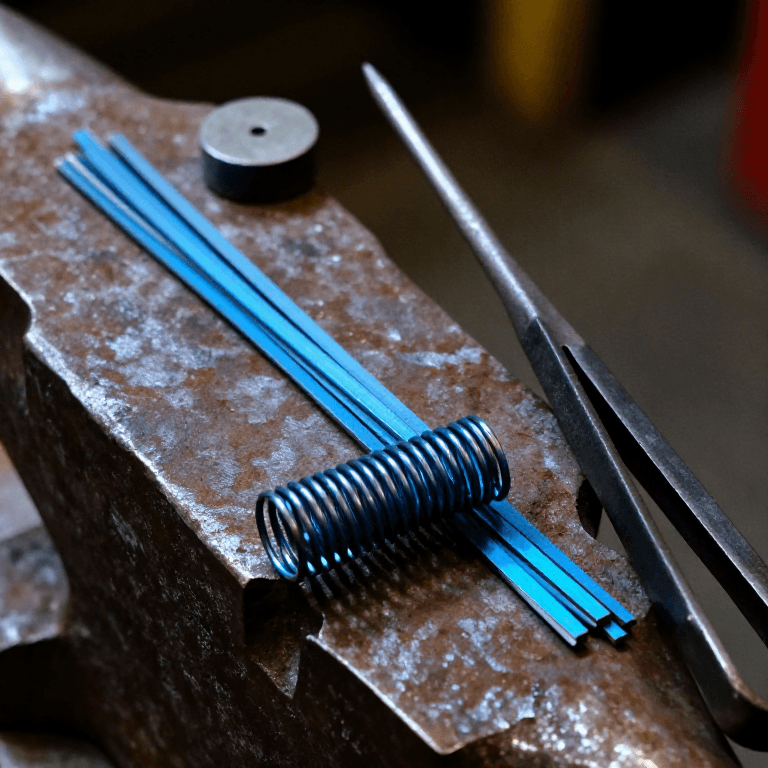
Soften a piece of spring steel strip about 0.4 mm thick (ours), as in the connected spring-steel blueprint. Cut a blank as wide as the gap between the shoulders.

Bahan untuk langkah ini:

Jalur keluli springJalur keluli spring1 keping

Alatan diperlukan:

Relau TempaRelau Tempa
Penyepit Tukang BesiPenyepit Tukang Besi
Abu Kayu KerasAbu Kayu Keras
Gunting kepingan logamGunting kepingan logam
Sarung tangan kimpalanSarung tangan kimpalan
10

Cut the centre slot

Cut a slot (18) in the exact middle of the blank that fits closely over the staple. Drill its ends and file out between them.

Alatan diperlukan:

Penebuk PusatPenebuk Pusat
Gerimit tanganGerimit tangan
Set Kikir JarumSet Kikir Jarum
Ragum BangkuRagum Bangku
11

Shape both points

Cut each end of the blank to a slanting point, as in Fig. 1, and grind a cutting bevel at both ends.

Alatan diperlukan:

Gunting kepingan logamGunting kepingan logam
Batu canai rodaBatu canai roda
Kikir LogamKikir Logam
12

Harden and temper the blade

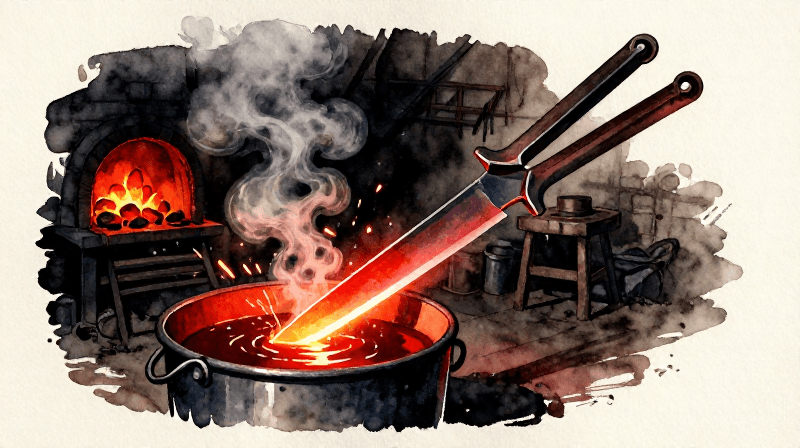
Harden the blade in oil as in the connected spring-steel blueprint. Temper it to the knife colour given in the connected heat-treatment blueprint, not to spring blue.

Alatan diperlukan:

Relau TempaRelau Tempa
Penyepit Tukang BesiPenyepit Tukang Besi
Minyak kanolaMinyak kanola
Sarung tangan kimpalanSarung tangan kimpalan
13

Hone both edges

Hone both ends keen on the sharpening stone.

Alatan diperlukan:

Batu AsahBatu Asah
14

Fit and lock the blade

Swing the halves open. Lay the blade flat on the wall, its slot over the staple and its edges between the shoulders. Swing the locking half shut: the tongue enters the staple and the channel grips the blade. No tools needed.
15

Reverse or change the blade

Swing the locking half up, lift the blade off the staple and turn it end for end, or fit a new one. The spare end sits protected inside the handle.
16

What the patent says, and what is ours

The patent fixes the parts and how they lock: hinged shell halves, flat riveted pivot ends that hold by friction, a wall with shoulders and a pressed-out staple, a slotted double-ended blade, a springy channel with tongue and cut-outs. It gives no sizes, no metals and no blade making. All sizes, the mild steel, the rivet and the spring steel blade are our choices. Doniger's better-known X-Acto knives hold the blade in a round collet instead.

Bahan

3

Alatan Diperlukan

21

CC0 Domain Awam

Blueprint ini dikeluarkan di bawah CC0. Anda bebas menyalin, mengubah, mengedar, dan menggunakan karya ini untuk sebarang tujuan, tanpa meminta kebenaran.

Sokong Pembuat dengan membeli produk melalui Blueprint mereka di mana mereka memperoleh Komisen Pembuat ditetapkan oleh Penjual, atau cipta iterasi baru Blueprint ini dan sertakan ia sebagai sambungan dalam Blueprint anda sendiri untuk berkongsi hasil.

Perbincangan

(0)

Log masuk untuk menyertai perbincangan

Memuatkan komen...