SENI
KECANTIKAN & KESEJAHTERAAN
KRAFTANGAN
BUDAYA & SEJARAH
HIBURAN
ALAM SEKITAR
MAKANAN & MINUMAN
KEJURUTERAAN TERBALIK
SAINS
SUKAN
TEKNOLOGI
BOLEH PAKAI
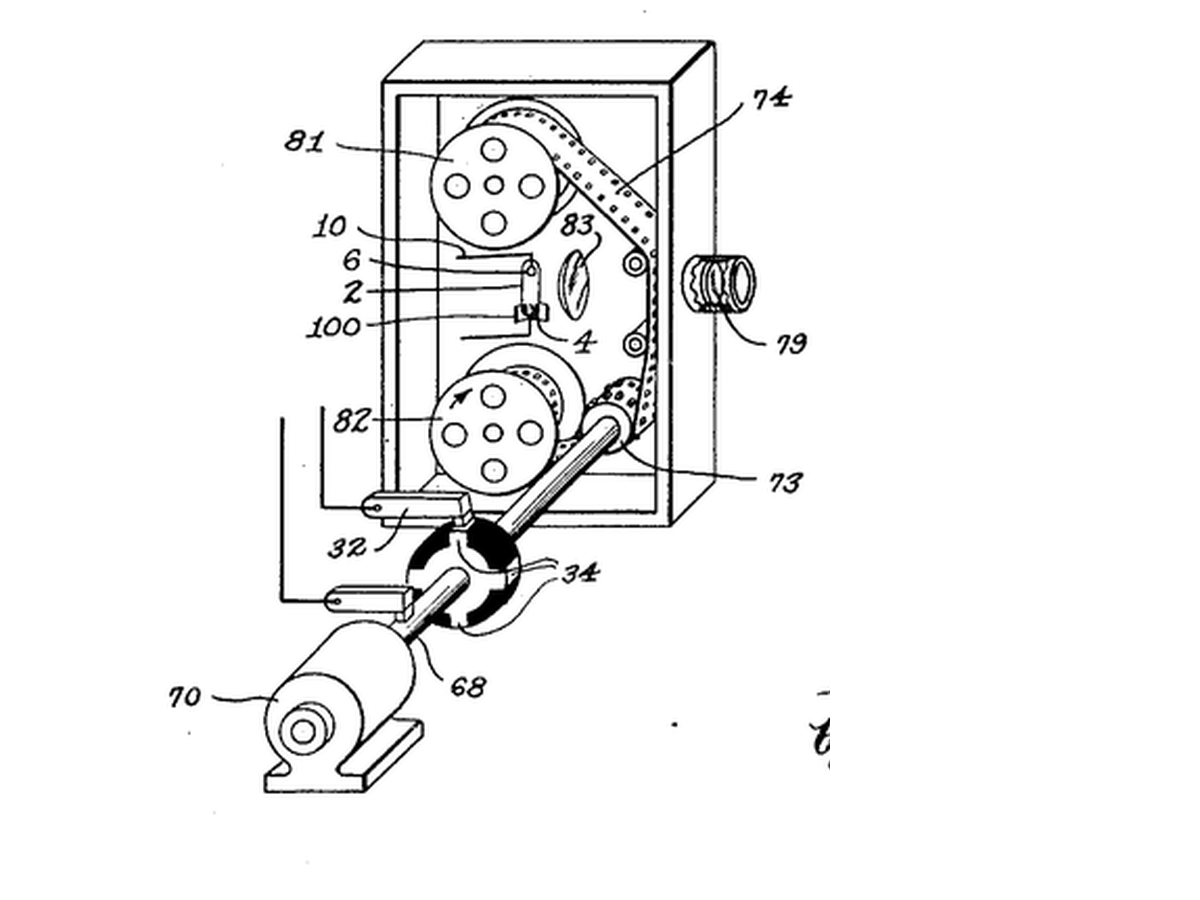


Stroboscope
**Warning: flashing light can trigger seizures in people with photosensitive epilepsy. Do not build or watch this if that applies to you or anyone in the room.**
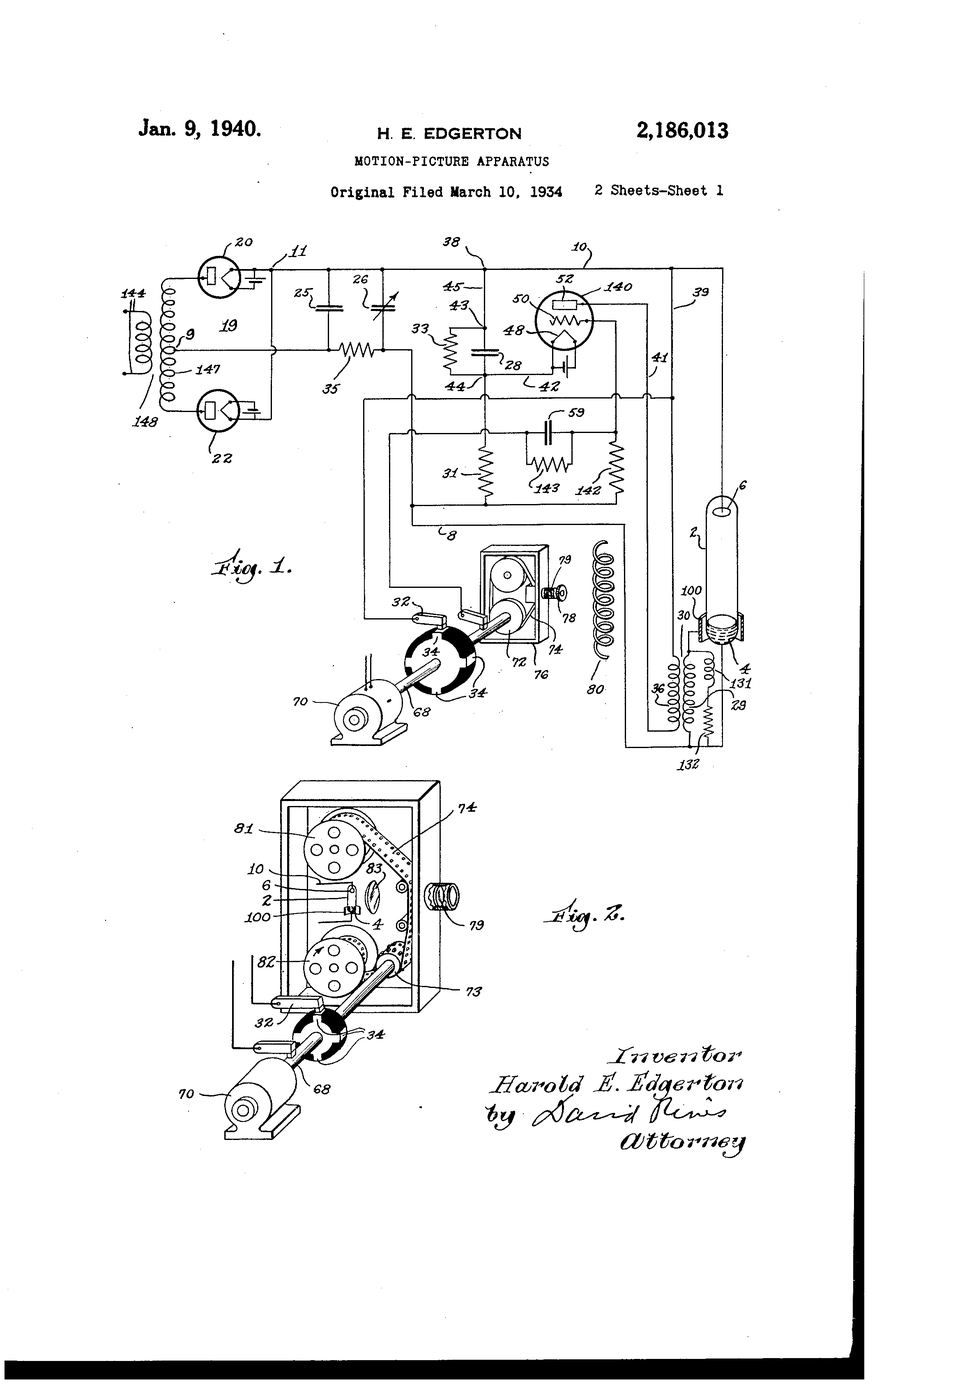
Harold Edgerton at MIT, studying electric motors, used a gas-discharge lamp that could flash for a few microseconds, many times a second, in step with a machine. Moving parts appeared frozen, and photographs made by the flash stopped bullets, splashes and hummingbird wings.
**US 2,186,013**, "Motion-picture apparatus", Edgerton, filed 10. March 1934, granted 9. January 1940, lights the subject with short, intense, repeated flashes instead of relying on a fast shutter, because "the time of exposure must be short" for rapidly moving objects.
**You build an LED stroboscope** with a speed knob, freeze a desk fan, and read its speed from the flash rate.
Pertengahan
2 hours
Arahan
1
1
Wire the strobe
Wire the strobe
Strip DIN to D6, 5V and GND. Potentiometer ends to 5V and GND, wiper to A0. Install the Adafruit NeoPixel library, upload, open the serial monitor to read the rate.
led_stroboscope.inocpp
Bahan untuk langkah ini:
 Jalur LED Neopixel1 keping
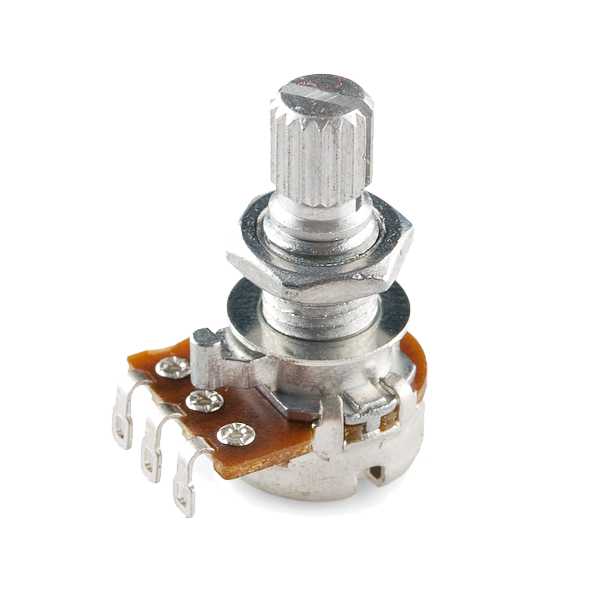 Rotary Potentiometer - 4.7k Ohm, Linear1 keping
 Set wayar Dupont (jantan-betina)1 set
Alatan diperlukan:
 Arduino Uno R3
 Papan Roti
 Kabel USB-B
2
2
Mark a blade
Mark a blade
Put a strip of masking tape on ONE fan blade near its tip, guard on. Darken the room and aim the strip at the fan.
Alatan diperlukan:
 Kipas meja elektrik
 Pita pelekat kertas
3
3
Find the freezes
Find the freezes
Run the fan on one setting. Turn the knob slowly from high to low and note every rate where the TAPED blade stands still as a single image. Just above the highest one it appears doubled or drifting.
4
4
Rates to rpm
Rates to rpm
Memuatkan buku nota Jupyter…
5
5
History & Context
History & Context
**What the patent specifies:** a subject lit by short, intense, repeated flashes timed to the film, instead of continuous light and a fast shutter. **Modern build (derived):** an Arduino flashing an LED strip.
Edgerton's flash tubes became the electronic flash in every camera, and stroboscopes became workshop tools for checking engine timing and machine speed. Their limits: aliasing (a wheel frozen at a wrong speed), dim light from very short flashes, and the seizure risk of flicker.
Bahan
3- 1 kepingPemegang Tempat
- Rotary Potentiometer - 4.7k Ohm, Linear10% komisen1 keping$1.19
- Pemegang Tempat
Alatan Diperlukan
5- 1 vendor sell this, none ship to you yetPemegang Tempat
- 1 vendor sell this, none ship to you yetPemegang Tempat
- 1 vendor sell this, none ship to you yetPemegang Tempat
- Pemegang Tempat
- Pemegang Tempat
Jumlah anggaran
Apa yang dibeli oleh pembuatnya. Bahan tanpa harga diperoleh di tempat anda membelinya.
Blueprint berkaitan
Blueprint ini berkongsi pengetahuan — teknik, bahan atau prinsip

CC0 Domain Awam
Blueprint ini dikeluarkan di bawah CC0. Anda bebas menyalin, mengubah, mengedar, dan menggunakan karya ini untuk sebarang tujuan, tanpa meminta kebenaran.
Sokong Pembuat dengan membeli produk melalui Blueprint mereka di mana mereka memperoleh Komisen Pembuat ditetapkan oleh Penjual, atau cipta iterasi baru Blueprint ini dan sertakan ia sebagai sambungan dalam Blueprint anda sendiri untuk berkongsi hasil.